The Absolute Basics
Creating a terrain in Gaea is very simple. If you are new to graph based workflows, let's look at how easy it is to get a realistic mountain in seconds.
If you have worked in graph-based applications, you will find it very easy to use Gaea. In fact, you will find our Convenience Features a massive boost to your workflow. You can skip to Create a simple terrain.
Using the Graph

Drag the Mountain node from the Toolbox and drop it onto the Infinity Graph. This will create the mountain node.
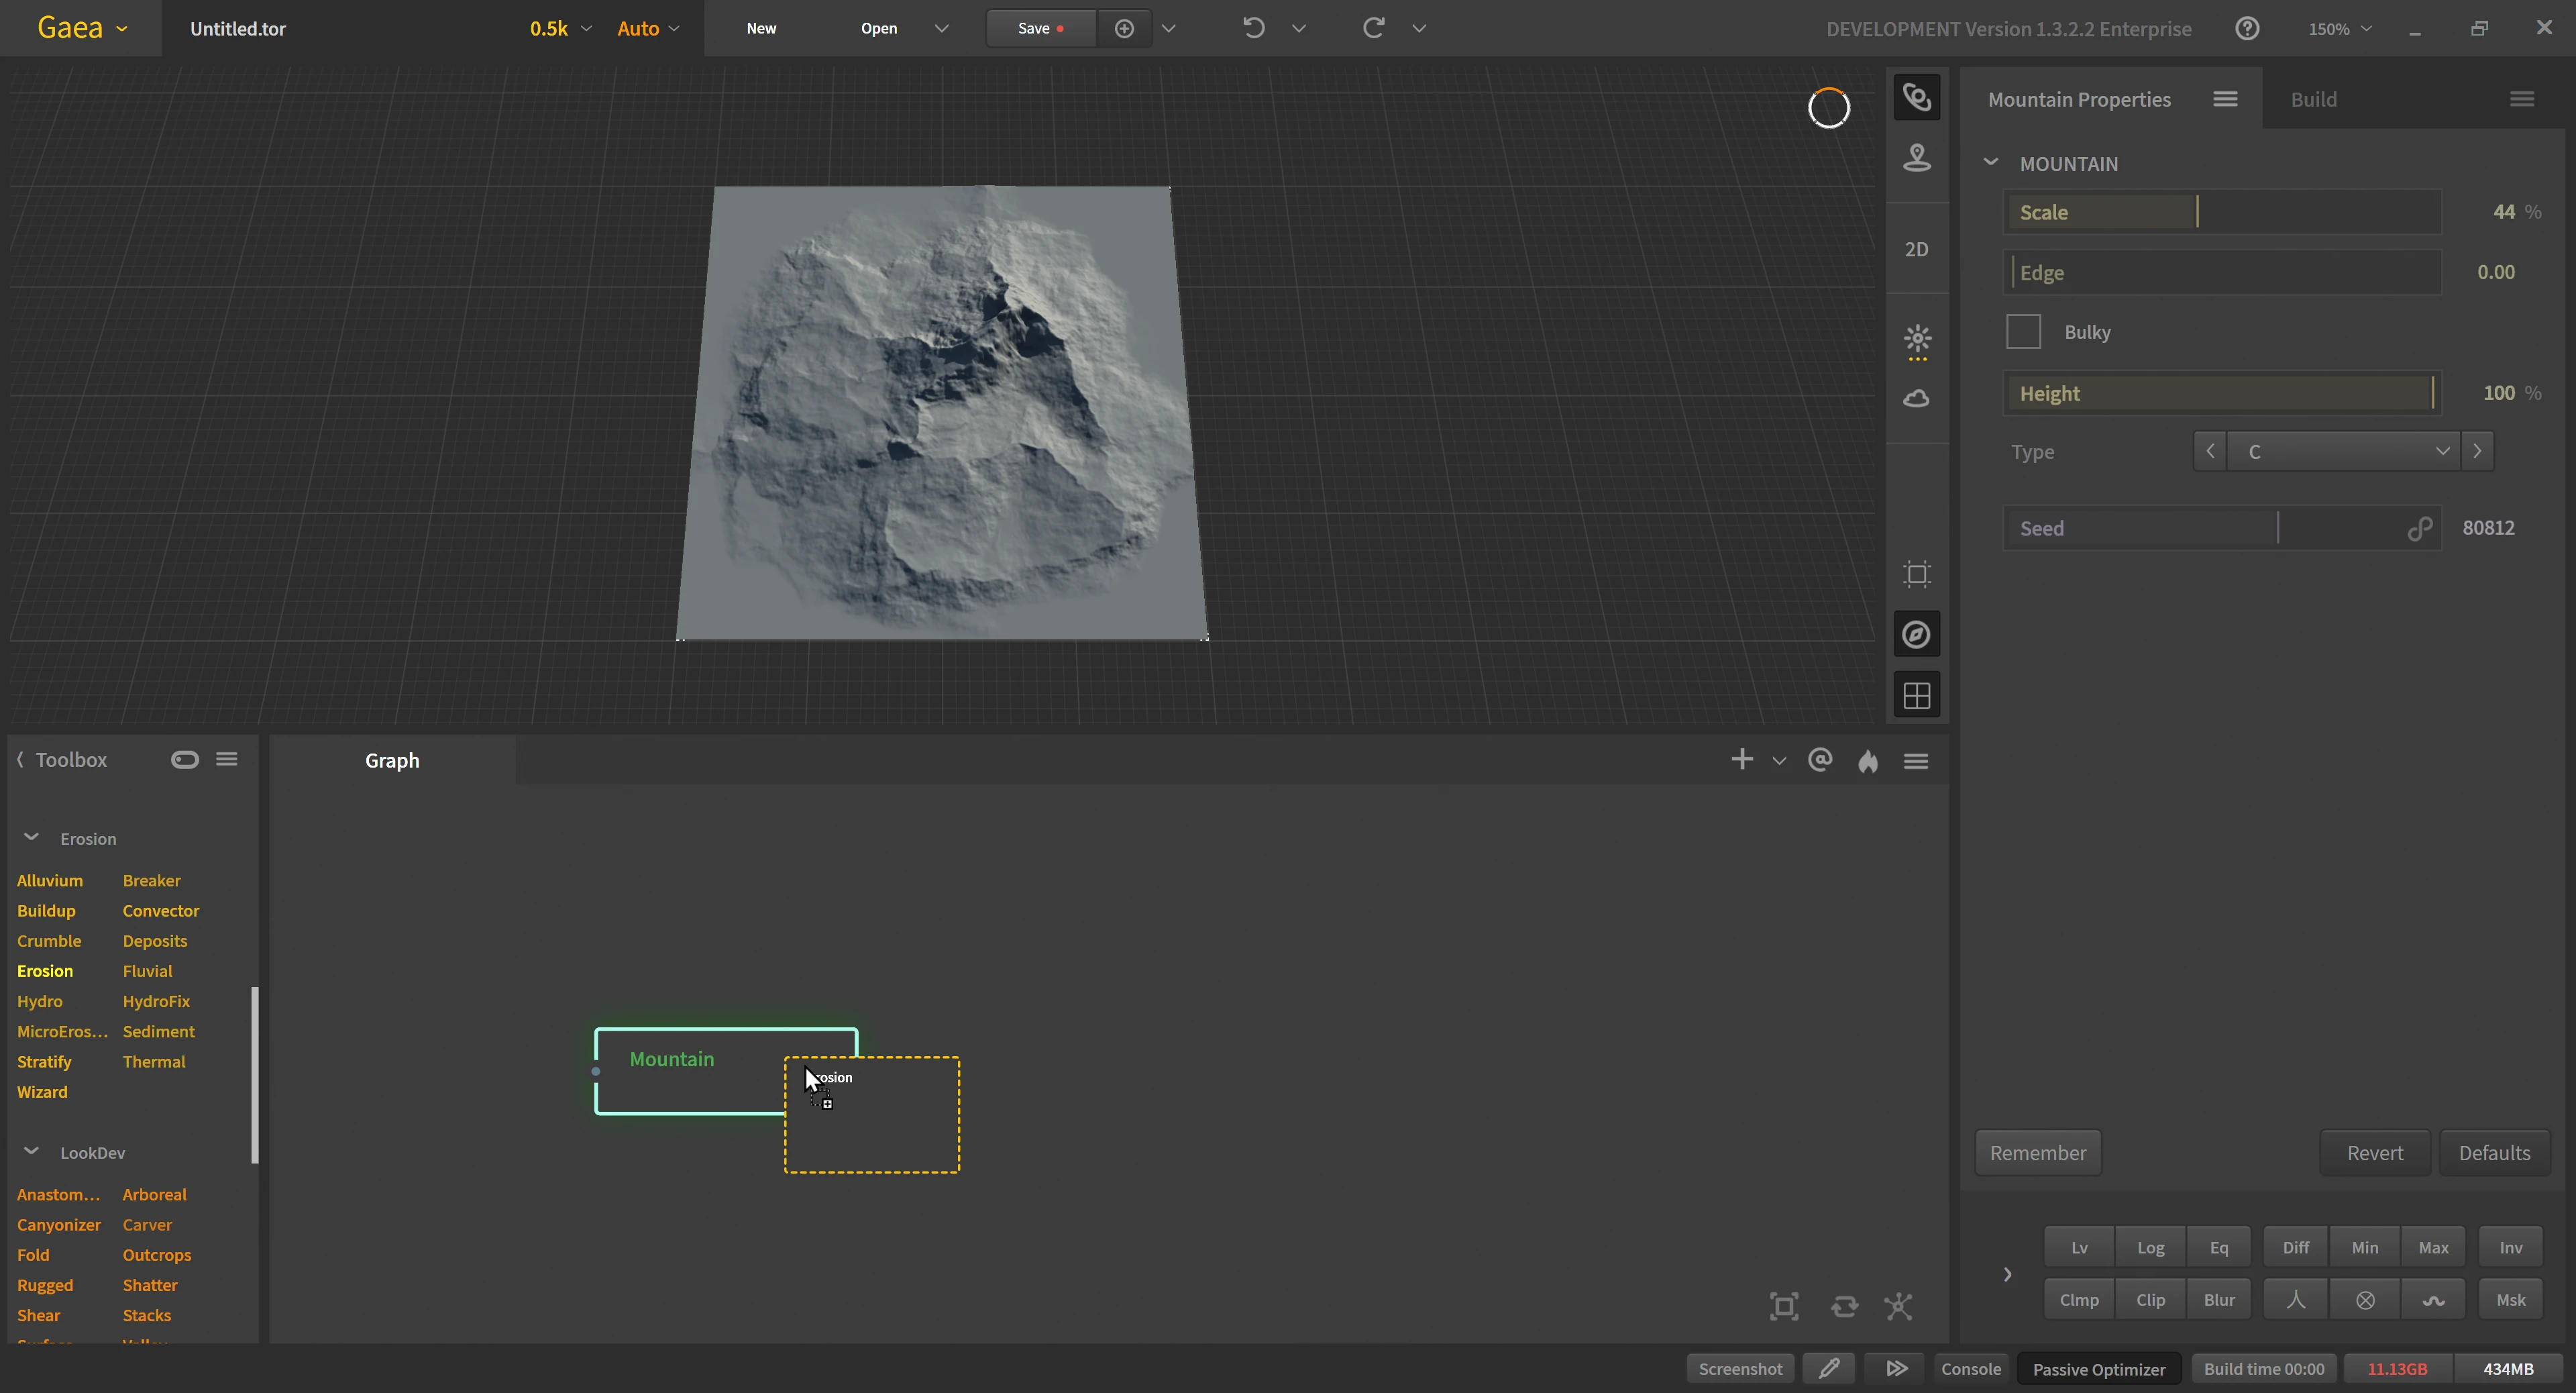
Next, find and drag the Erosion node and drop it on top of the Mountain node.
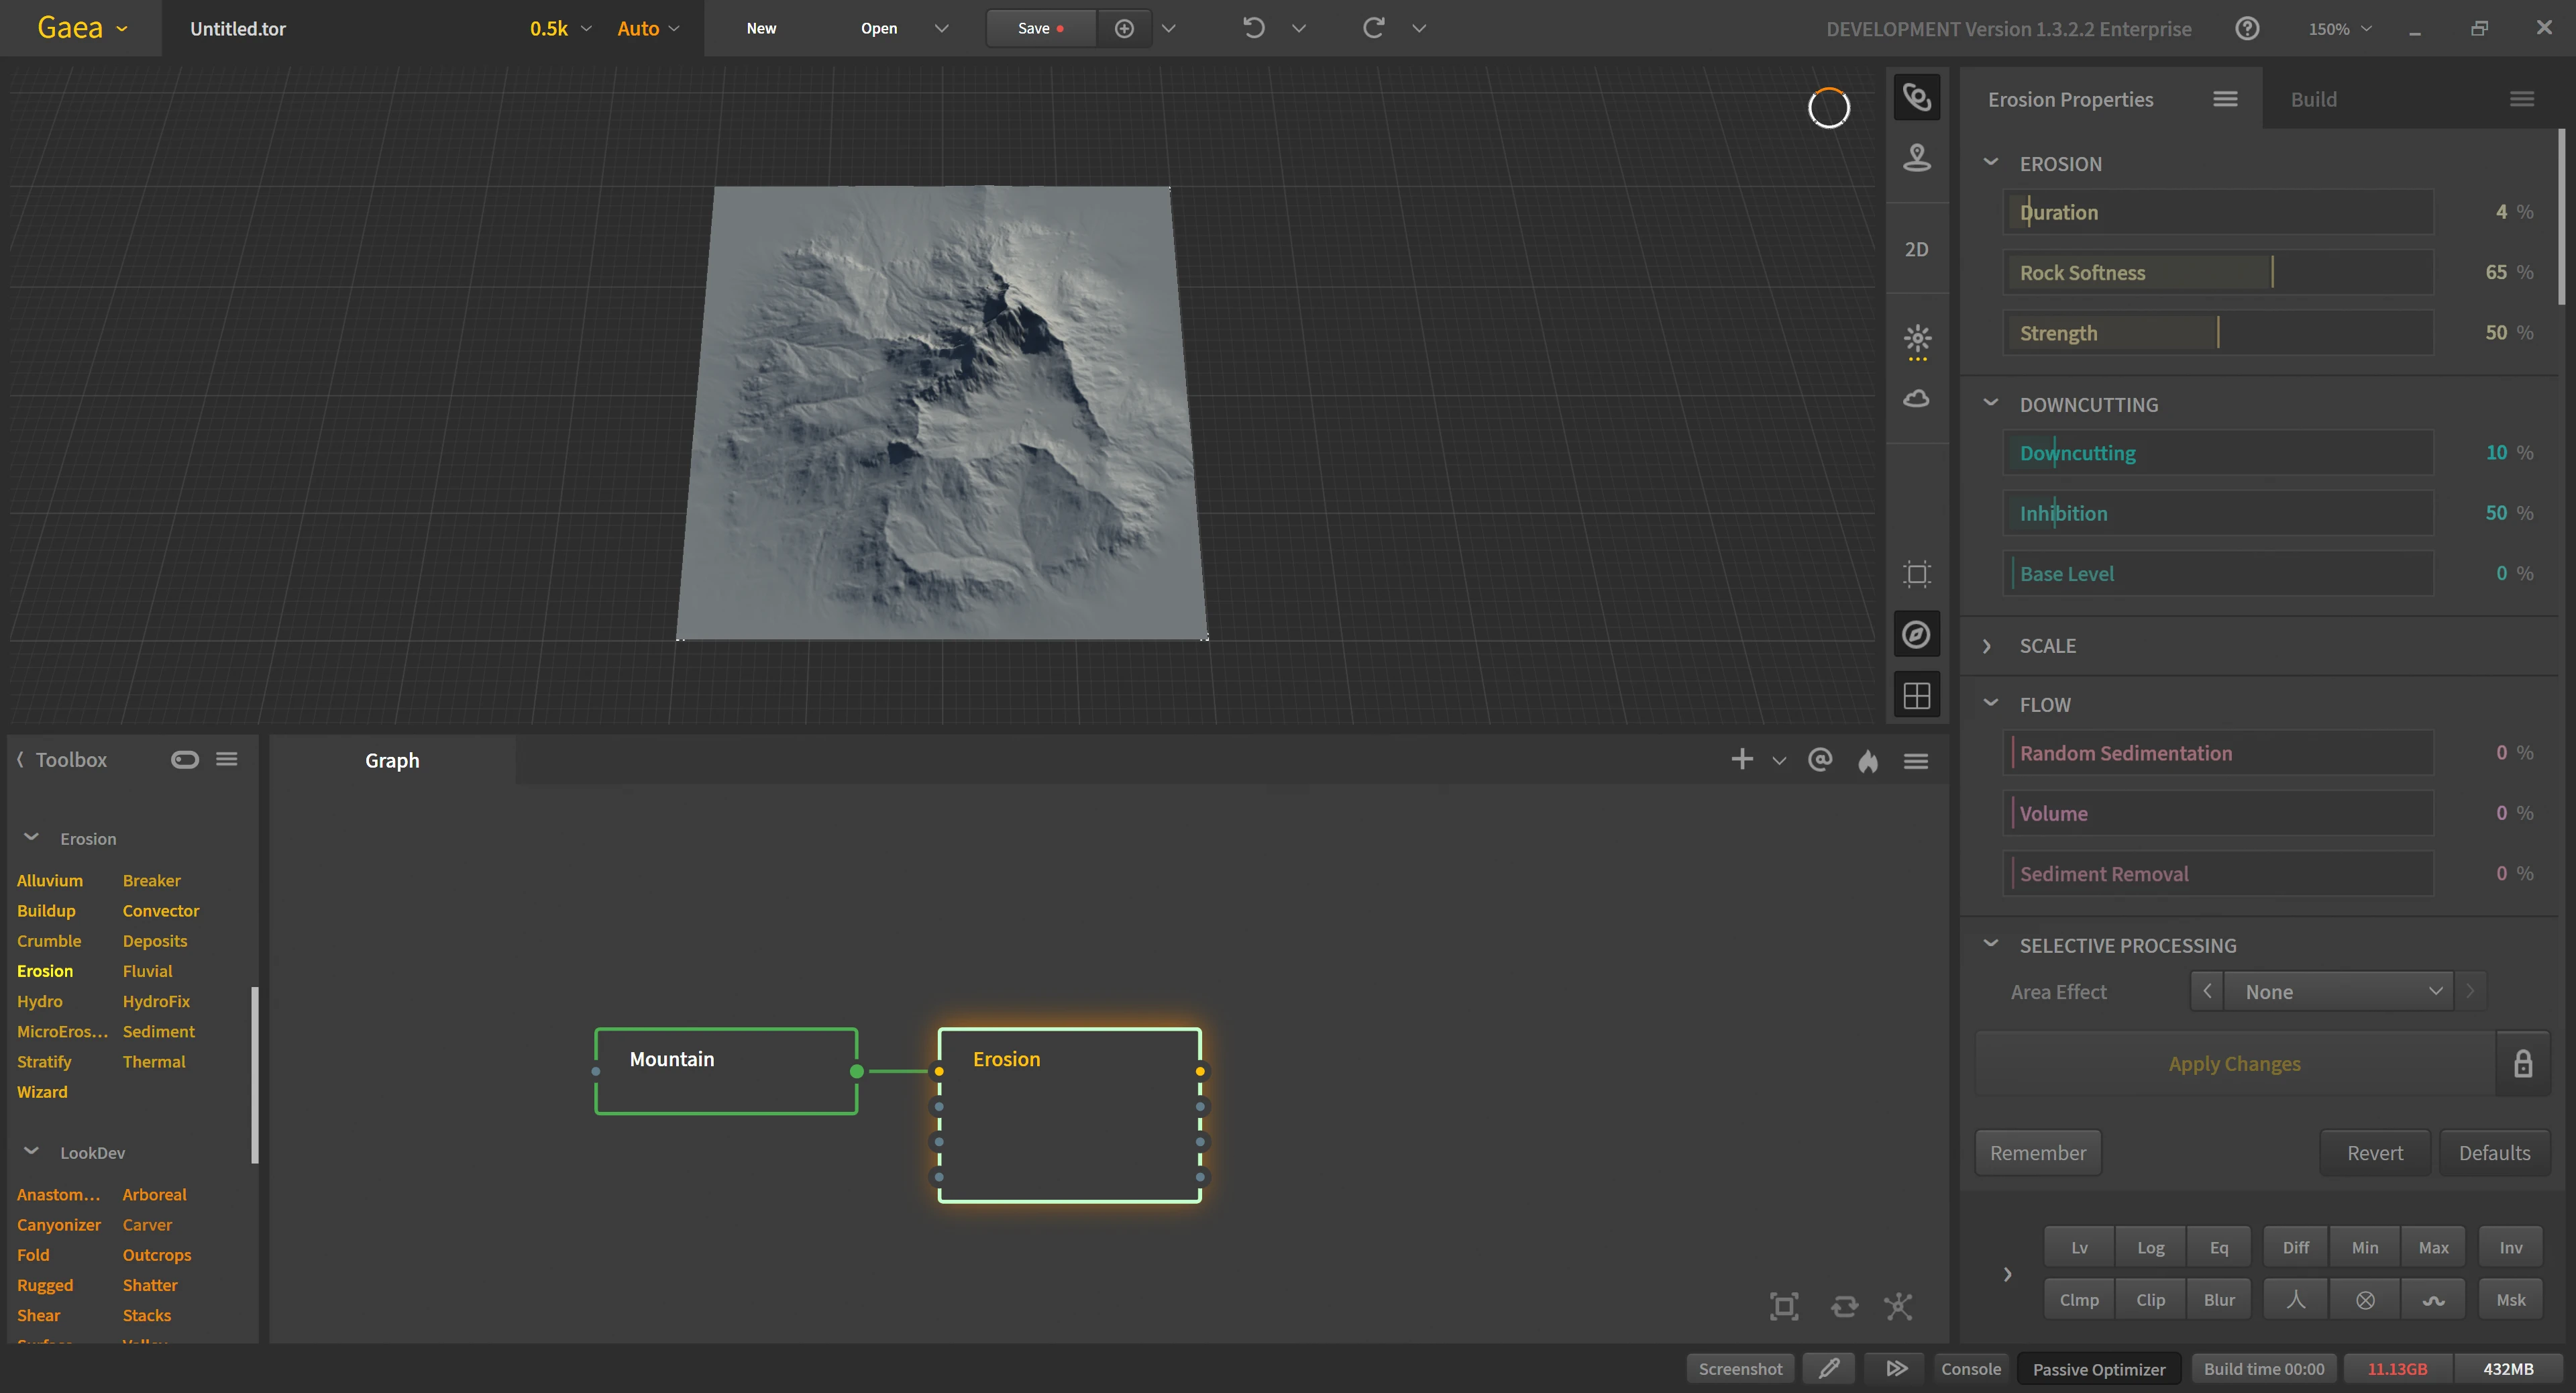
You will see that Gaea automatically connects the two for you.
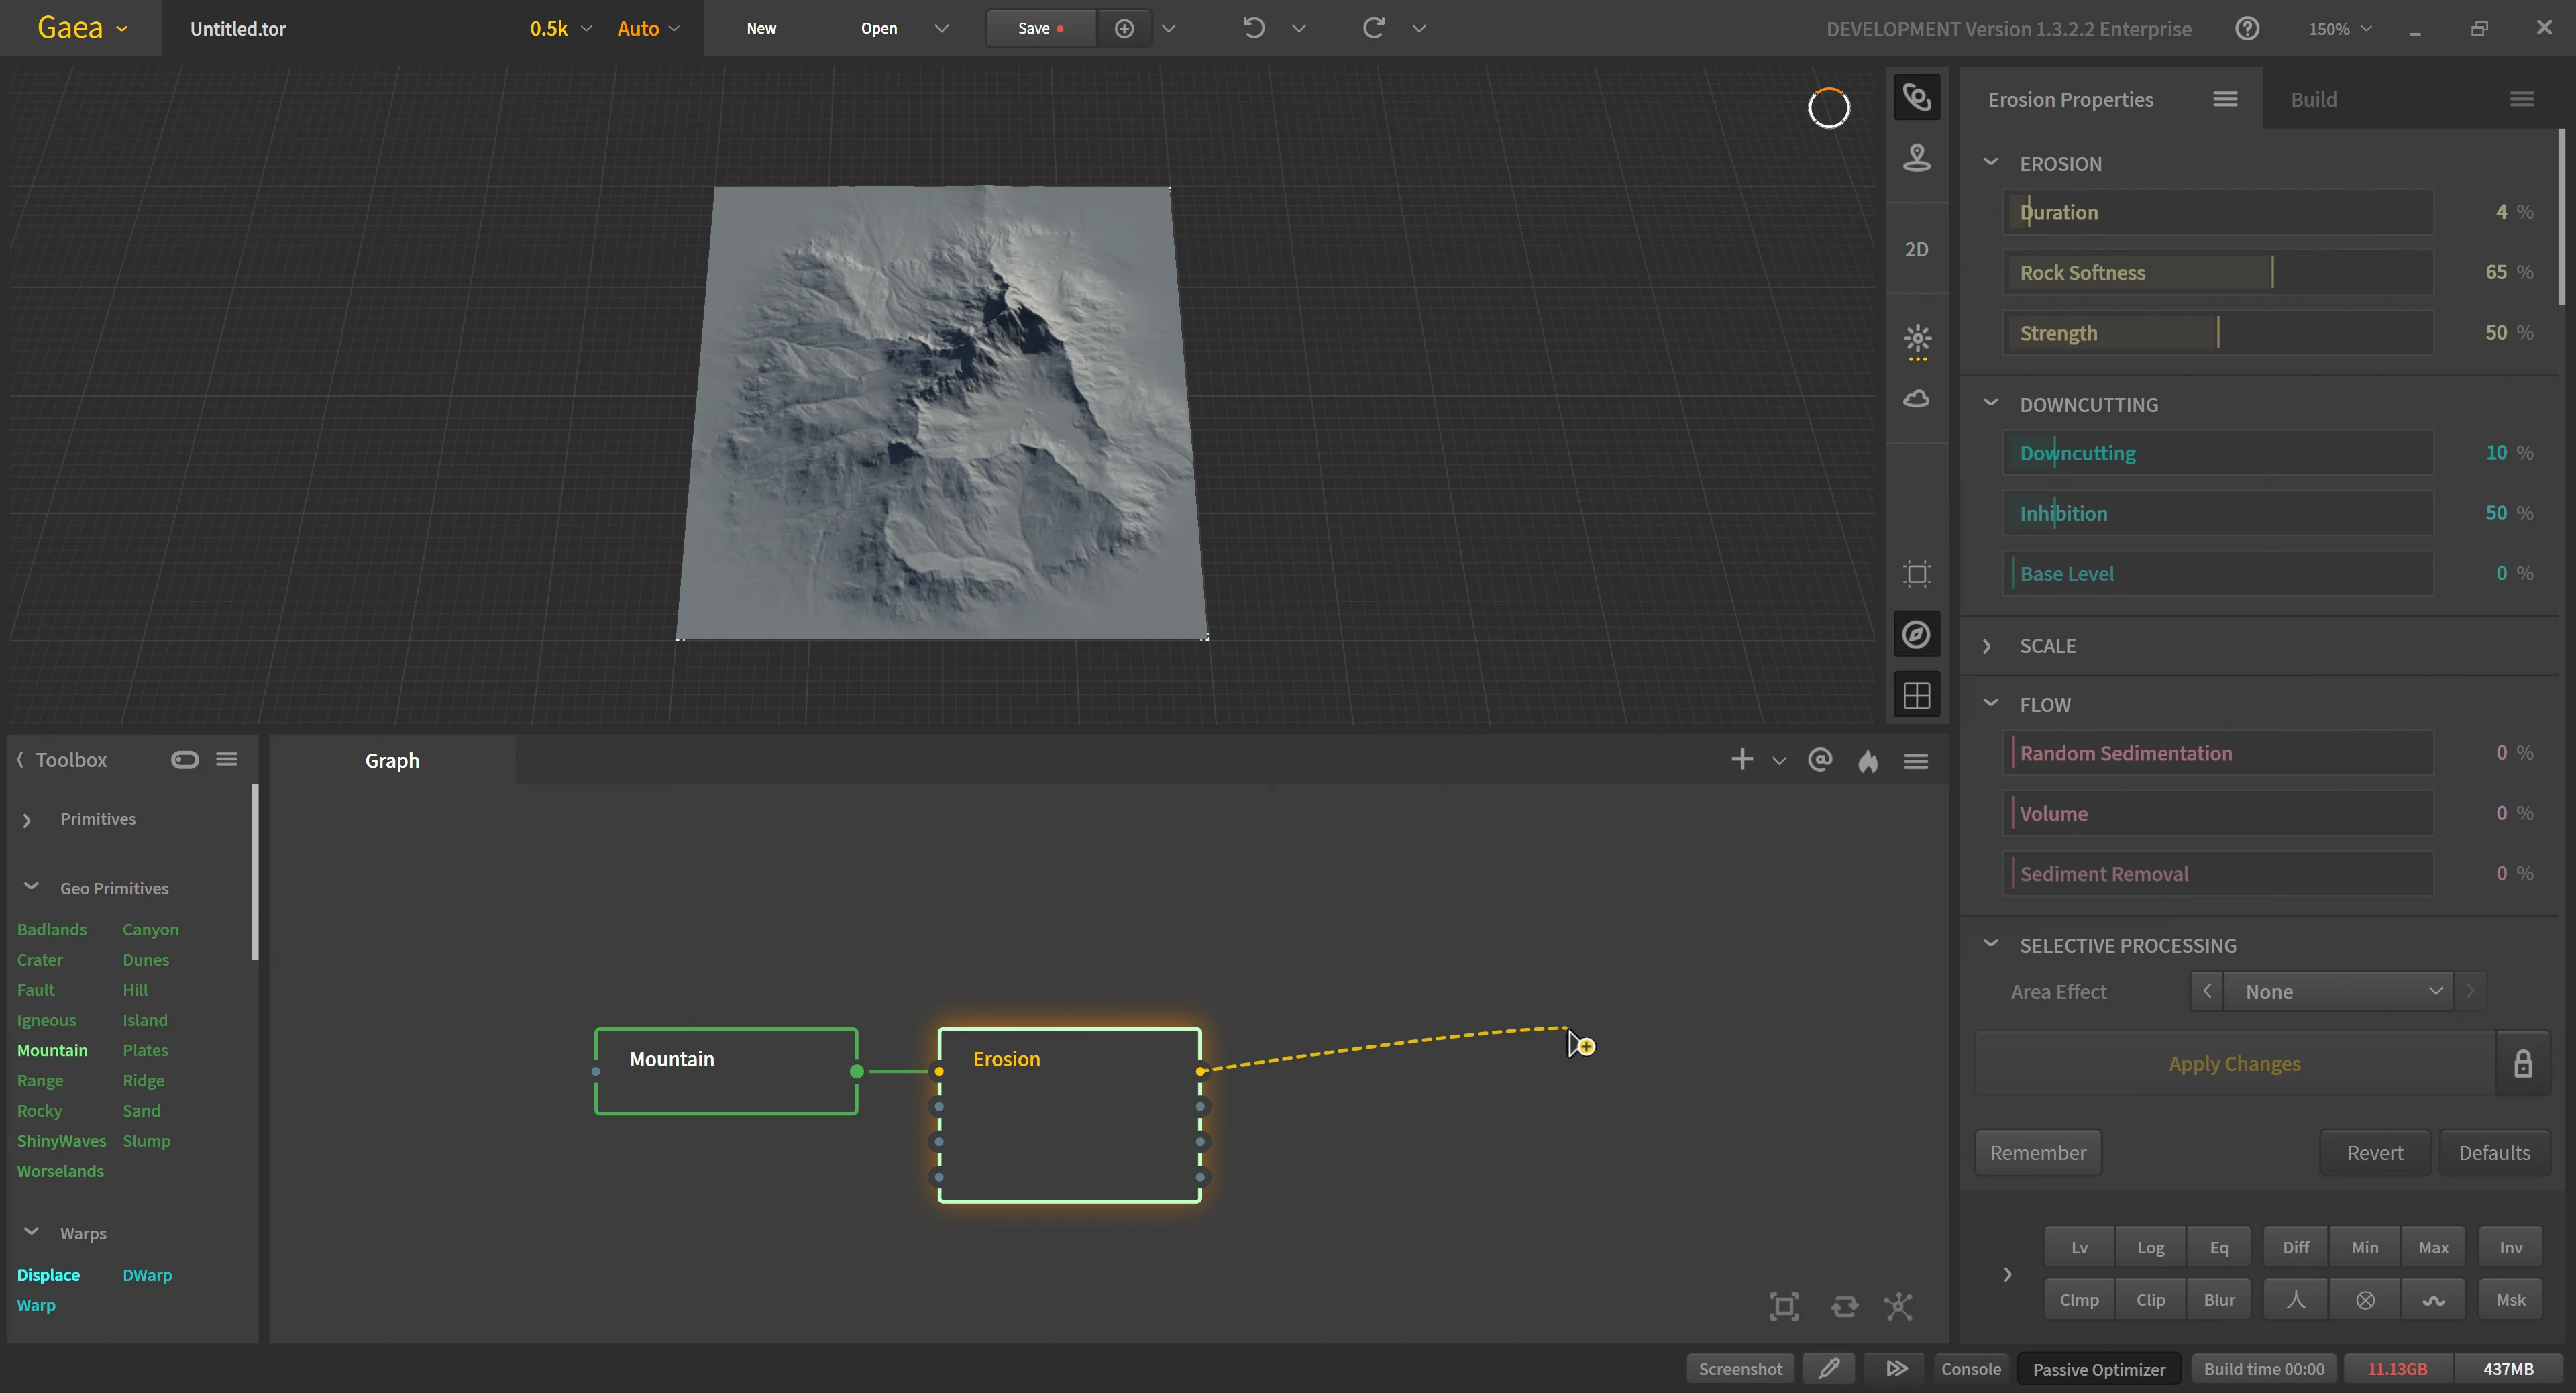
The other way to make nodes is to drag a line out from one of the ports and drop it into empty space.
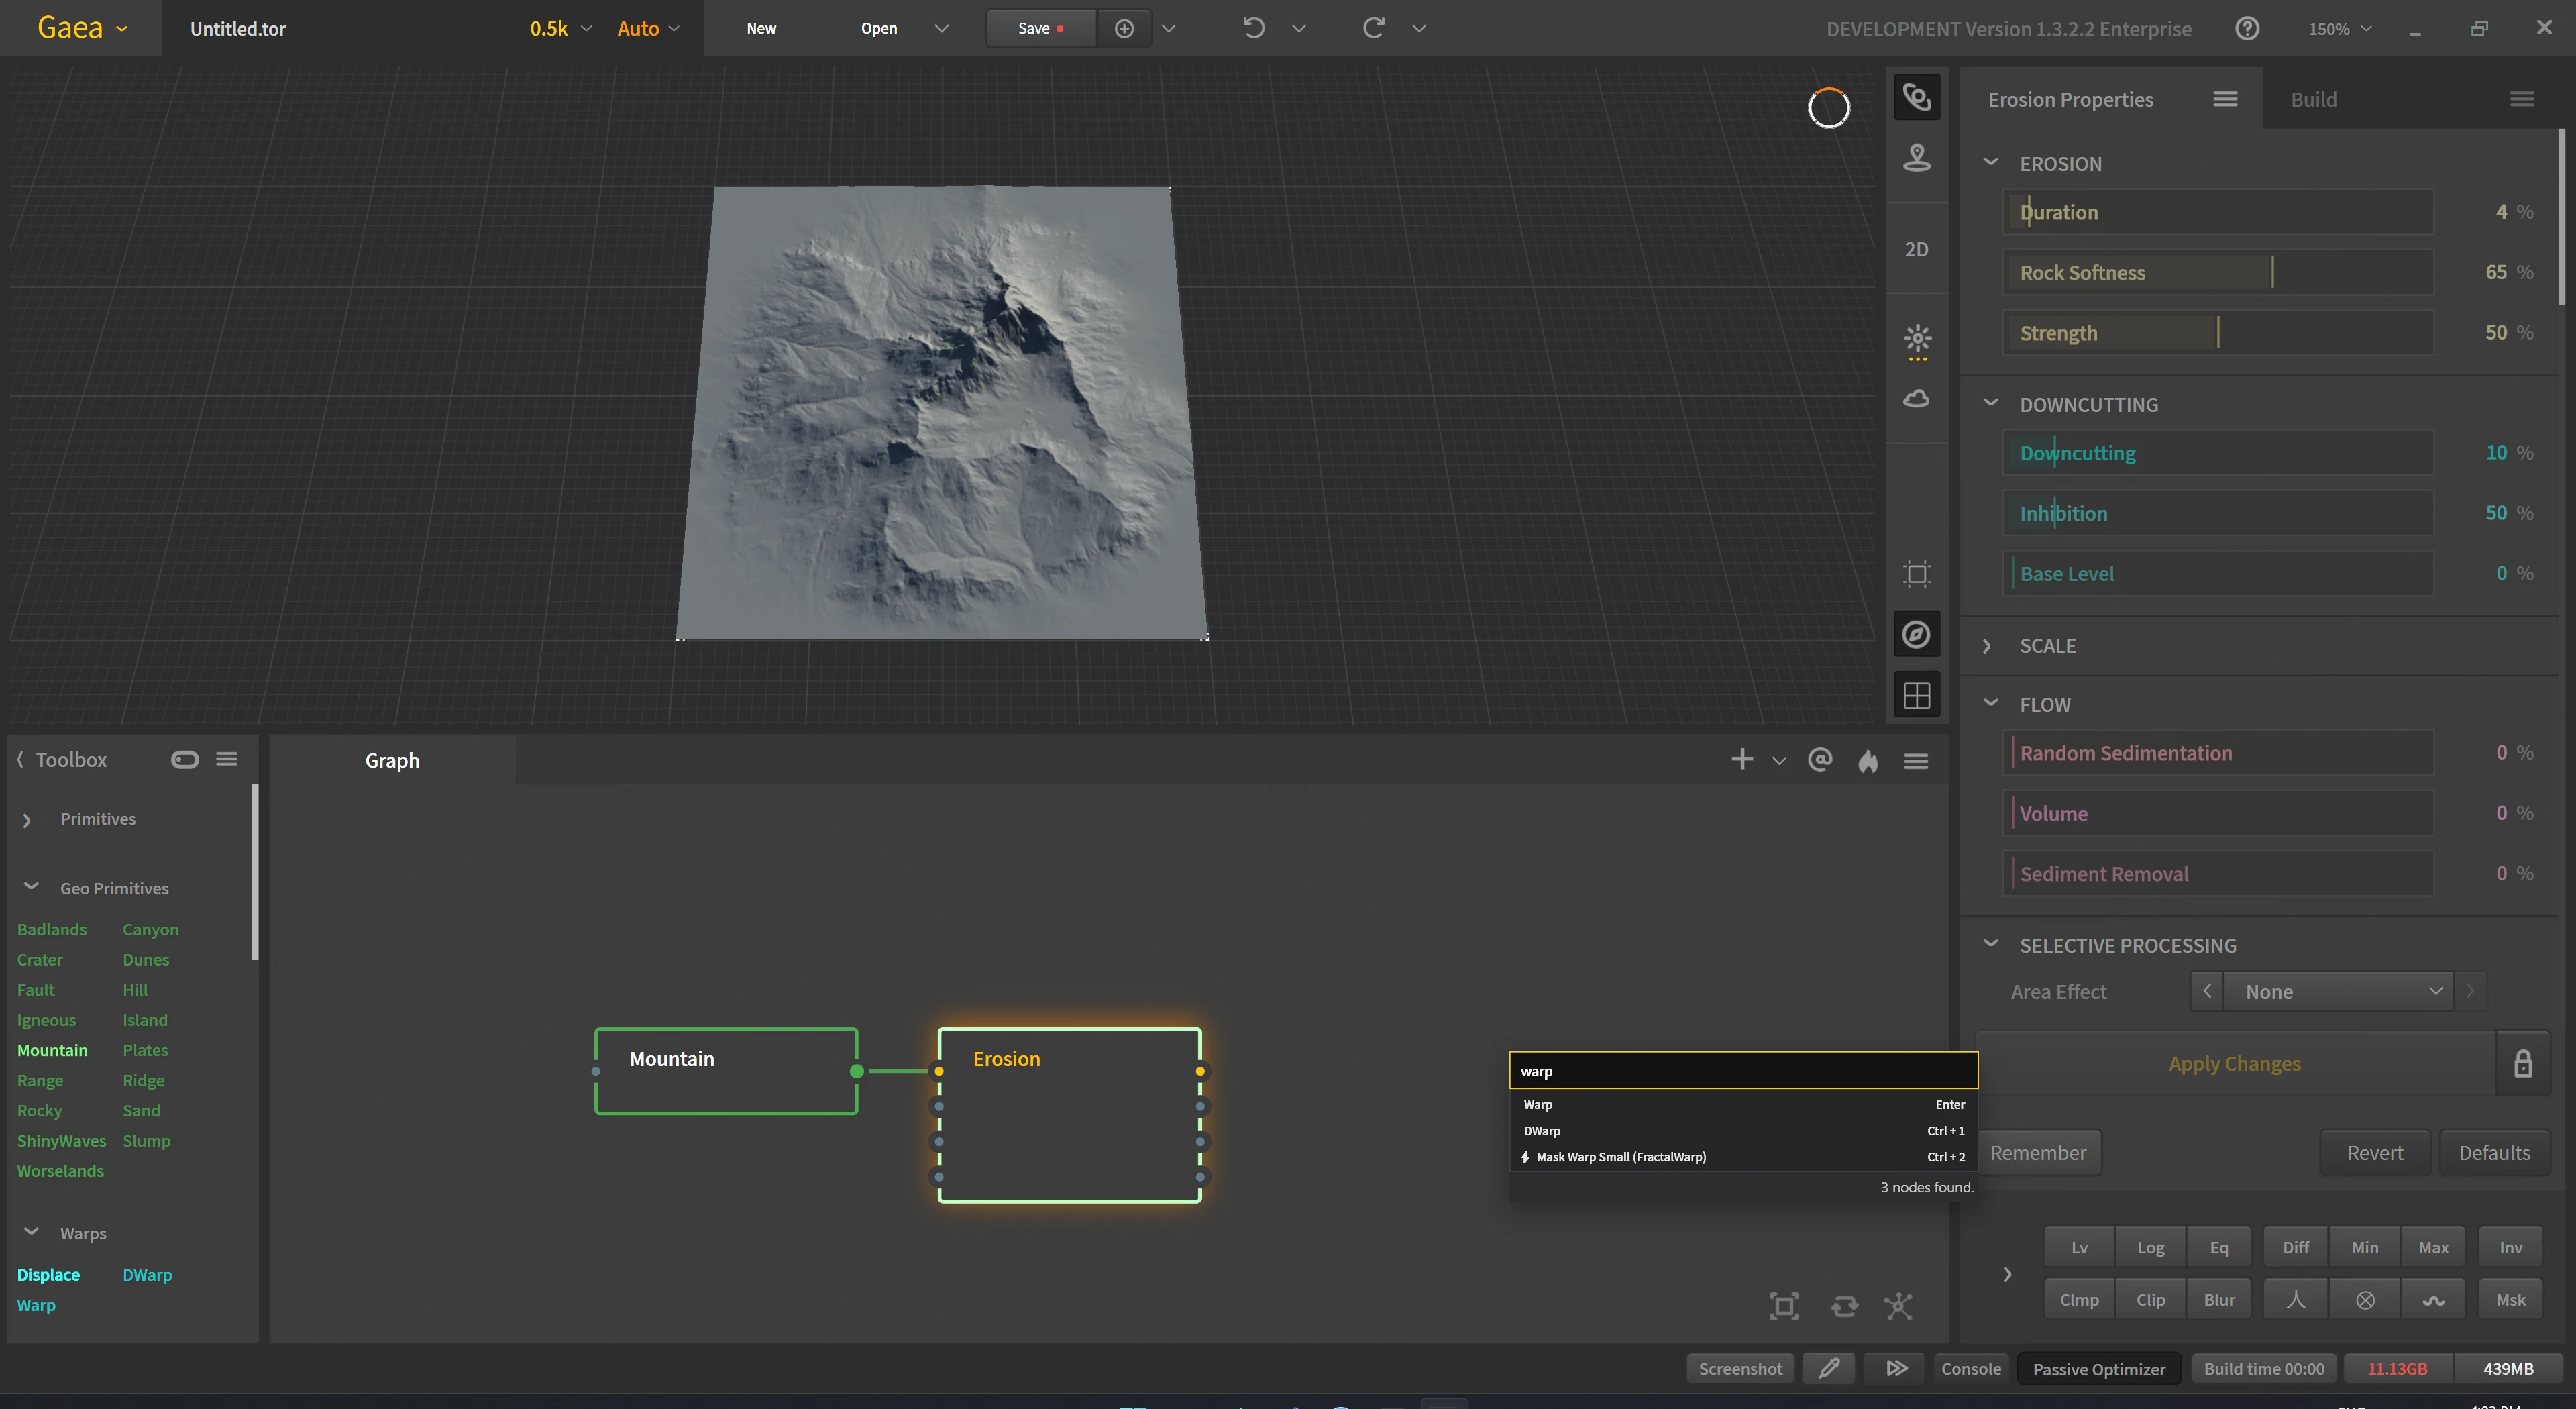
In the menu that shows up, start typing and you will be able to find the node you want.
Click the node you want in the list and it will create that node and connect it to where you dragged the line out from.
Further learning
Learn more about the Infinity Graph, Convenience Features, Drag Out, and the Predictive System.
Create a simple terrain
The core Gaea workflow is: Create-Modify-Erode-Texture-Export. Using the graph creation process above, let's create the following graph. We don't need to change any settings yet, as we will use just the defaults. Gaea's defaults are fine-tuned to give you great results almost every time. If you don't like the shape of the initial node, you can try changing the Seed value or using the Bulky option in the Mountain node to make it larger.

Create
All terrains start with Primitives. These nodes are divided into Core Primitives which contain basic shapes and noises, and GeoPrimitives which provide geological shapes like Mountain, Ridge, Crater, etc.
These serve as the starting point on which you can add further modifications. You can mix multiple primitives by connecting the output of two primitives to a Combine node and using various combination modes.
Modify
Modifications using nodes such as Adjustment and Filter nodes let you modify the primitive to change the shape, adjust heights, or even stylized it.

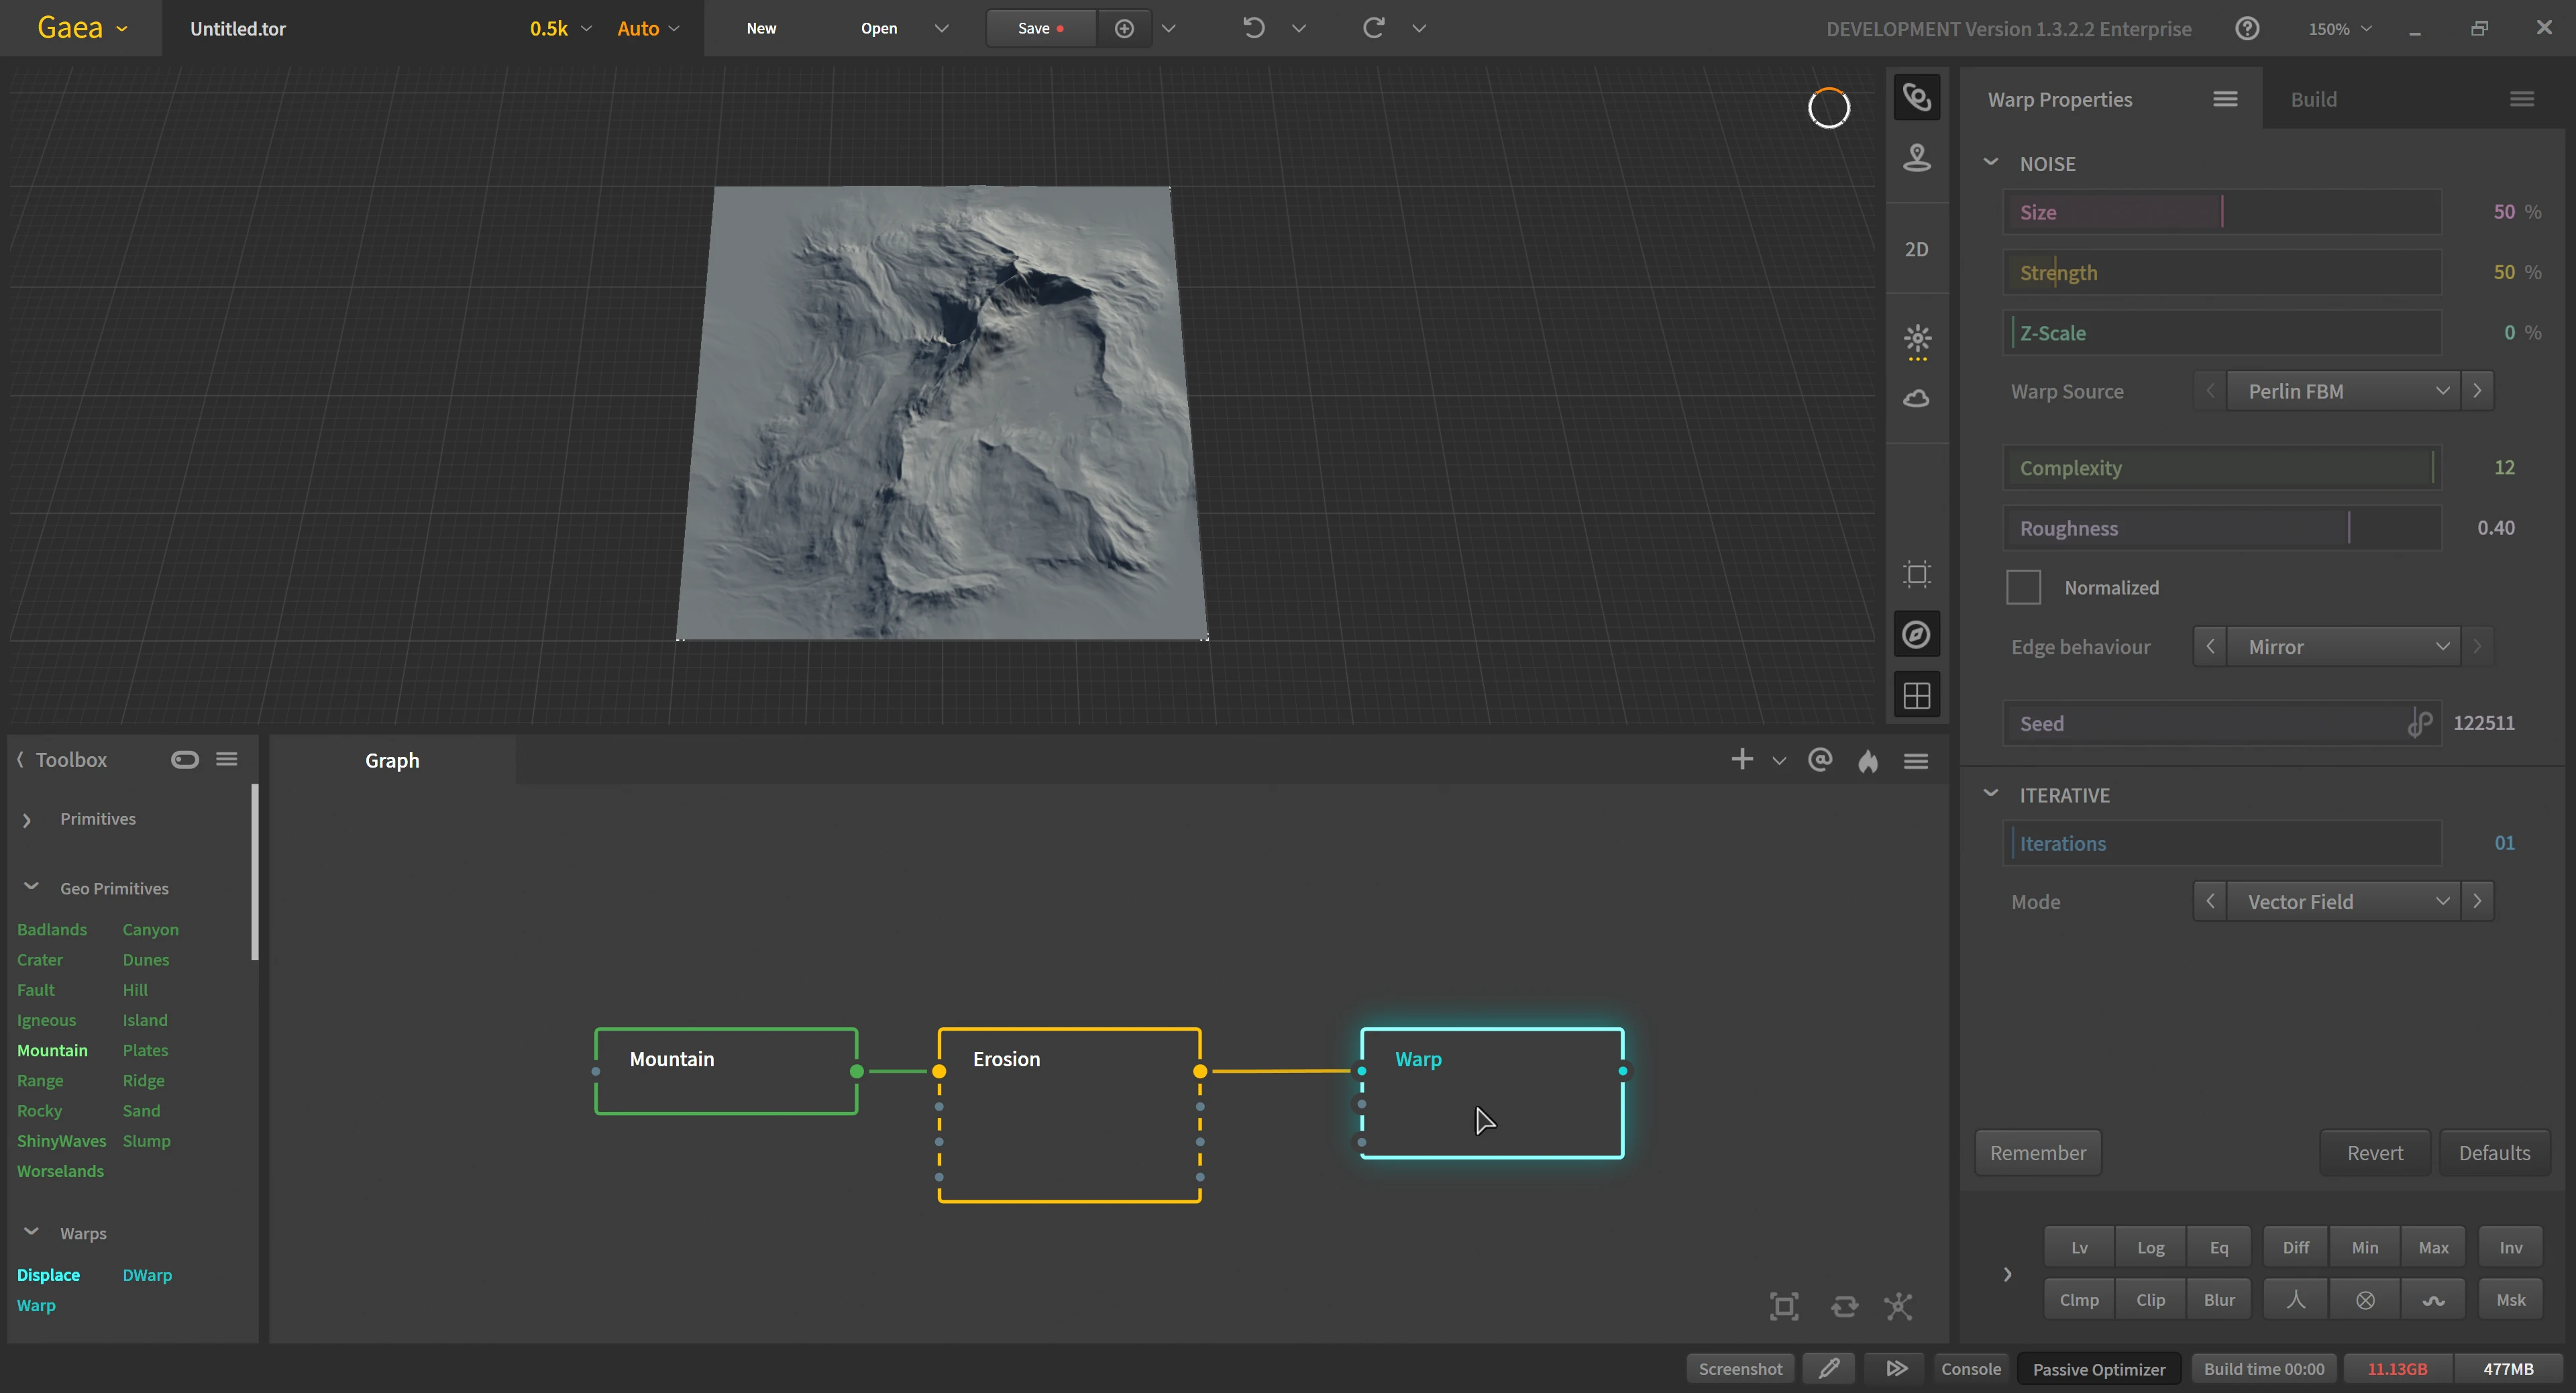
In our case, we will add a Warp node to add some warping randomness to the shape.
Erode
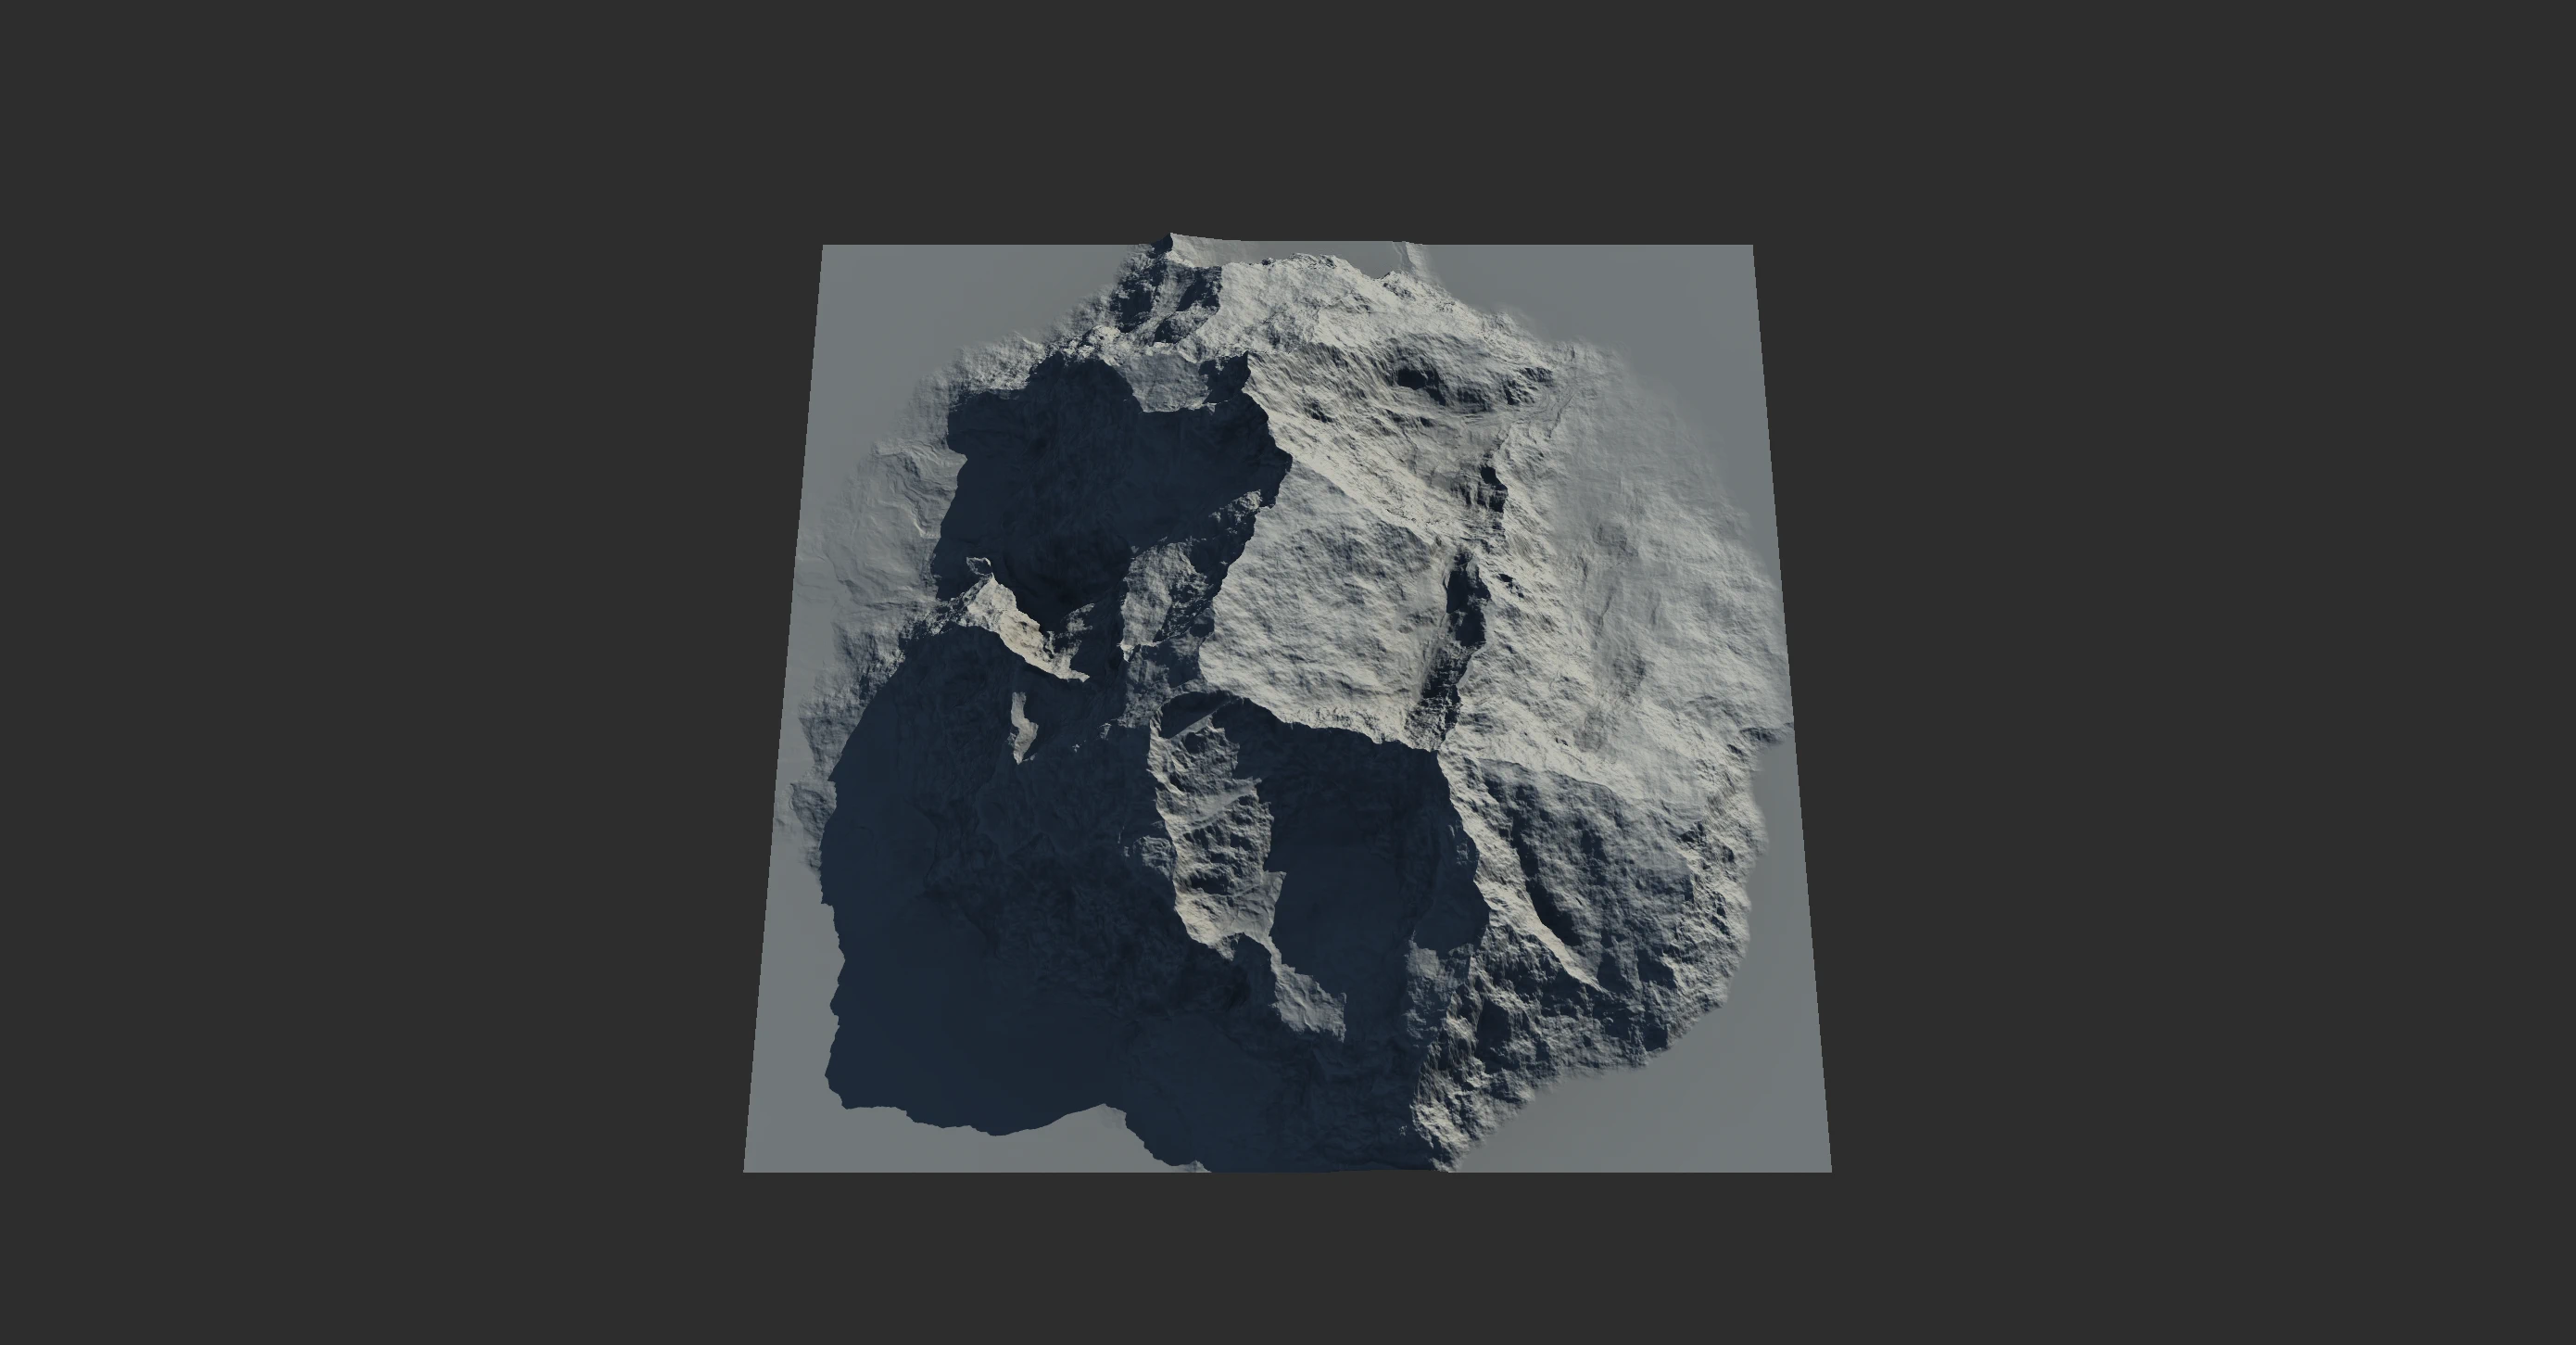
This is the crucial point for most terrains. Erosion is what makes your procedural shape look realistic by performing millennia of geological processing in seconds.
You can use the Erosion or Wizard nodes to erode the terrain.
Texture
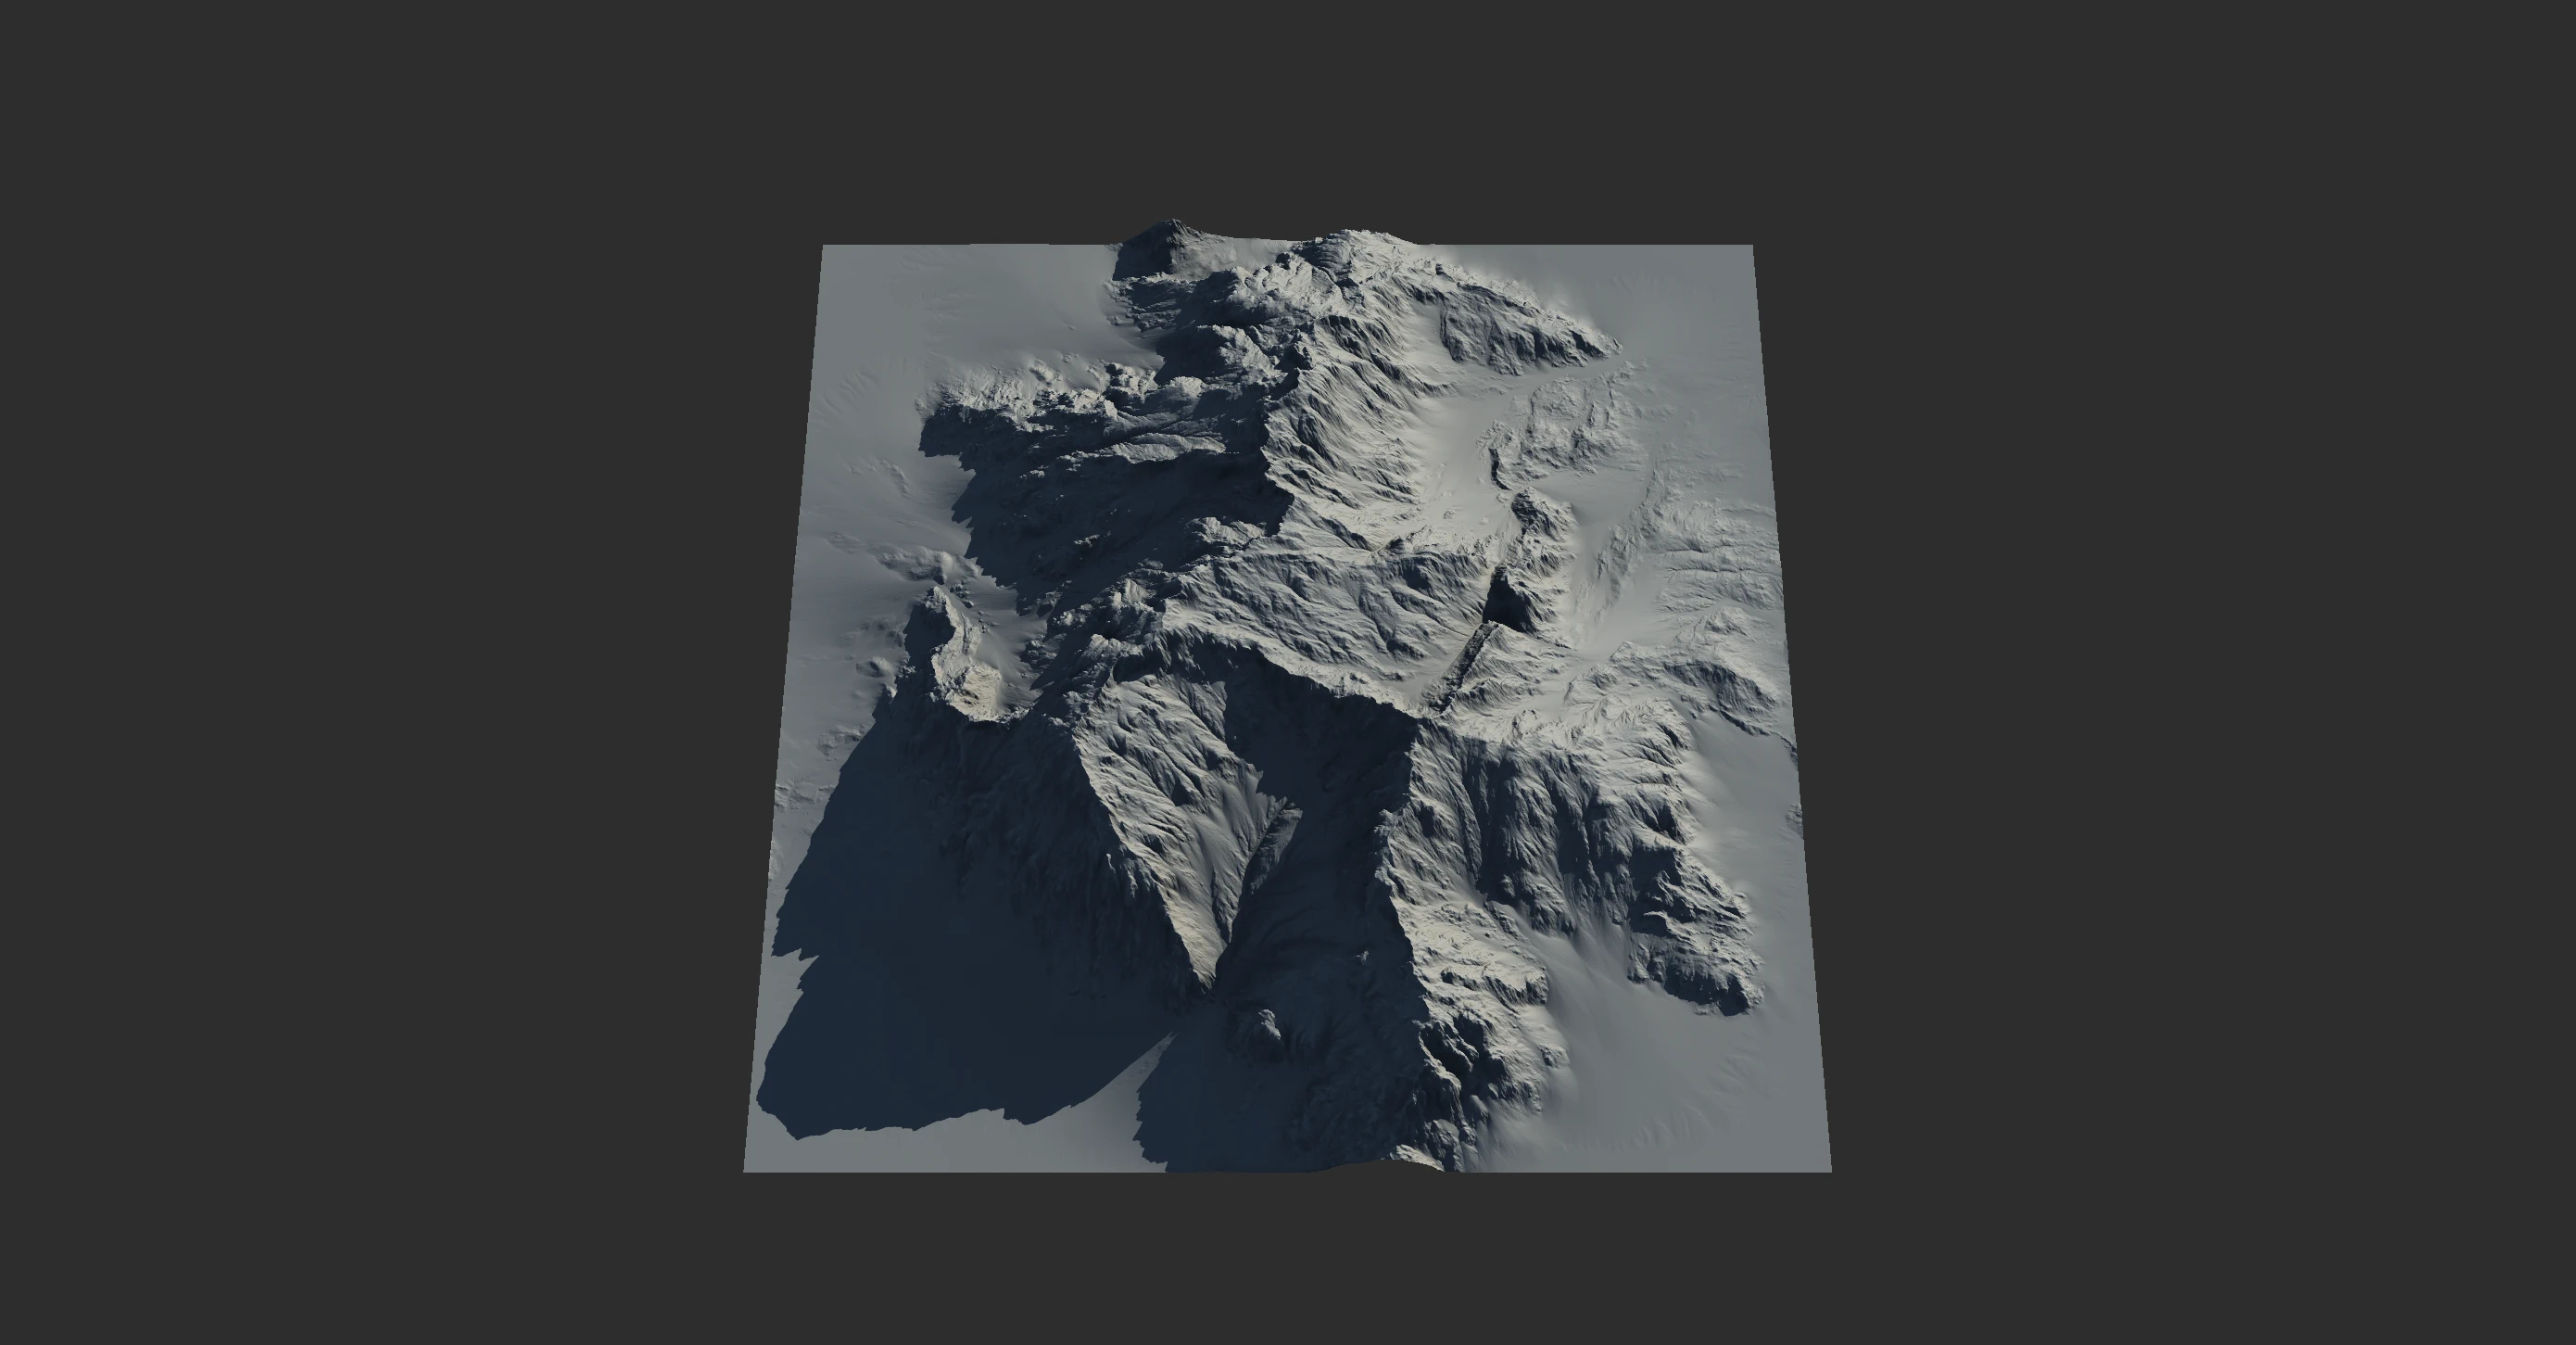
Once you have your terrain ready, it needs to be textured and colorized.
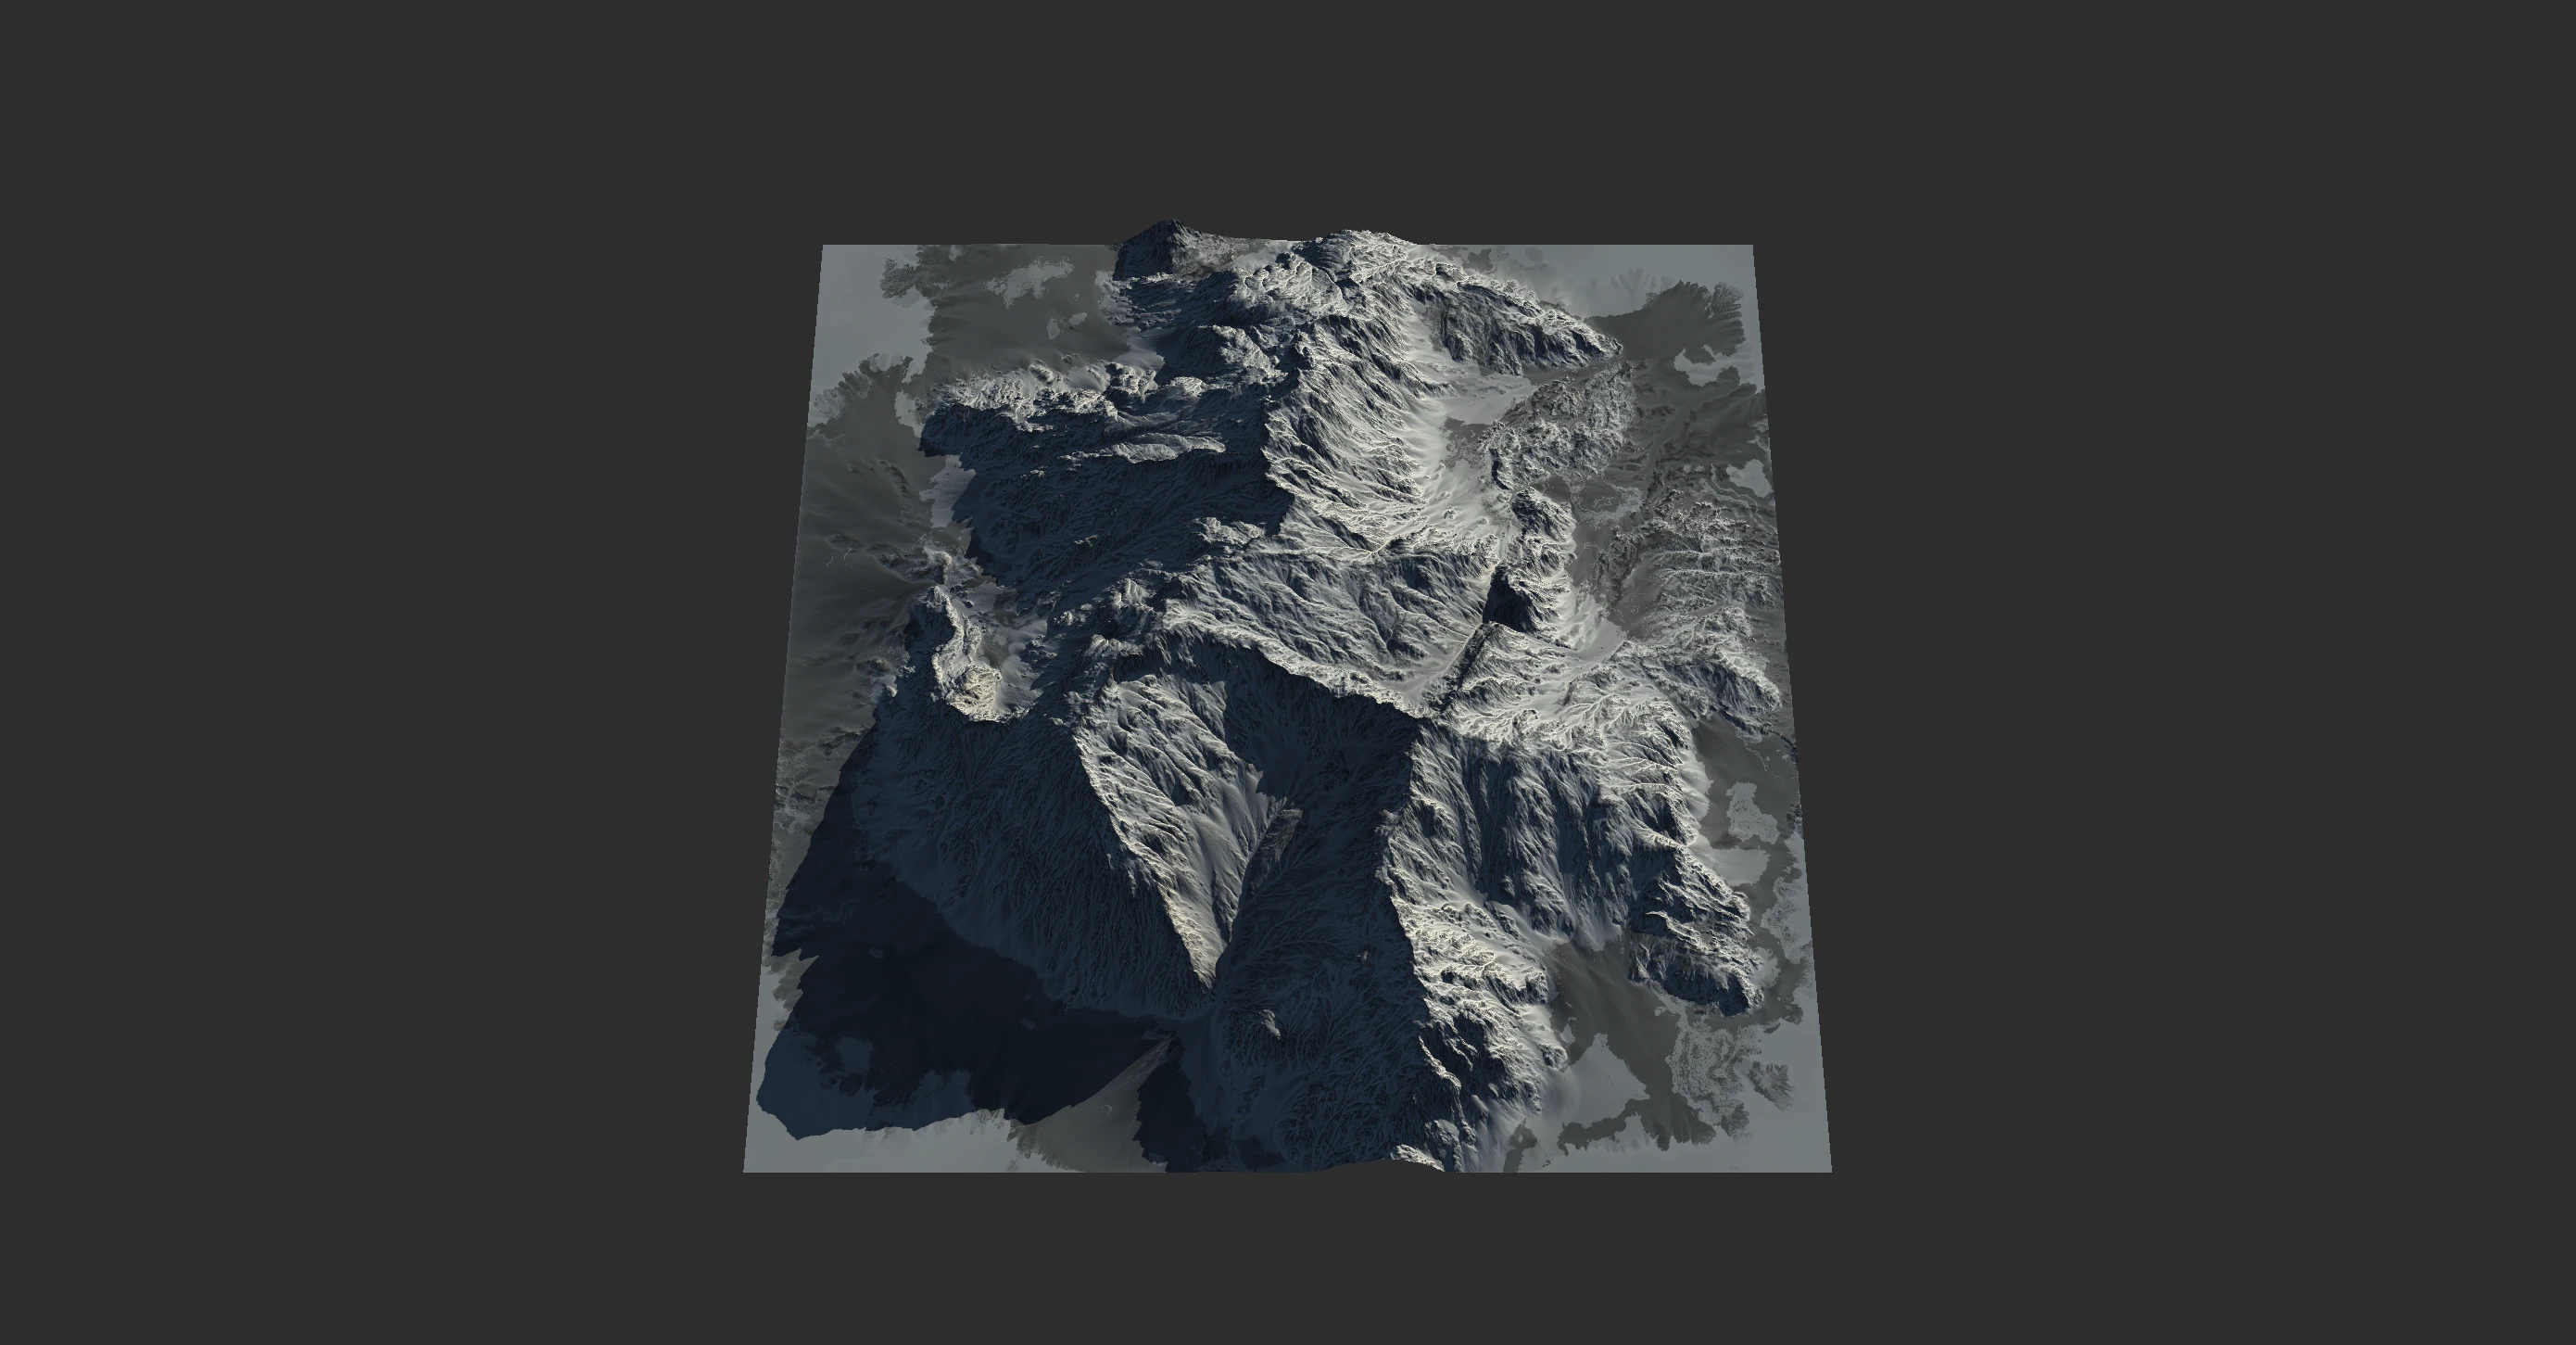
The Texture node is great way to create a sophisticated mask made from slope, soil, and other components. A mask like this is needed to colorize the terrain.
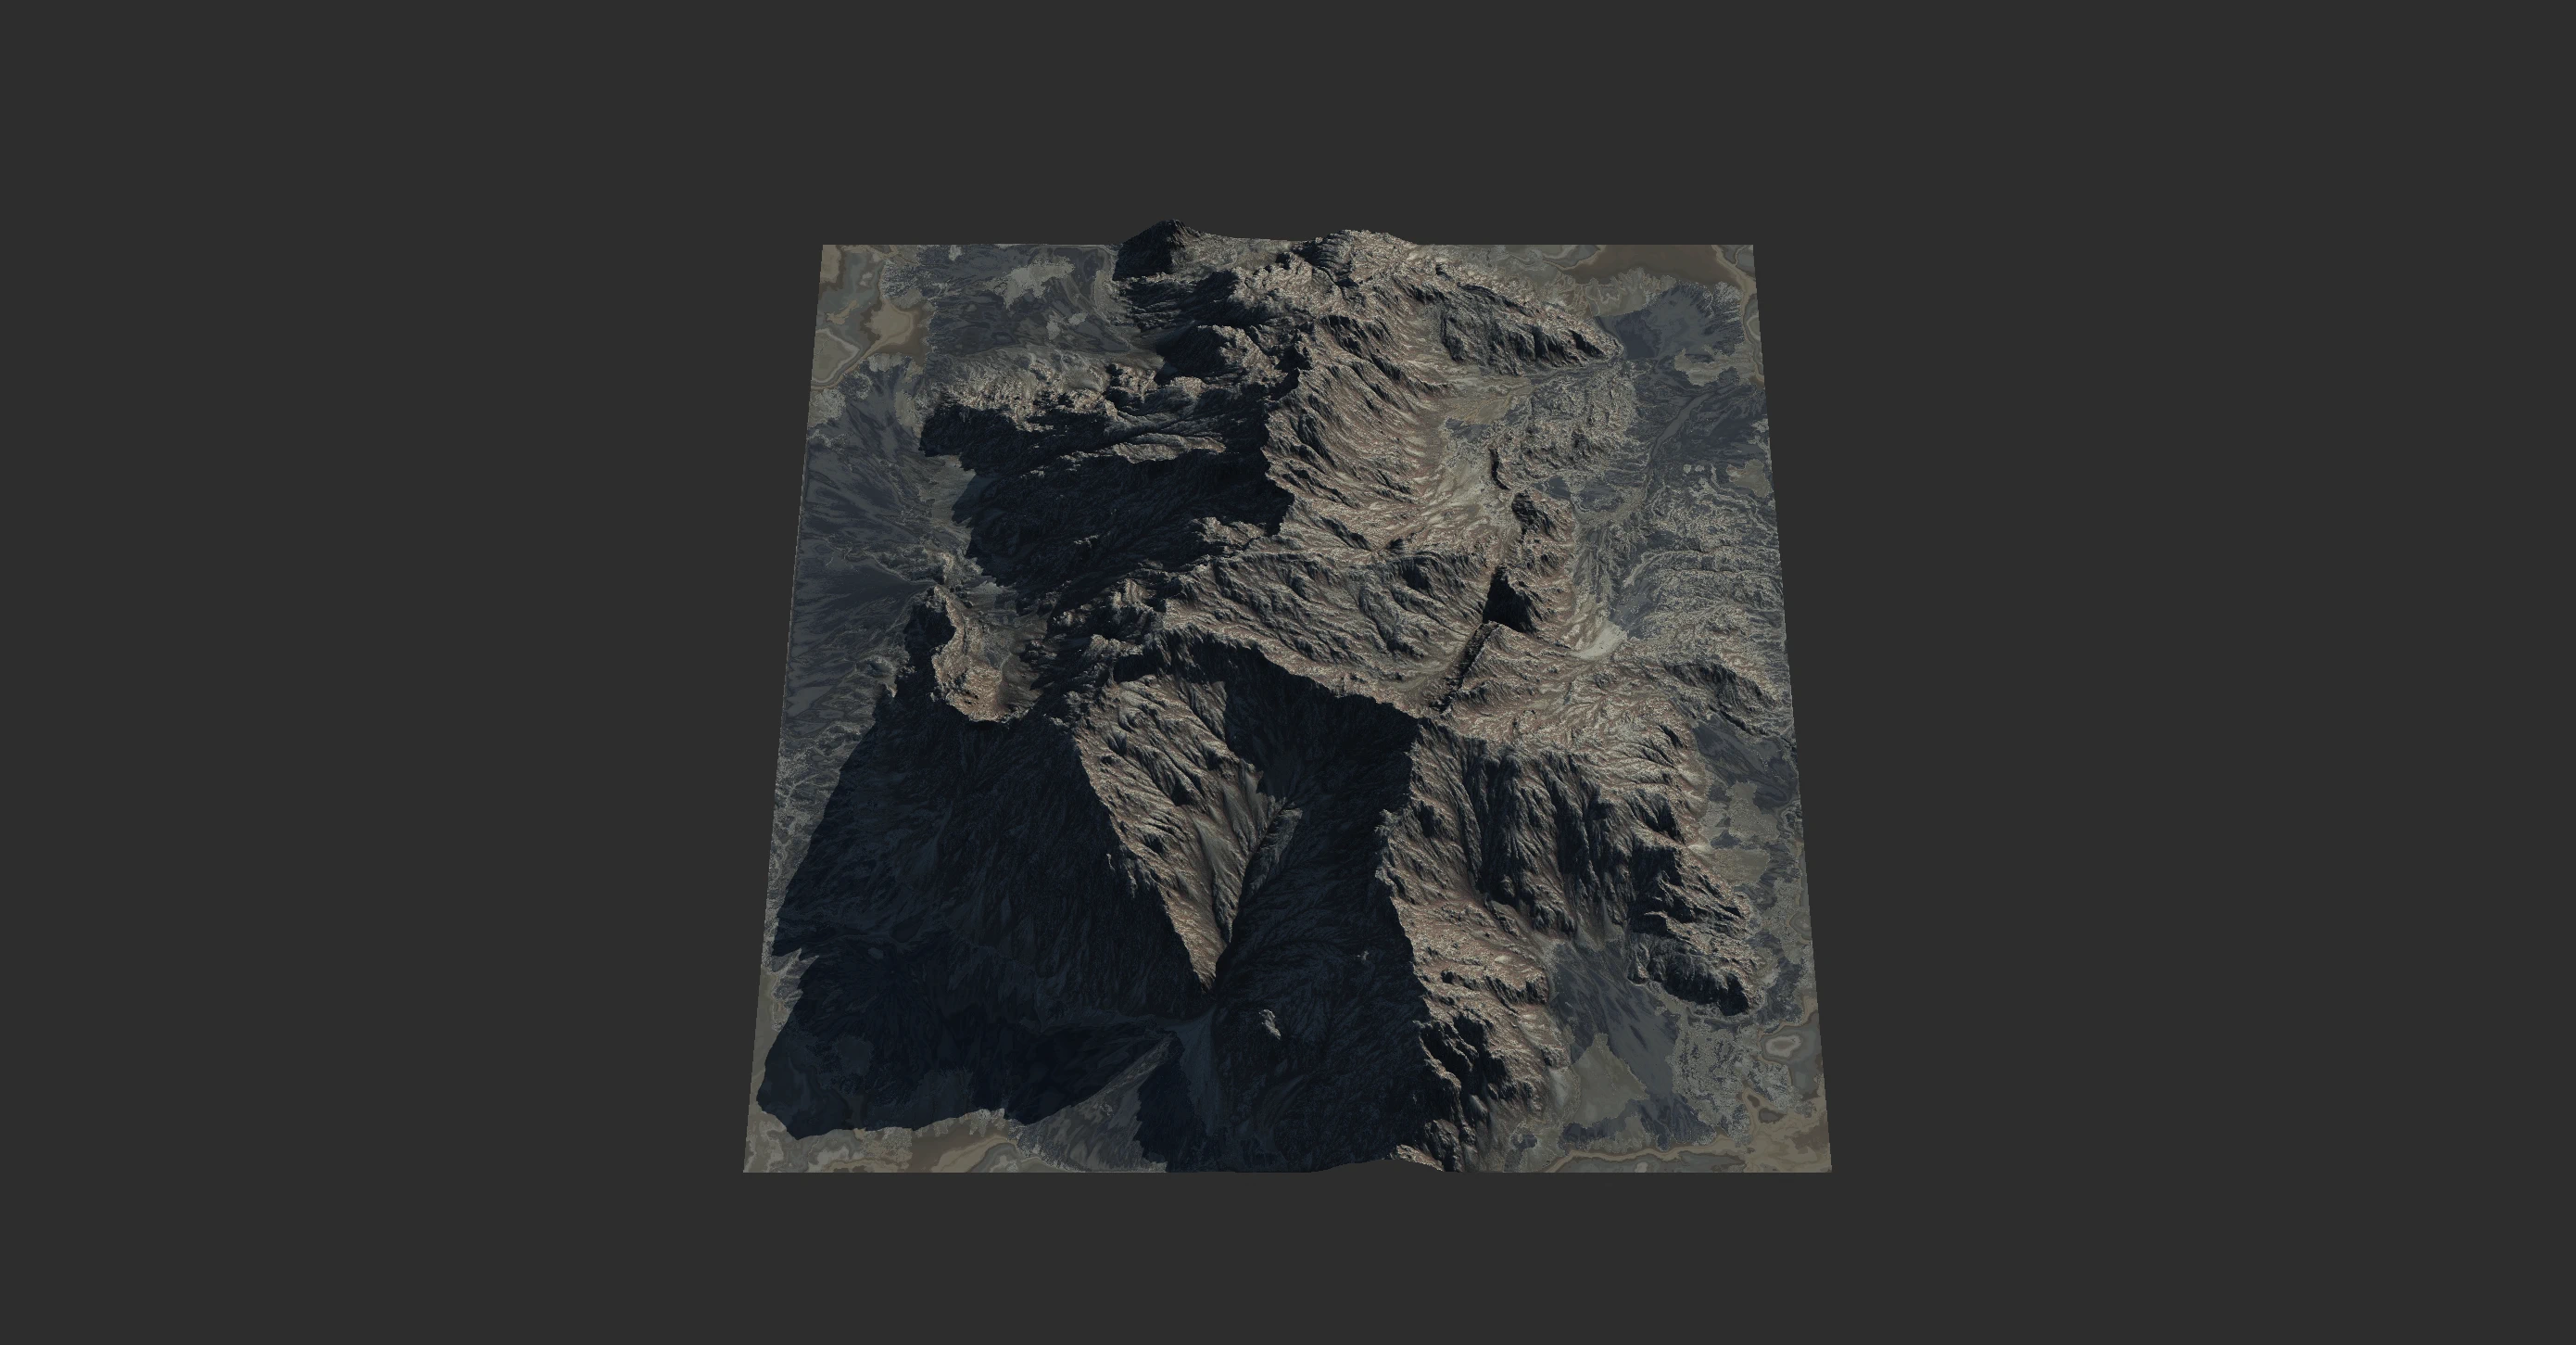
Next, use the SatMaps node to pick from over 1400 satellite color maps to flow color through the Texture mask.
Build
Now that your terrain is ready, you need to "build" the terrain to convert the graph into actual asset files such as displacement maps, meshes, and texture maps that you can take to your DCC app or game engine. See Build and Export for more details.
Next Steps
Learn More
- Read how Primitives work in the Create with Primitives section.
- Erosion has many intricacies which are crucial to learn. You can read more about it in Eroding Terrains.
- Try the Look Dev nodes. They can create entire "looks" for a terrain in a single pass. They can replace or augment erosion nodes.
- Procedural Textures goes into more detail about how to create color maps.
- Read the other pages of the Using Gaea section.
Tutorials
Try the following tutorials for a more advanced workflow.

Official Website | Discord | YouTube | Instagram | LinkedIn
This documentation is licensed under the MIT License, a very permissive open-source license.