The Gaea Interface
The Gaea interface is sreamlined and minimal. All essential tools are available within the main interface. It is split into 3 main parts: the viewport, the graph, and the properties panel.
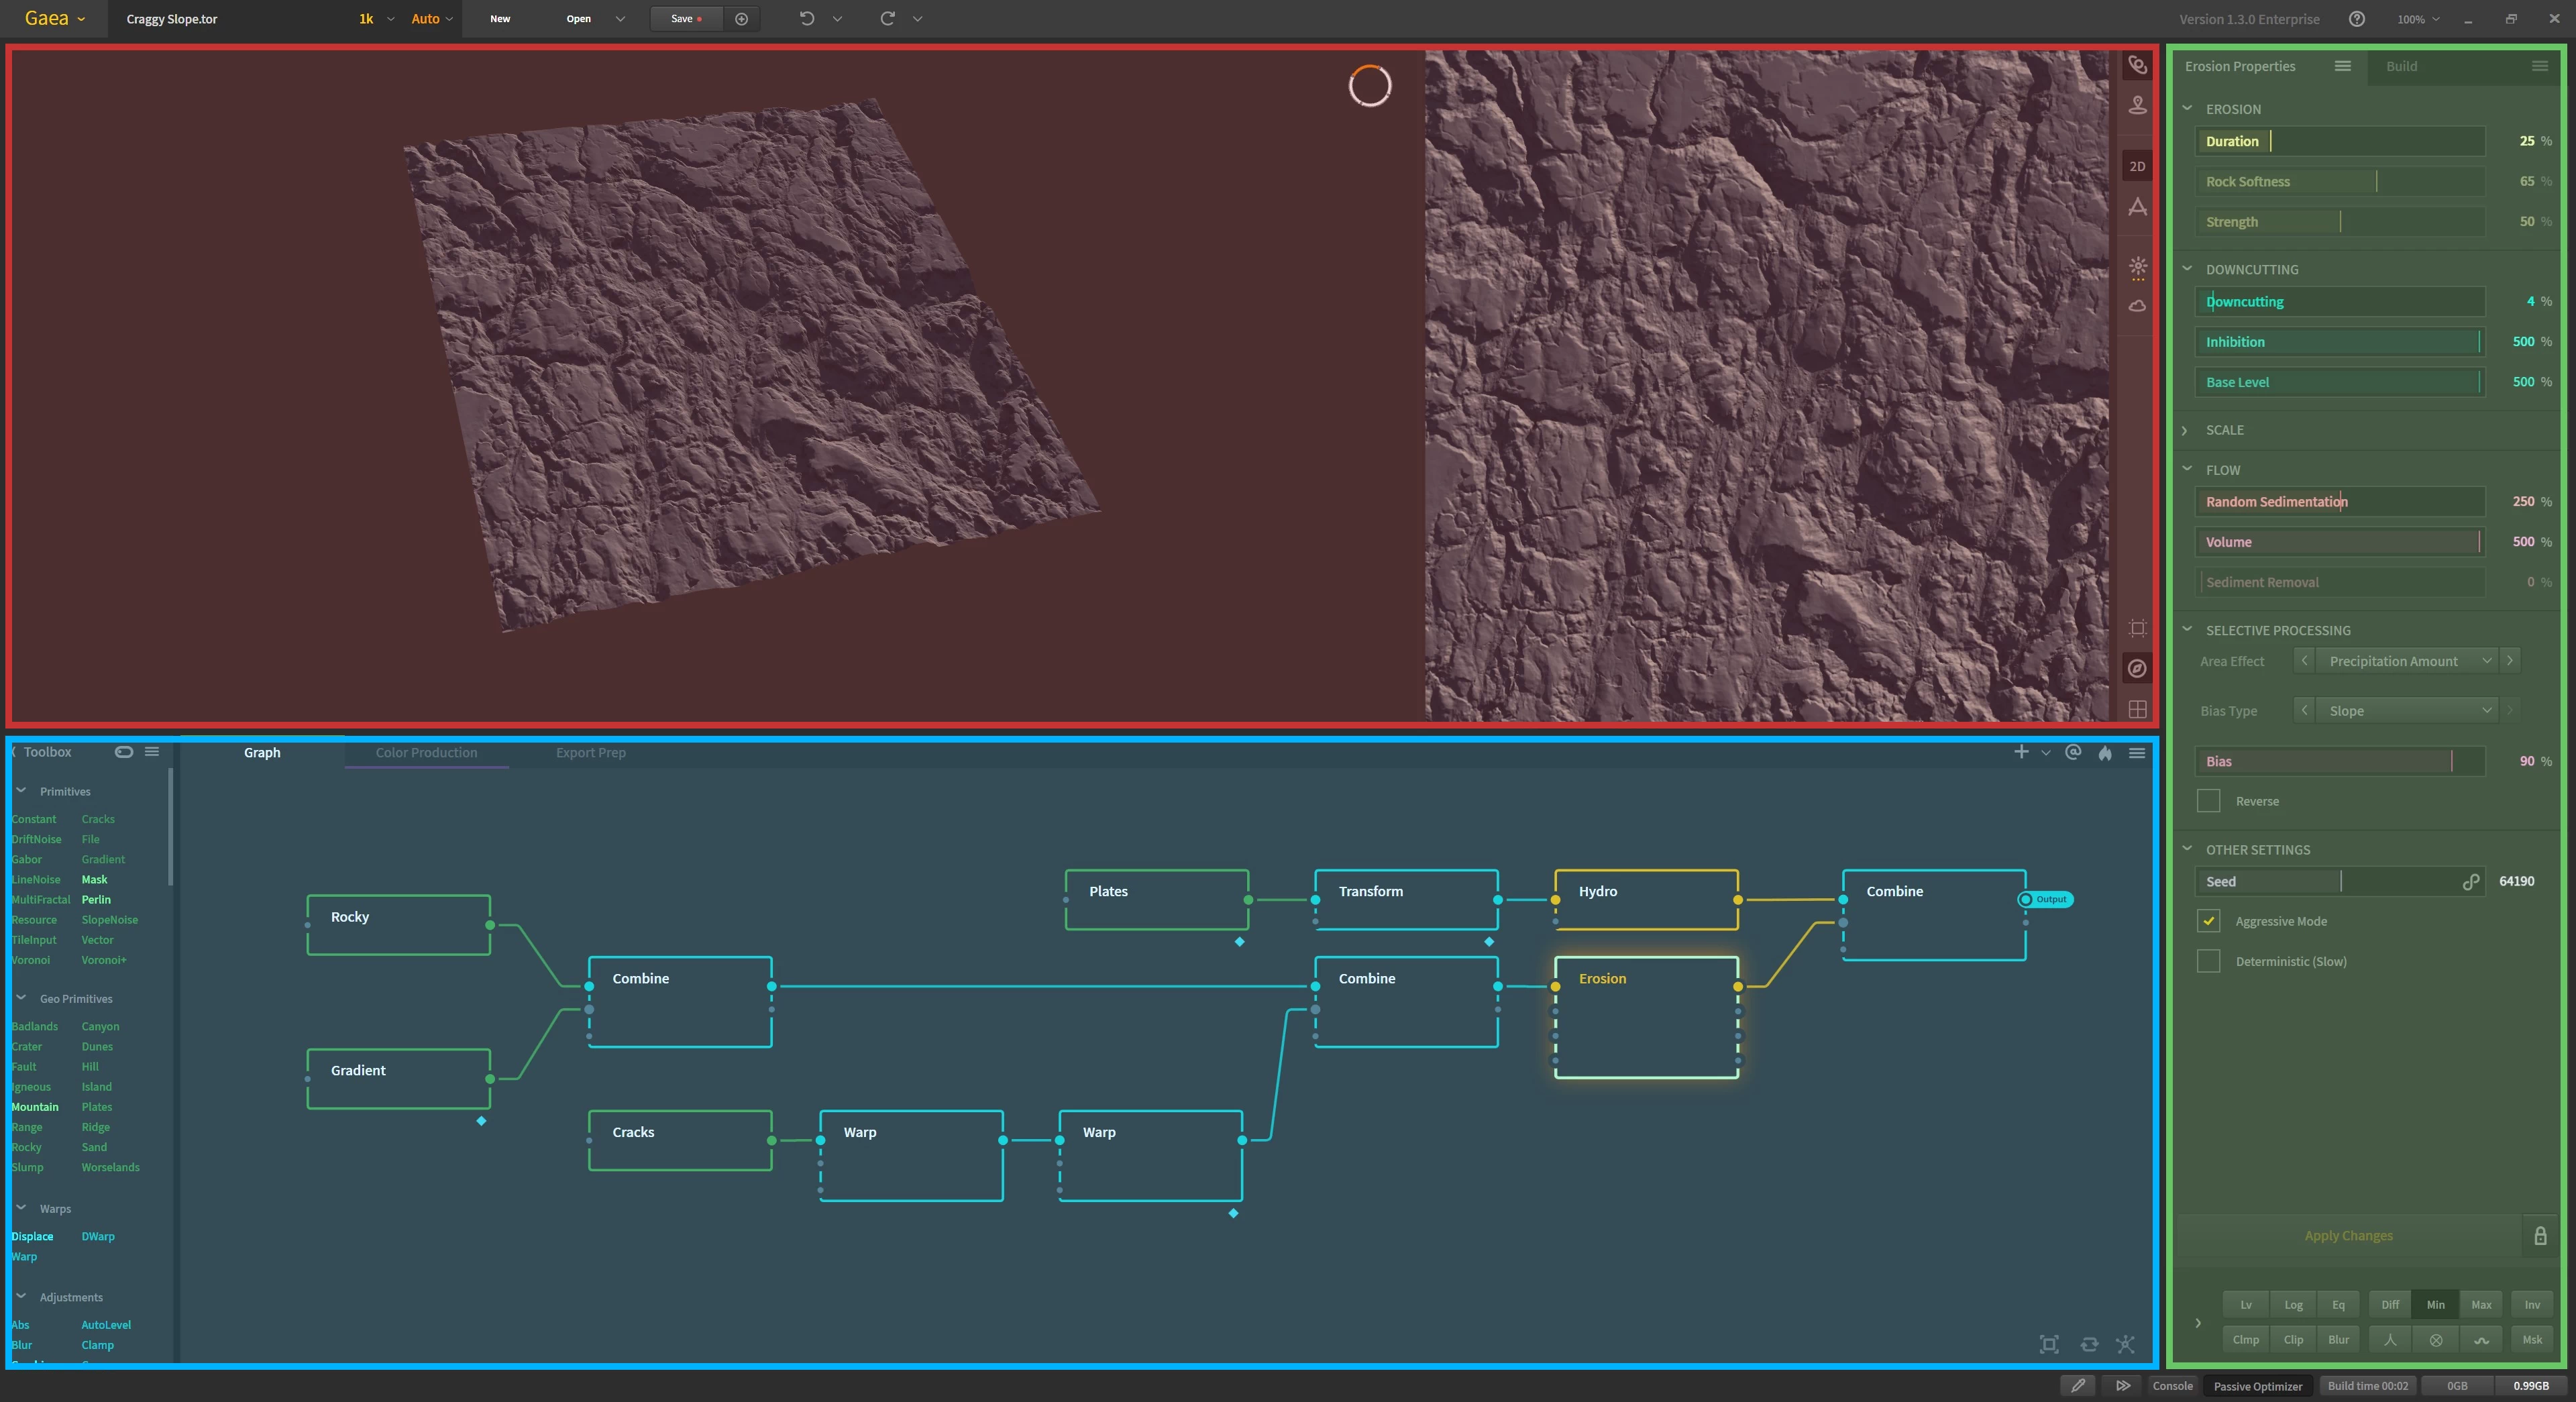
Viewport
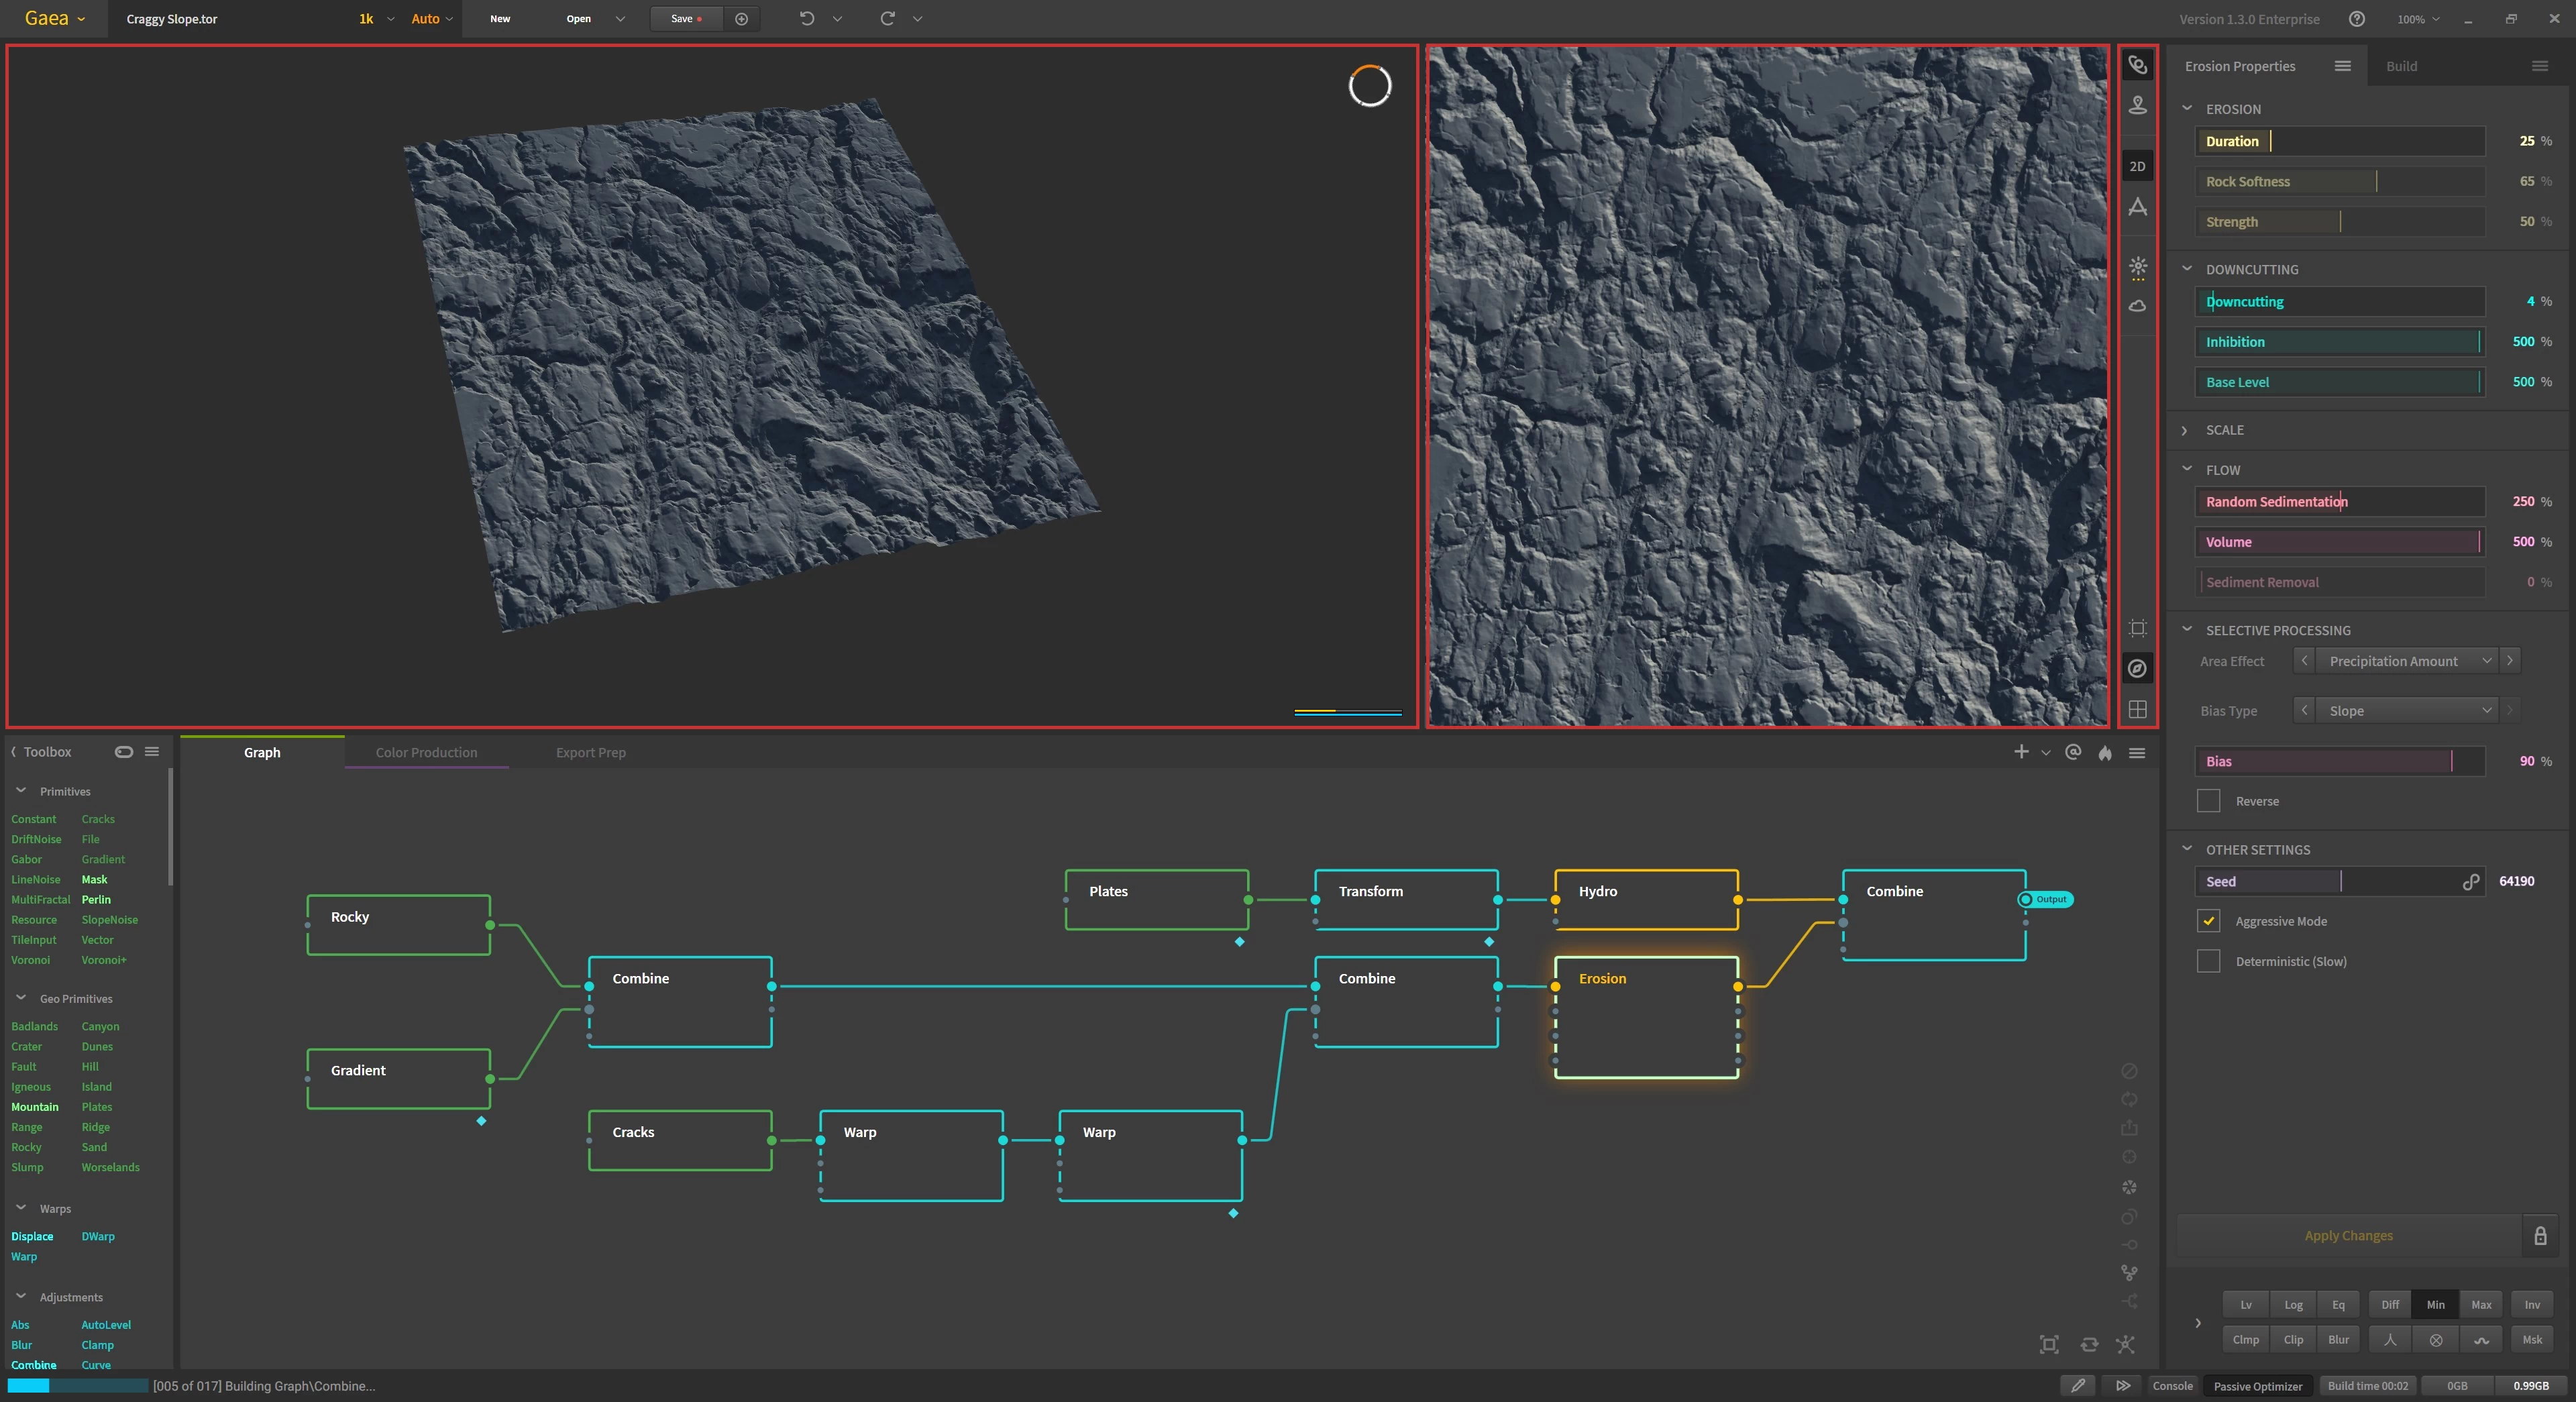
The viewports help you visualize your terrain components as you build the graph. There are 2 viewports: the 3D viewport and the 2D viewport. The 2D viewport also doubles as an editor surface when using nodes such as Island or Mask.
A viewport toolbar gives you access to all the options for both the viewports and the lighting for the terrain.
For further details, see Viewport.
Graph Surface
The Graph is the core of Gaea. This is where you take nodes from the Toolbox and implement them on the Graph surface. The Toolbox menu allows you to change the Toolbox's configuration, such as full size or expert mode.
The Graph can be split into multiple tabs, which are shown above the nodes. The tabs also share space with key graph tools on the far right such as Pinned nodes, the Baking menu, and more.
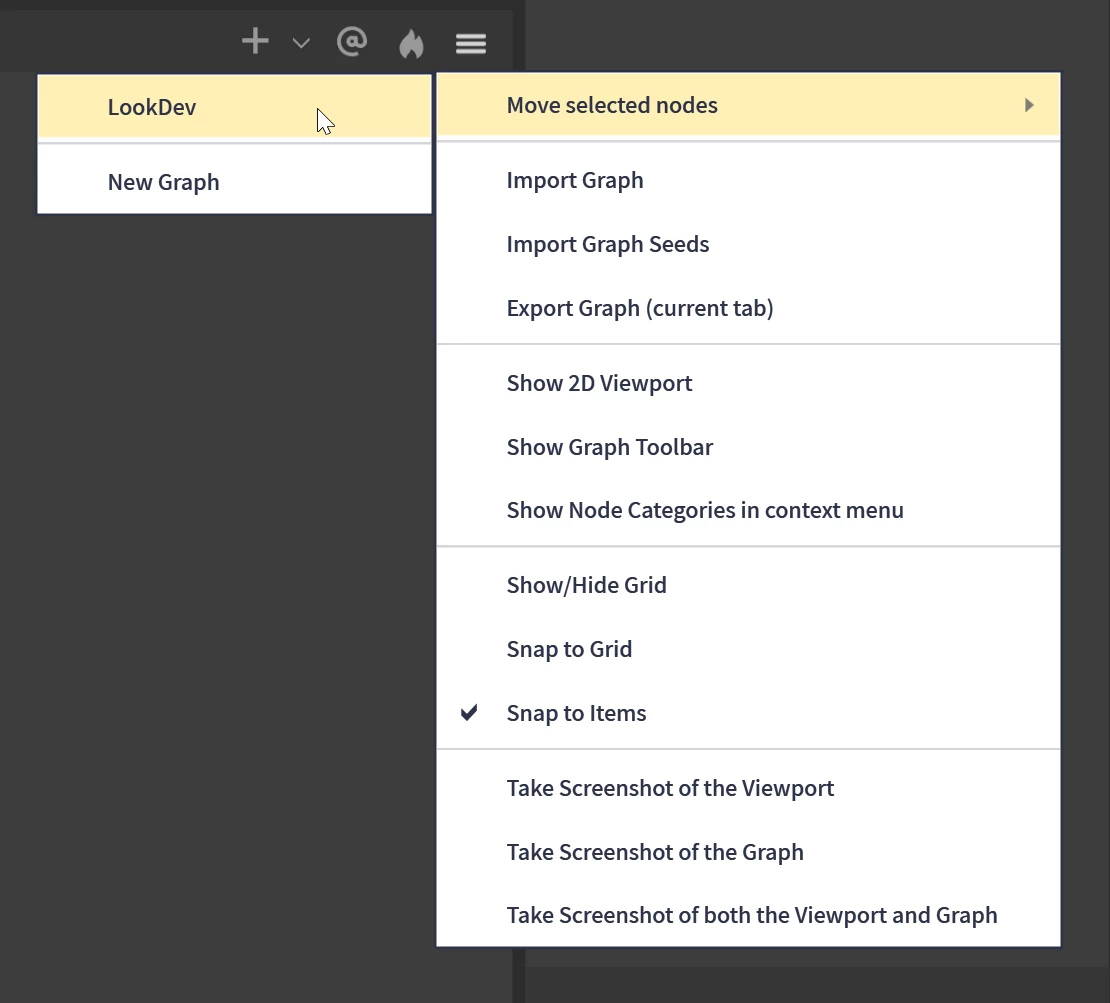
The corner menu in the graph gives you additional options to move nodes between graphs,
For further details, see Infinity Graph.
Properties Panel
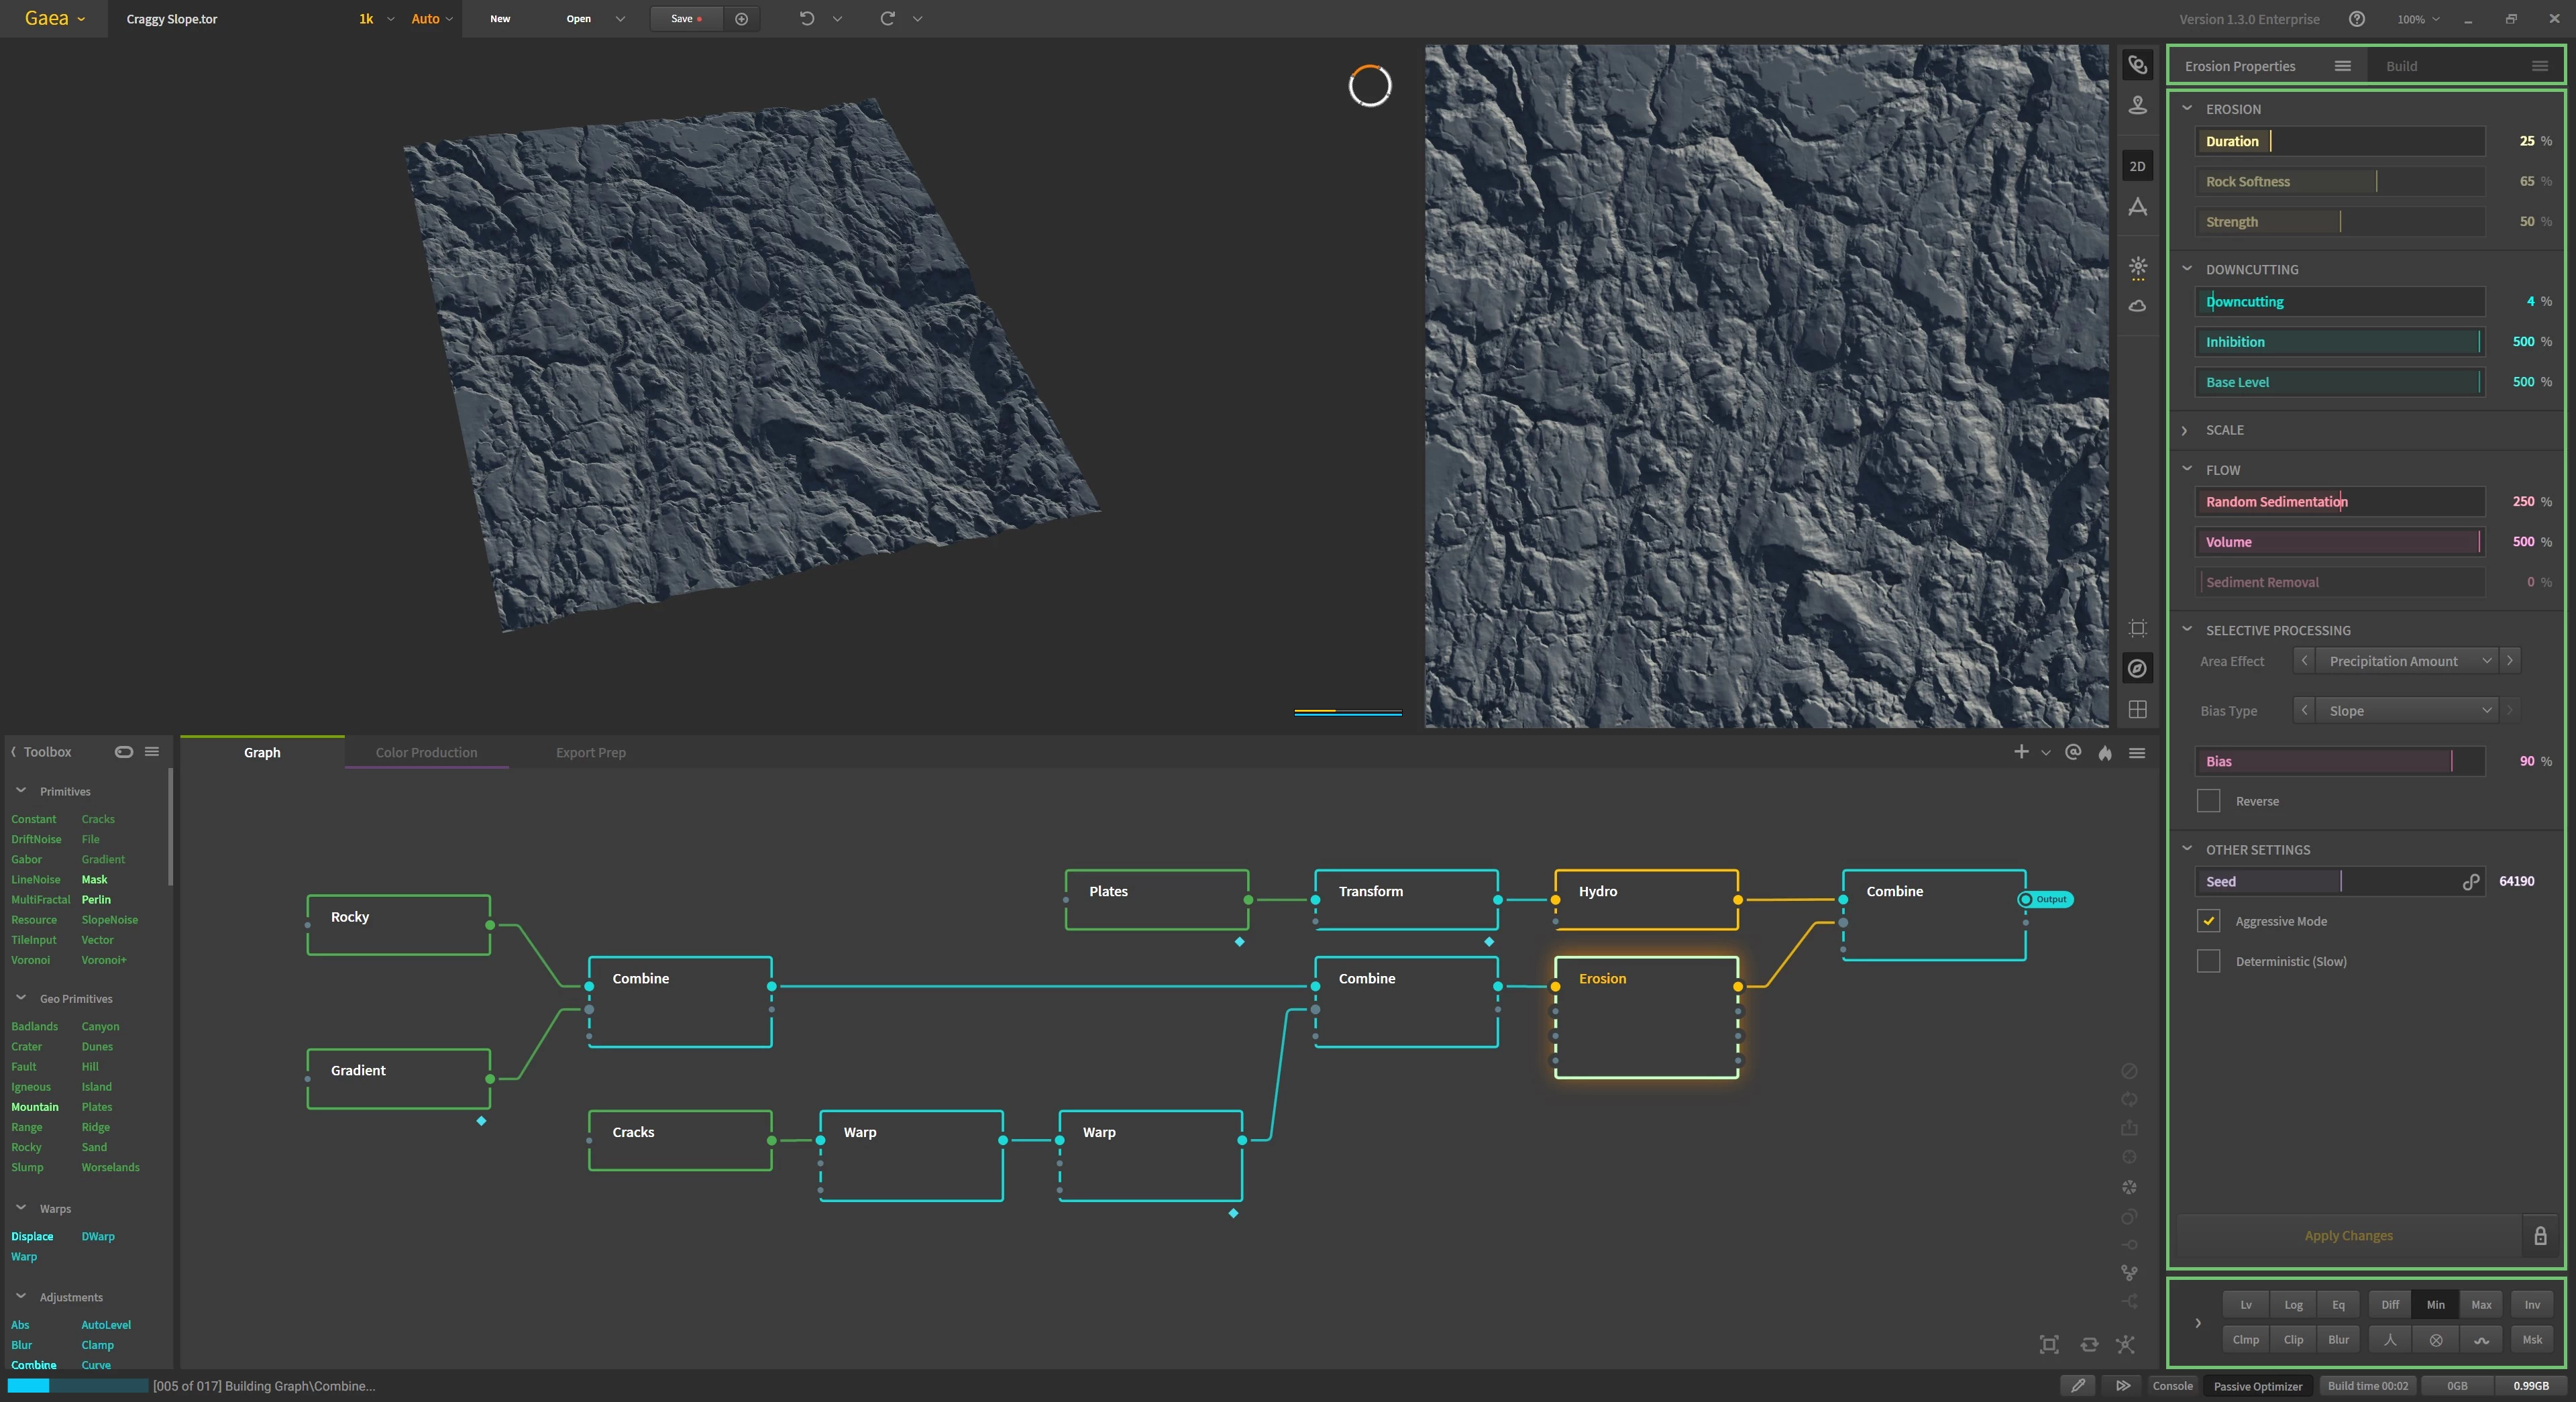
The Properties panel lets you modify the nodes on the Graph surface. When you select a node, the properties for it will be visible here.
The Post Process Stack is available at the bottom of the Properties panel. These adjustment options can help you skip the need to create additional nodes.
Between these is the Apply / Lock button. If a node takes a long time to process and has been marked as "Heavy", or you have toggled Auto Apply, changes to the node properties are not applied until you click Apply.
For further details, see Properties.
This are also lets you switch to the Build tab which houses the Build Manager. For further information, see Build Manager.
Below the Build Manager controls is the Terrain Definition. This is where you can control the arbitrary scale of your terrain. For further information, see Terrain Scale.
Toolbars
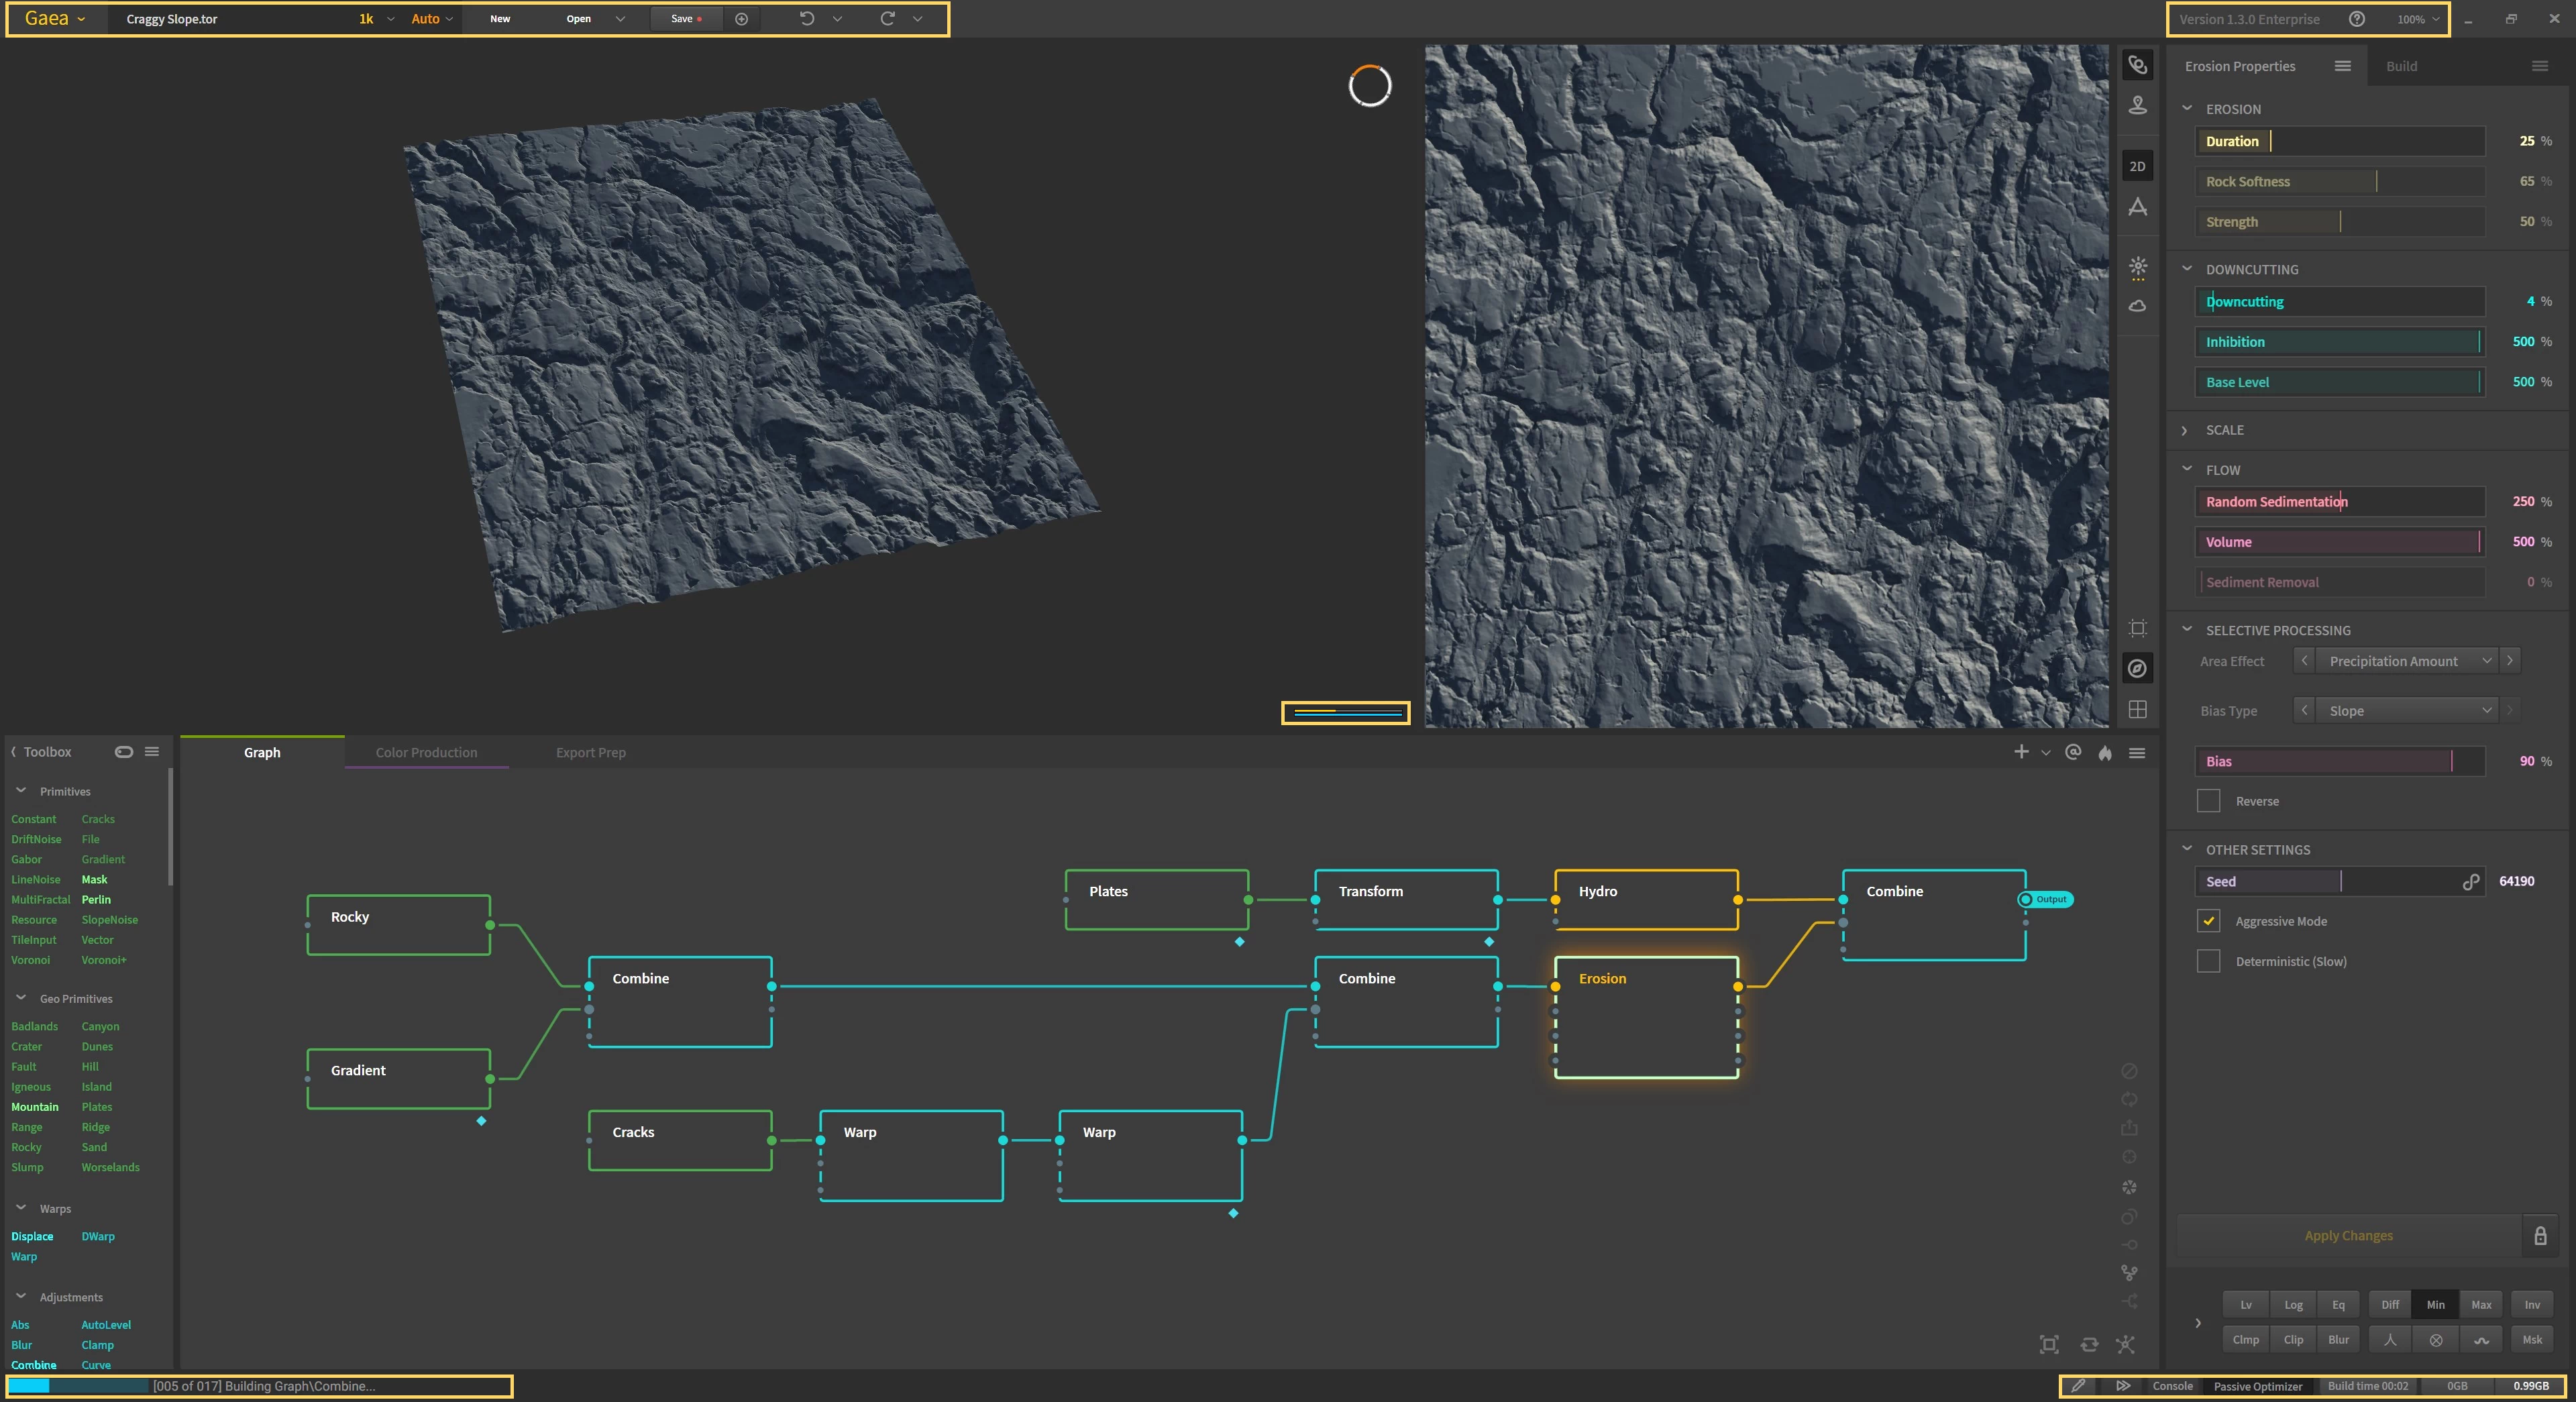
Beyond the graph and viewport toolbars, there are other toolbars across the interface.
At the top, the main toolbar is shared with the title bar to give you maximum workspace area. It gives you access to key file commands and lets you change the resolution and quality of the viewport. The main menu is accessed by clicking the "Gaea" title.
On the far right, you can change the scale of the UI. You can also see the version and edition of Gaea you are using.
In the bottom right corner of the interface, there are a few advanced options for caching and memory optimization. For further details, see Baking and Caching.

Official Website | Discord | YouTube | Instagram | LinkedIn
This documentation is licensed under the MIT License, a very permissive open-source license.