Every node exposes a set of properties or settings that you can modify to influence the effect that node has on the terrain. When you select a node, the settings become available in the Properties panel in the right side of the interface.
When you change a property, the effect is immediately applied and made visible in the viewport - except when dealing with Heavy Nodes (see below). Most nodes have a limited type of properties:
- Integer: such as
1,2,3,4, etc. They usually define quantity or a finite value, like angle. - Decimals: such as
0.1,0.256,0.4885, etc. They usually define the strength or amount of a certain setting. In most cases, small changes can be quite powerful. - Toggle: They usually allow you to turn a feature on or off.
- Choices: These take the form of a dropdown where you can select one of many options.
- Color: They allow you to choose a color for the color production nodes.
- File: They allow you to choose a file from your computer.
Sliders with unmodified (default) values are shown with slightly muted colors. This can be controlled through Preferences.
Some nodes may have special controls specific to them.
One of the easiest ways to learn about a node's properties is to experiment, changing them to different values across the range to see the effect they have.
If a setting says something like "Iteration", "Strength", "Cycles", or "Amount", be cautious. High values may take longer to process.
Modifying Values
For properties that allow numeric entry (Integer or Decimals), you can right-click the property and enter a number. For values shown as percentages, you can enter a value in meters and Gaea will convert it to the appropriate percentage or decimal value proportionate to the metric value in relation to the Terrain Definition set in the Build tab. See Terrain Scale for more information on this topic.
Microincrements
The Microincrements panel is available when you right-click an Integer or Decimals property. With the Microincrements panel, you can achieve much higher precision in entering values.
| Command | Description |
|---|---|
| Halve | Halves the current value. |
| Double | Doubles the current value. |
| Minimum | Uses the lowest allowed value. |
| Decrease Large | Decreases by a large value. (ex: 10 in 100%) |
| Decrease Small | Decreases by a small value. (ex: 1 in 100%) |
| Reset | Resets to the original / default value. |
| Increase Large | Increases by a large value. (ex: 10 in 100%) |
| Increase Small | Increases by a small value. (ex: 1 in 100%) |
| Maximum | Uses the highest allowed value. |
Seed Reset
Seed Reset is a minor enhancement in the Microincrements UI. It sets the “Default” seed value to whatever the random value is when the node is created. So if you play around for a while and want to go back to the original seed, you can simply reset the Seed.
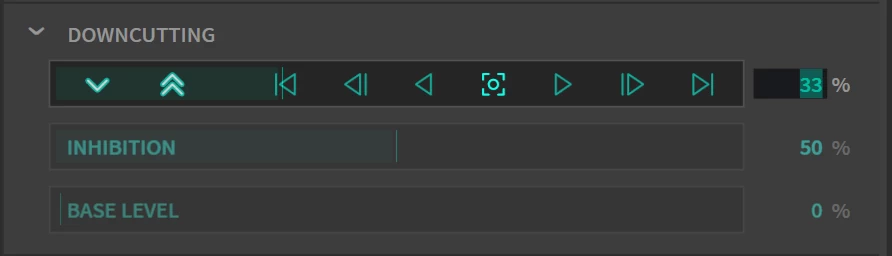
Flux Markers
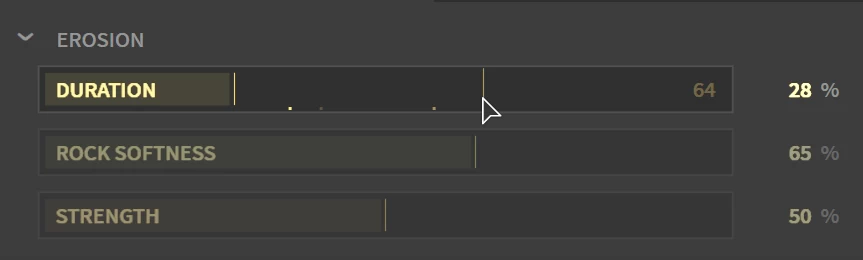
Flux markers are small dots that represent previous values. They appear when you hover over the slider.
When you move the slider, the last 3 positions are marked with little dots in decreasing opacity levels. These handy little guides can be helpful when exploring settings. They reset every time you unselect that node.
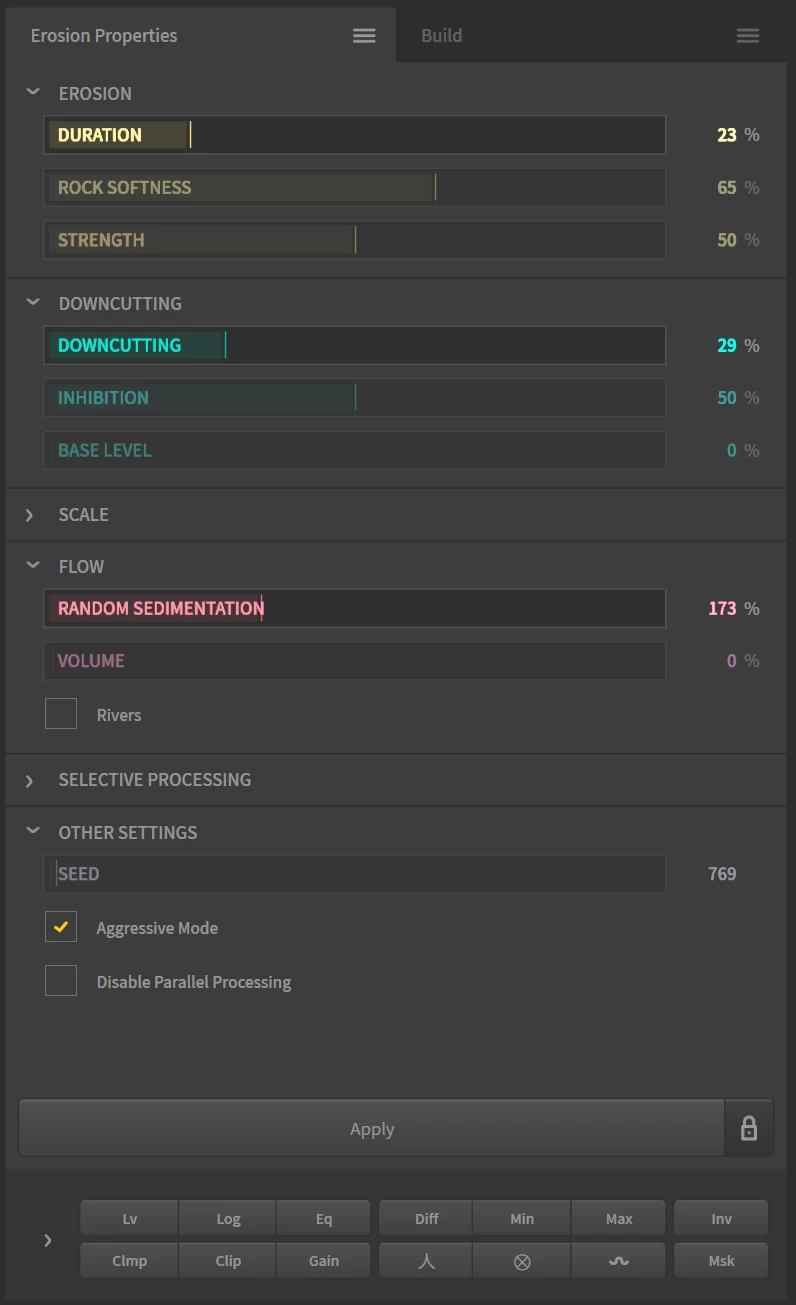
Heavy Nodes
We have classified some nodes, such as Erosion, Fluvial, etc., as "Heavy" Nodes — meaning, they can take a long time to process and sometimes cannot be cancelled mid-process. Updating multiple settings on such a node can slow down or even freeze up the application.
When you modify a Heavy Node, it will not update automatically. It will instead show an Apply button, which you can click when you have made your changes. If you move away from the node, or select another node, changes will be applied automatically, so you won't lose any modifications.
The Apply button has an Auto Apply toggle button next to it. When you turn on Auto Apply, that particular node will update automatically.
Alternatively, you can toggle the Auto Apply for any node via the properties menu. If a node is heavy to process, even though it is not marked as such, you can toggle off the Auto Apply. Or if a Heavy Node is performing quickly for you, then you can toggle on the Auto Apply.
Additional Information
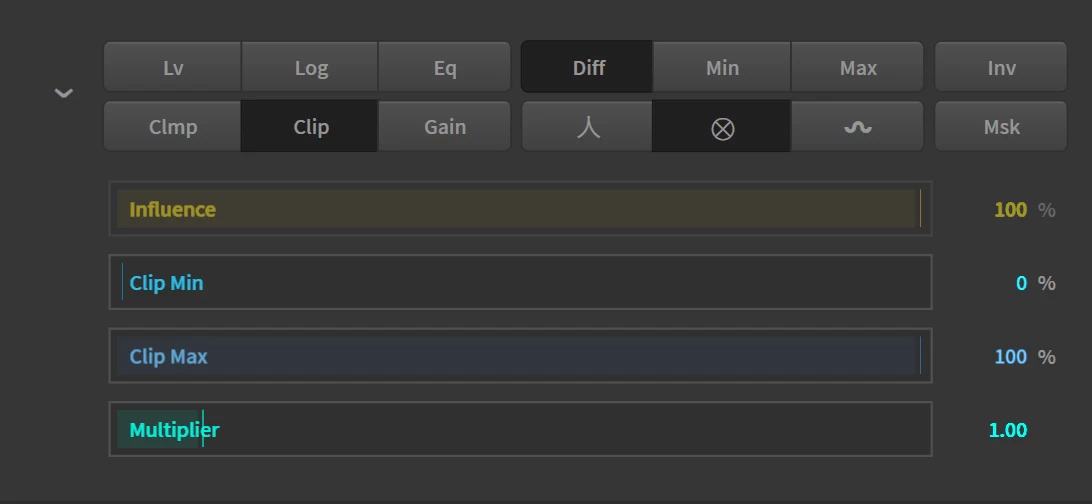
Post Processing
The Post Process options sit right under the Properties and provide quick access to common functions. See Post Process Stack.
Properties Menu
The node Properties menu provides access to additional functionality.
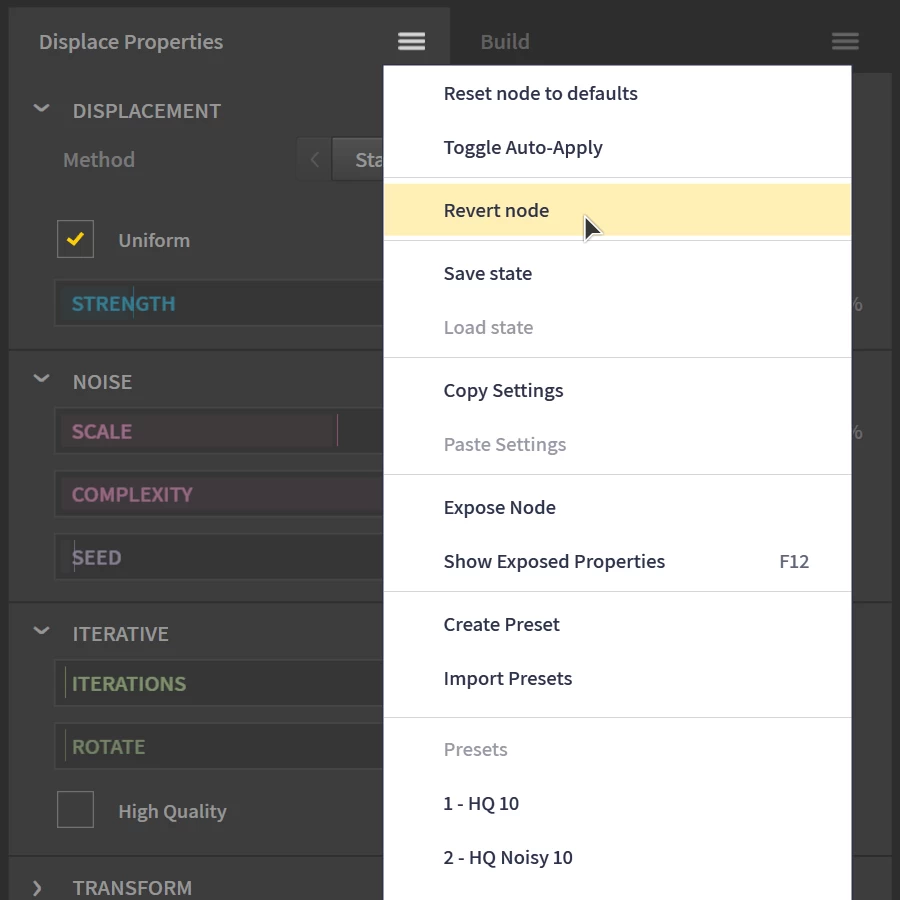
| Command | Description |
|---|---|
Reset node (Ctrl + R) | Resets all properties in the node to their default. |
| Upgrade node | Upgrades a node that uses an old processing version. See File Recovery and Autosave. |
| Toggle Auto-Apply | Toggles automatic reprocessing of the node when values are updated. See the Heavy Nodes section above. |
| Revert Node | Reverts the values back to the state they were when you selected the node. This "state" resets every time you go away from the node. It is helpful to undo any accidental or experimental changes you may have made to the node after coming back to it from another node. |
| Save/Load State | Saves the state of the node to be recalled later using the Load command. This is preserved in the session only and resets when you close Gaea or go to a different file. |
| Copy/Paste Settings | Copies and pastes settings to and from nodes of the same type. |
| Expose Node | Exposes properties of the node for automation. See Automating Gaea. |
| Show Exposed Properties | Shows a unified properties panel with exposed properties across all nodes. This is useful while working with exposed properties for Automating Gaea. |
| Create Preset | Saves current settings as a preset file. |
| Import Presets | Imports presets for this node from file. |
| Presets | Applies any existing presets for this node. |

Official Website | Discord | YouTube | Instagram | LinkedIn
This documentation is licensed under the MIT License, a very permissive open-source license.