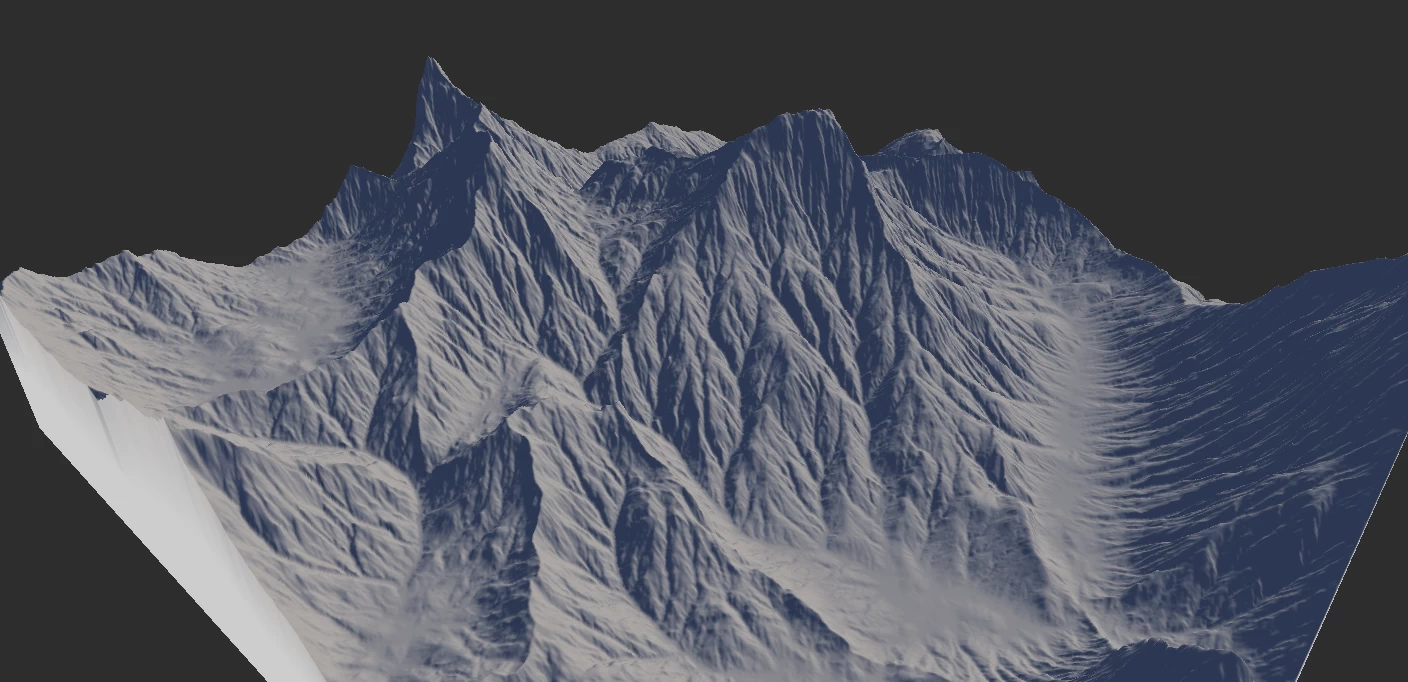
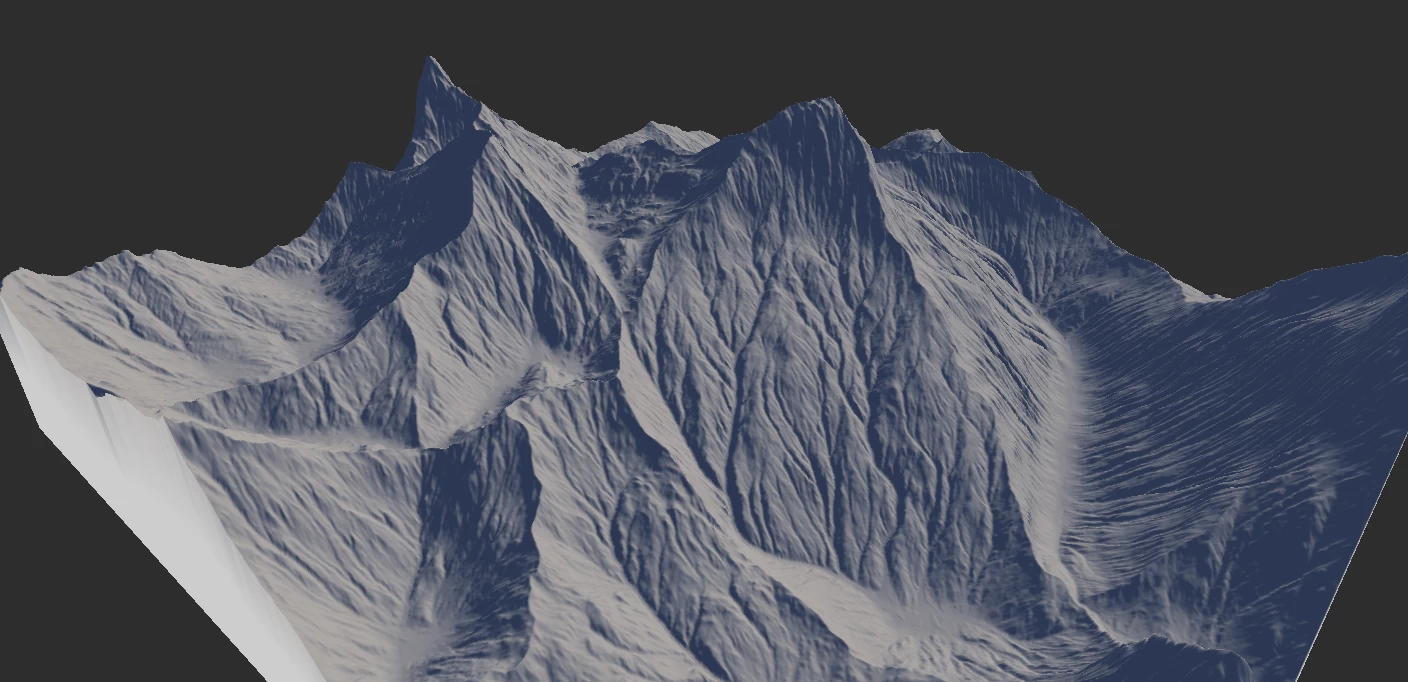
Erosion is the cornerstone of all terrains. It simulates hydraulic erosion on the terrain to turn any shape into a realistic looking terrain.
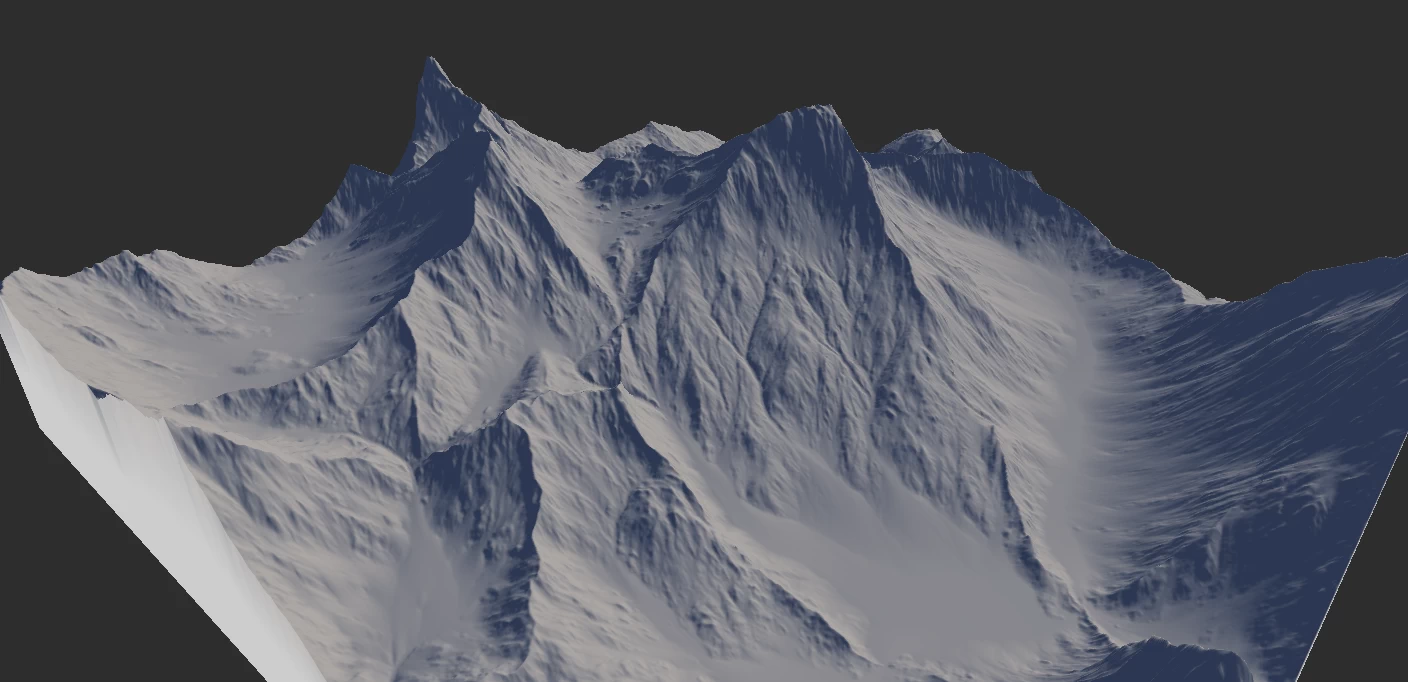
It provides sophisticated erosion with a very easy to use interface. The Erosion node provides control over the scale, where you can choose the size of the largest erosion feature, as well as the overall scale of the terrain.
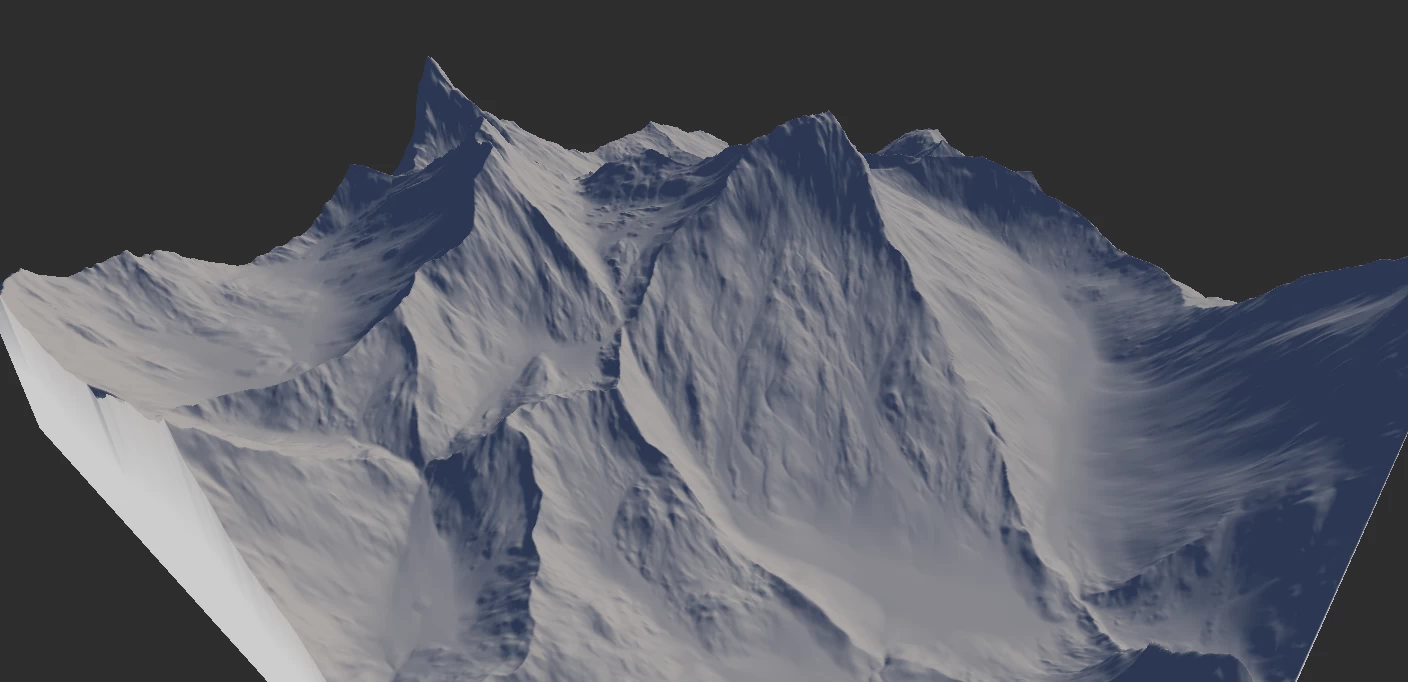
The Erosion node's algorithm addresses one of the biggest problems in digital erosion: it preserves features across different resolutions. This means that a 512 x 512 preview build will maintain essential parity for all major erosion features with a high resolution 4K or 8K build. You no longer need to guess the output type.
The algorithm also creates exquisite flows with naturalistic curves, never before been seen in digital erosion.
Using Erosion
Strength and Rock Softness
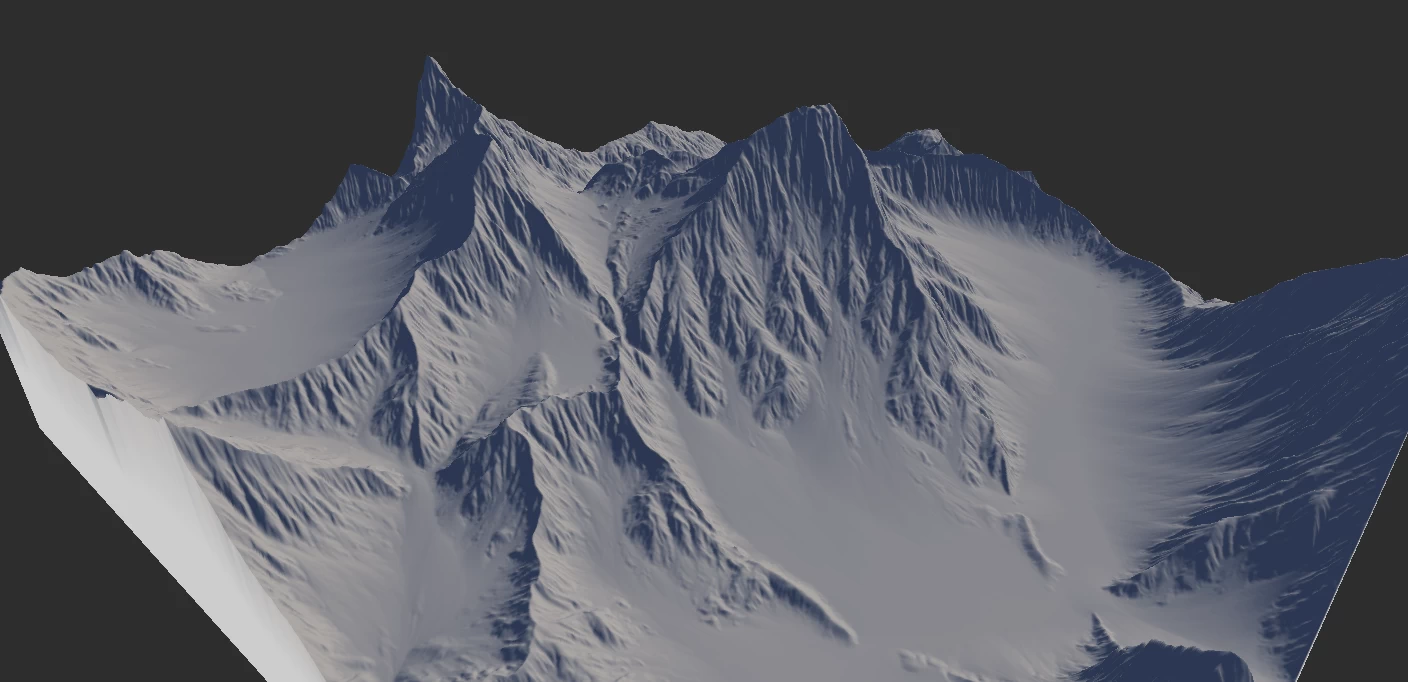
Both Strength and Rock Softness parameters affect the aggressiveness of erosion, and effect from increasing of one can be similar to the effect of increasing other, but there is still the difference, derived from the definition of these parameters.
Lesser strength means dissolved soil will be dropped earlier because of lower water transport capacity, and lesser softness means that the rock will be eroded slower but dissolved sediment will be dropped farther. This results in different distribution of deposits, gullies, and shapes of erosion features.
Downcutting
Downcutting effectively transports sediment far away from its origin. If shorter transport distance is desired, for example, for faster alternating between erosion/deposition, set this parameter to 0.0, or set Inhibition to higher values.
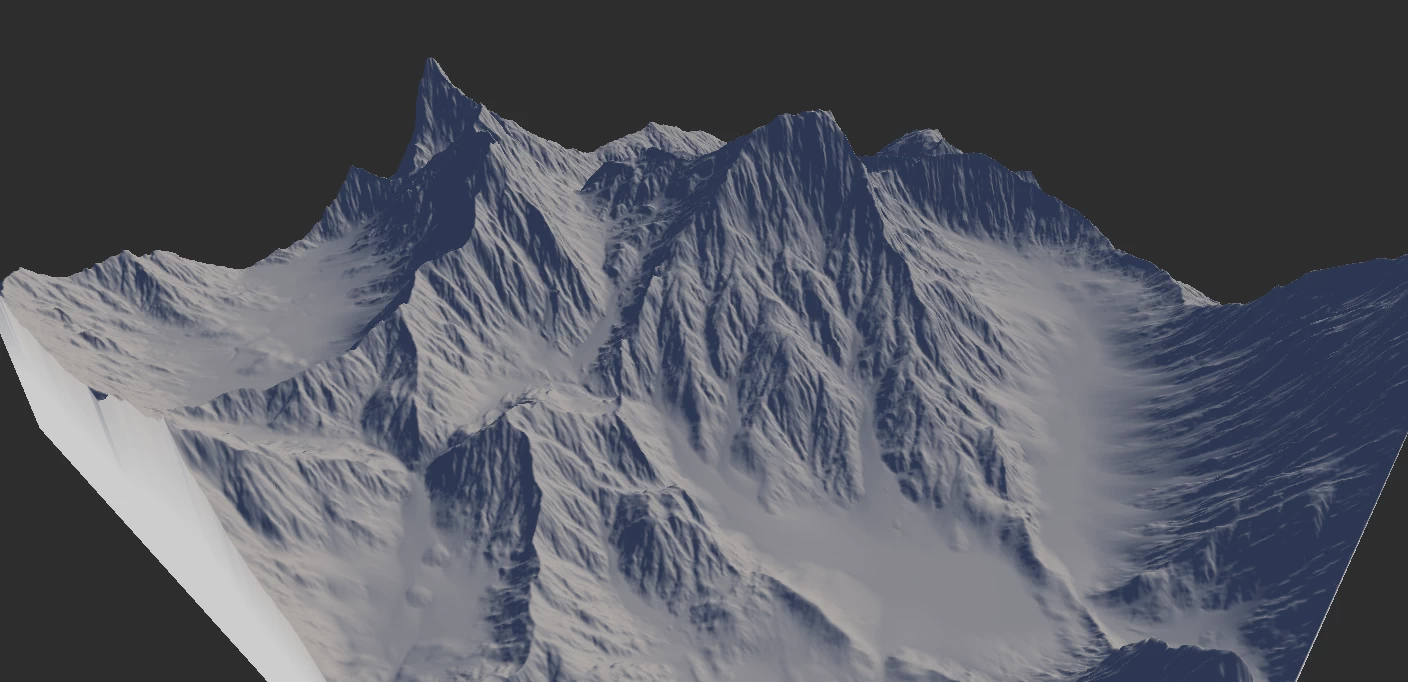
Scale and Feature Size
The size of the "features" created during the erosion process - namely the width of largest valleys and ridges between them - is controlled by the Feature Scale option is where you can achieve artistic control over the erosion process.
The Real Scale option automatically controls the general scale (the extents of the terrain and the vertical scale), using the scale set in the Terrain Definition. Although it can be turned off to manually change the 'physics' of the erosion system, although it is not recommended for most scenarios.
When using Parallel Processing, the erosion algorithm can become non-deterministic. This means while most of the major flows will appear in the same location, smaller features may appear somewhat different every time the node is processed. To ensure fully deterministic processing, disable Parallel Processing. This will sacrifice processing speed to ensure your results are consistent.
Sediment Removal
The new Sediment Removal feature lets you remove sediment deposits generated by the erosion process. By default, the property applies uniformly across the entire terrain, but it can be driven by a heightfield or mask.
Selective Processing
Selective Processing is one of the most powerful tools available in the Erosion process. You can provide a bias mask to drive aspects of the erosion process, namely Rock Softness, Erosion Strength, and Precipitation Amount.
It may sound like simple masking, however there is a significant difference between masking the Erosion node and using Selective Processing. With masking the effect is tightly contained within the provided mask using a compositing method (the same as using Combine at 100% Blend while providing a mask). While with Selective Processing, the mask provided will apply a modifier to that area, however processing will still occur outside the bias mask.
Processing Mask
You can use two forms of masking for the Selective Processing: the built-in masks called Bias Types, or a custom mask provided via the Area input. Custom masks can be any heightfield.
The built-in bias masks are Slope and Altitude. They are mainly provided for convenience so you can quickly apply Selective Processing and be able to use it frequently without creating several nodes. Both aspects go from 0 to maximum in a normalized scale. This means 0% is the bottom, while 100% the top. For example, if you want to mask the last 10% of a mountain peak, you would use 90% for the Altitude bias. You can invert the mask by enabling Reverse.
The bias mask modulates, or drives, the value of the parameter across the terrain region. For example, if you provide a Rock Softness mask while your Rock Softness parameter is set to 35%, it will map the black or 0 part to 0% while the white will map to 35%. Similarly, Erosion Strength maps to the Strength slider, and Precipitation Amount maps to the Duration slider.
Data Output
The Erosion and Wizard nodes create three key data outputs:
| Data | Description |
|---|---|
| Wear | The portions where erosion removes sediments. |
| Deposits | The resting position of those sediments. |
| Flow | The path of the sediments from their original location to the final resting position. |
These maps can be used for texturing, or for driving other nodes.
Like other data maps, the output may not be readily visible to the human eye. You can use Fx to autolevel or equalize the output. You can also use Abs to create a solid mask.
In digital terrains, inexperienced artists will often try to use the Flow output too prominently for texturing. While this may work in some situations, it tends to create unrealistic textures and can make your terrain look fake and "CG". See the Misconceptions section below.
Determinstic Output
It is worth noting that due to the nature of the algorithm and parallel processing, the erosion flow may differ slightly each time. To ensure 100% exact results every time, you can turn on the Deterministic option in the Erosion node. This will force Gaea to use a single processor core which will result in slower processing, but will ensure your results are completely predictable.
This may not always be necessary. There are also workarounds. For example, if you wish to control certain major flow lines, you can create a mask for the starting points of those flows and feed it to Selective Processing. This is usually best done in a second Erosion node, while the first one provides general erosion across the terrain.
Further Reading
See Eroding Terrains for general information on erosion, how it applies to procedural terrains, and misconceptions about erosion.
See these tutorials for examples of practical usage:
Properties
Erosion | |
| Duration | Determines the duration of erosion simulation. This parameter can be set to higher value than 1.0, but note that even default 0.04 (4%) is enough for most cases, resulting in prominent erosion effect. Low duration values, such as 0.02 and lesser, can be useful for adding erosion details while keeping the main original landscape features unchanged. |
| Rock Softness | Controls the softness of rock material. The softer rock is, the faster is erosion process. |
| Strength | Sets the strength of fluvial erosion. This parameter controls the sediment transport capacity, that is how much of dissolved minerals water can carry. This parameter can be set to value that is higher than 1.0, this can speed up the erosion process, but also can result in lesser erosion quality, especially if erosion softness value is high too. |
Downcutting | |
| Downcutting | This parameter controls the amount of downcutting, or vertical erosion. This is additional erosion mechanics, allowing water to transport sediments beyond the fluvial capacity by dragging and moving undissolved materials. This results in deeper gullies, and can be useful for getting mountain ranges. |
| Inhibition | This parameter controls special mechanics, adding additional restraints for downcutting. It determines how undissolved sediments are slowed down by already dropped sediments, causing downcutting to stop and drop its load. This allows to combine both variants of erosion, with and without downcutting, resulting at deep channels at some areas and alluvial fans in other areas. |
| Base Level | Controls the base level for the vertical erosion process, this is the lowest elevation that downcutting process can erode until it stops and begins to drop sediment. This elevation is different across the whole terrain, and depends on the terrain slopes, relative altitudes, stream velocity and other factors. This parameter can be useful for filling the largest valleys with deposit material, forming valley floors. |
Scale | |
| Real Scale | Automatically determine the scale from the Terrain Definition. |
| Feature Scale | Determines the lateral size of the largest erosion features in meters: width of largest valleys and ridges between them. |
| Terrain Scale | The simulated scale of the entire width of the terrain. (Available when Rivers is turned On) |
| Verticality | The simulated height of the entire terrain. (Available when Rivers is turned On) |
Flow | |
| Random Sedimentation | This parameter controls randomization of sedimentation process. In the cases of usual, uniform erosion it rarely has effect because multiple flows, dropping sediments randomly, results in uniform deposition field, thus cancelling random sedimentation effect. This parameter is for some non-standard scenarios, for example, masked precipitation, where precipitation occurs at some areas only. |
| Volume | This is another special parameter, which alters erosion physics, treating water flows as volumetric objects, affecting each other, causing higher water levels during simulation, which results in wider channels, filled with more deposits. This is another way to get valley floor, and it works without downcutting. |
| Sediment Removal | Removes the sediment produced in the erosion process. This can be modulated using the Sedimental Removal mask input. |
Selective Processing | |
| Area Effect | This is the effect applied when an Area input is specified, or if Bias is defined in the settings.Erosion StrengthThe input mask controls the erosion strength. Rock SoftnessThe input mask controls the rock softness. Precipitation AmountIn this mode mask controls rained areas, allowing to rainfall to occur in the selected area only. The brighter mask is, the more water is rained. This masking mode allows to avoid boring look of uniformly eroded terrain. NoneDo not apply selective processing. |
| Bias Type | The type of automatic bias to apply when an Area input is not specified. |
| Bias | The strength of the bias. For Slope, it is the steepness, for Altitude it the position from bottom. |
| Reverse | Reverse the bias direction. |
Other Settings | |
| Seed | The randomization pattern or seed for the node's process. |
| Aggressive Mode | Process erosion faster at the risk of creating soft erosion artifacts in some minor areas. |
| Deterministic (Slow) | Parallel processing using all CPU cores can create small variations every time the node is built. You can enable Deterministic processing to ensure the exact same shape is produced every time. However, this will force the algorithm to reduce its parallelism and use a single CPU core. |

Official Website | Discord | YouTube | Instagram | LinkedIn
This documentation is licensed under the MIT License, a very permissive open-source license.