Erosion is the primary process through which we turn abstract and geometric shapes into believable terrains. It is one of the most crucial parts of any procedural terrain.
Hydraulic Erosion
The Erosion node is the primary erosion node in Gaea. It provides sophisticated erosion with a very easy to use interface. The Erosion node provides control over the scale, where you can choose the size of the largest erosion feature and the overall scale of the terrain.
Resolution Independence
The Erosion node's algorithm addresses one of the biggest problems in digital erosion: it preserves features across different resolutions. This means that a 512 x 512 preview build will maintain essential parity for all major erosion features with a high resolution 4K or 8K build. You no longer need to guess the output type.
The algorithm also creates exquisite flows with naturalistic curves, never before been seen in digital erosion.
Selective Processing
While the Erosion node can be masked using the standard masking process (see Modify Shapes), the Area mask input gives you additional options.
When an Area mask is connected, you can control the Rock Softness, Precipitation, or Erosion Strength. Unlike the standard mask, the Area mask allows the processing to be masked but not the shape. For example, you can mask out the top part of a volcano and choose Precipitation as the Area Effect. This forces the erosion-inducing precipitation to occur only within the masked area. But the resulting erosion can flow out and affect the rest of the terrain.
For more information, see Selective Processing in Erosion.
Layering Erosion
Erosion can give you even more complex results when used multiple times.
A great way to create sophisticated erosion is to use multiple Erosion nodes. A single erosion pass is fine, but will restrict you because of the settings you can use.
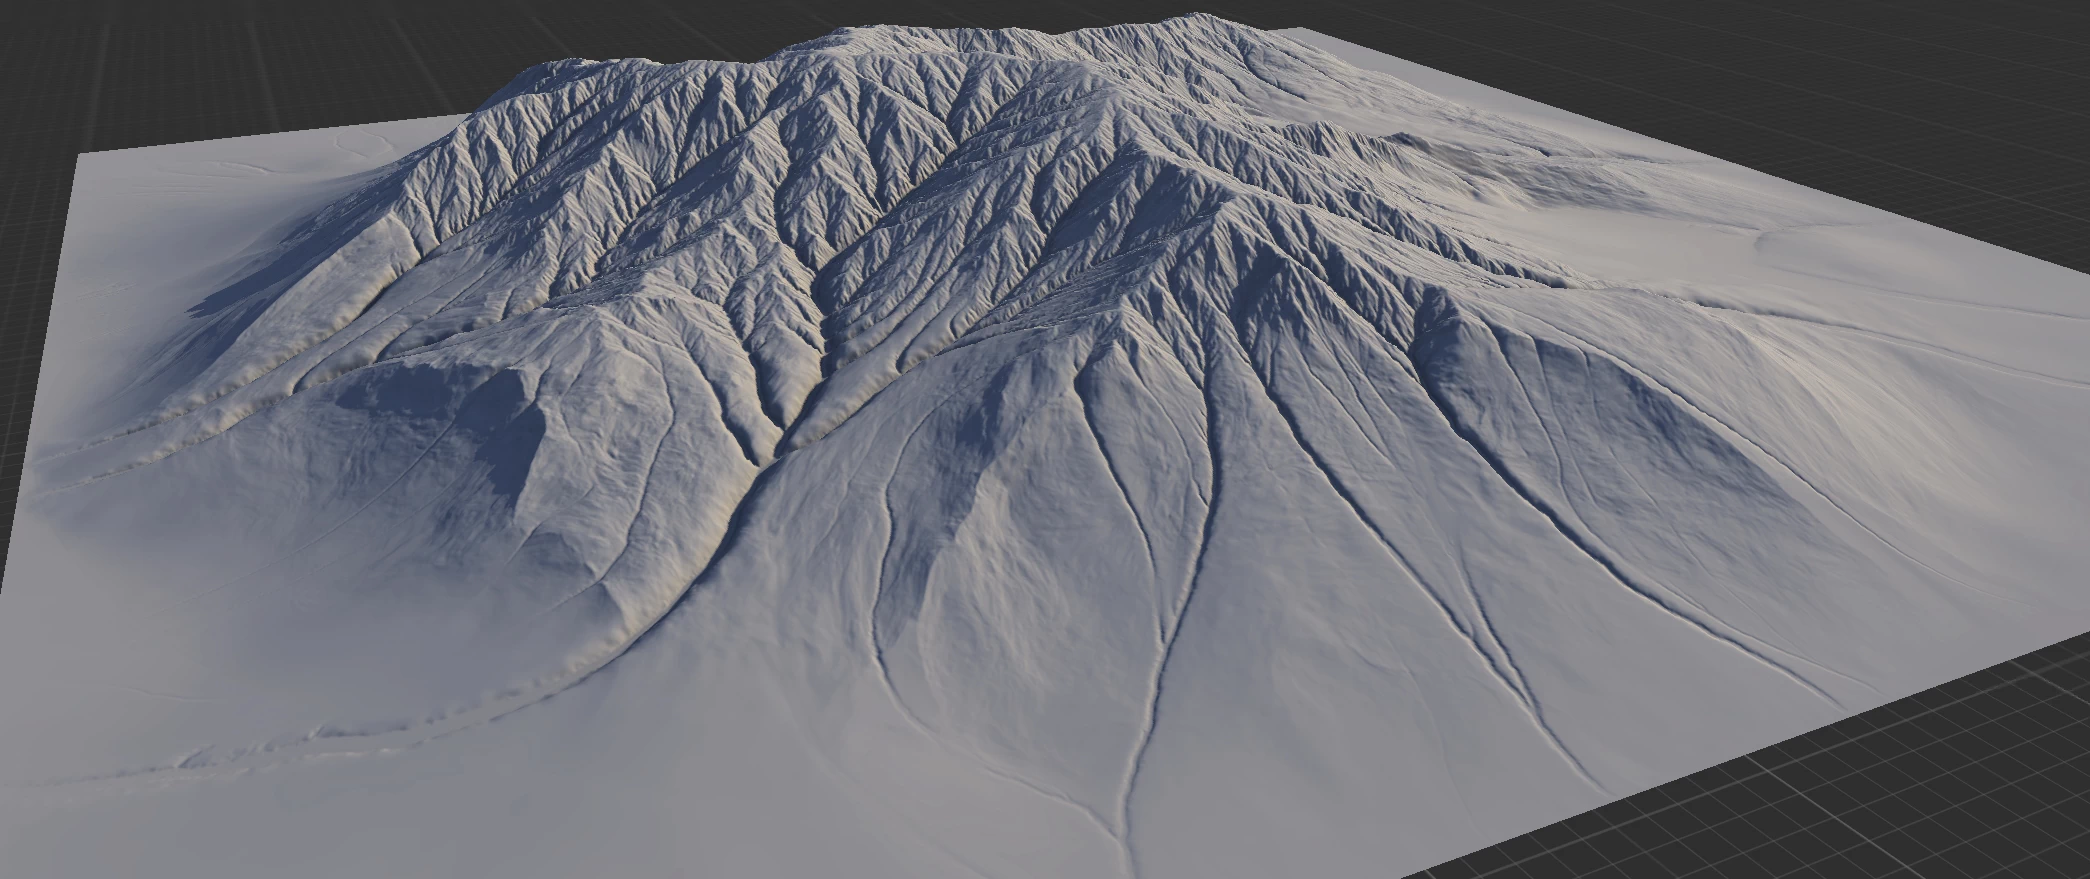
In this example, we have Selective Processing set to Altitude with high Duration of 30% for creating the initial pass. The strong grooves/flow structure it creates will guide the erosion in subsequent passes.
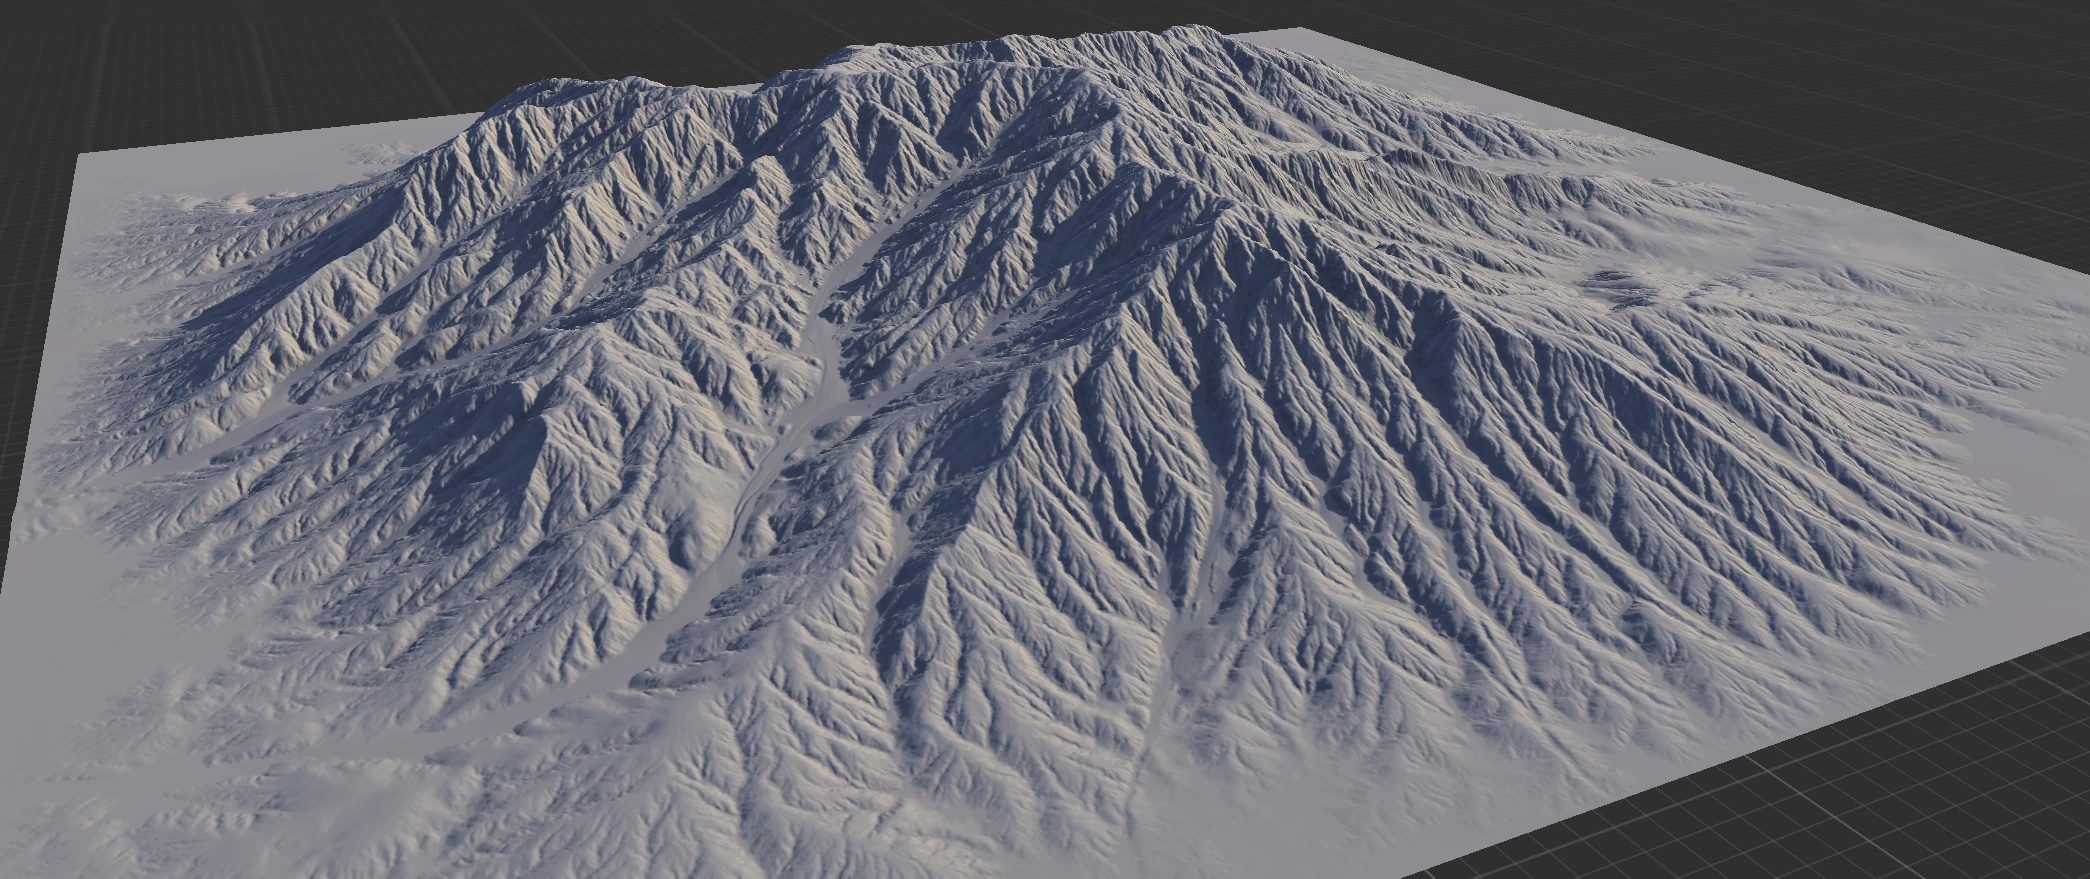
For the second pass, we have default settings except for 100% Downcutting and 100% Base Level. This creates strong flow structures everywhere.
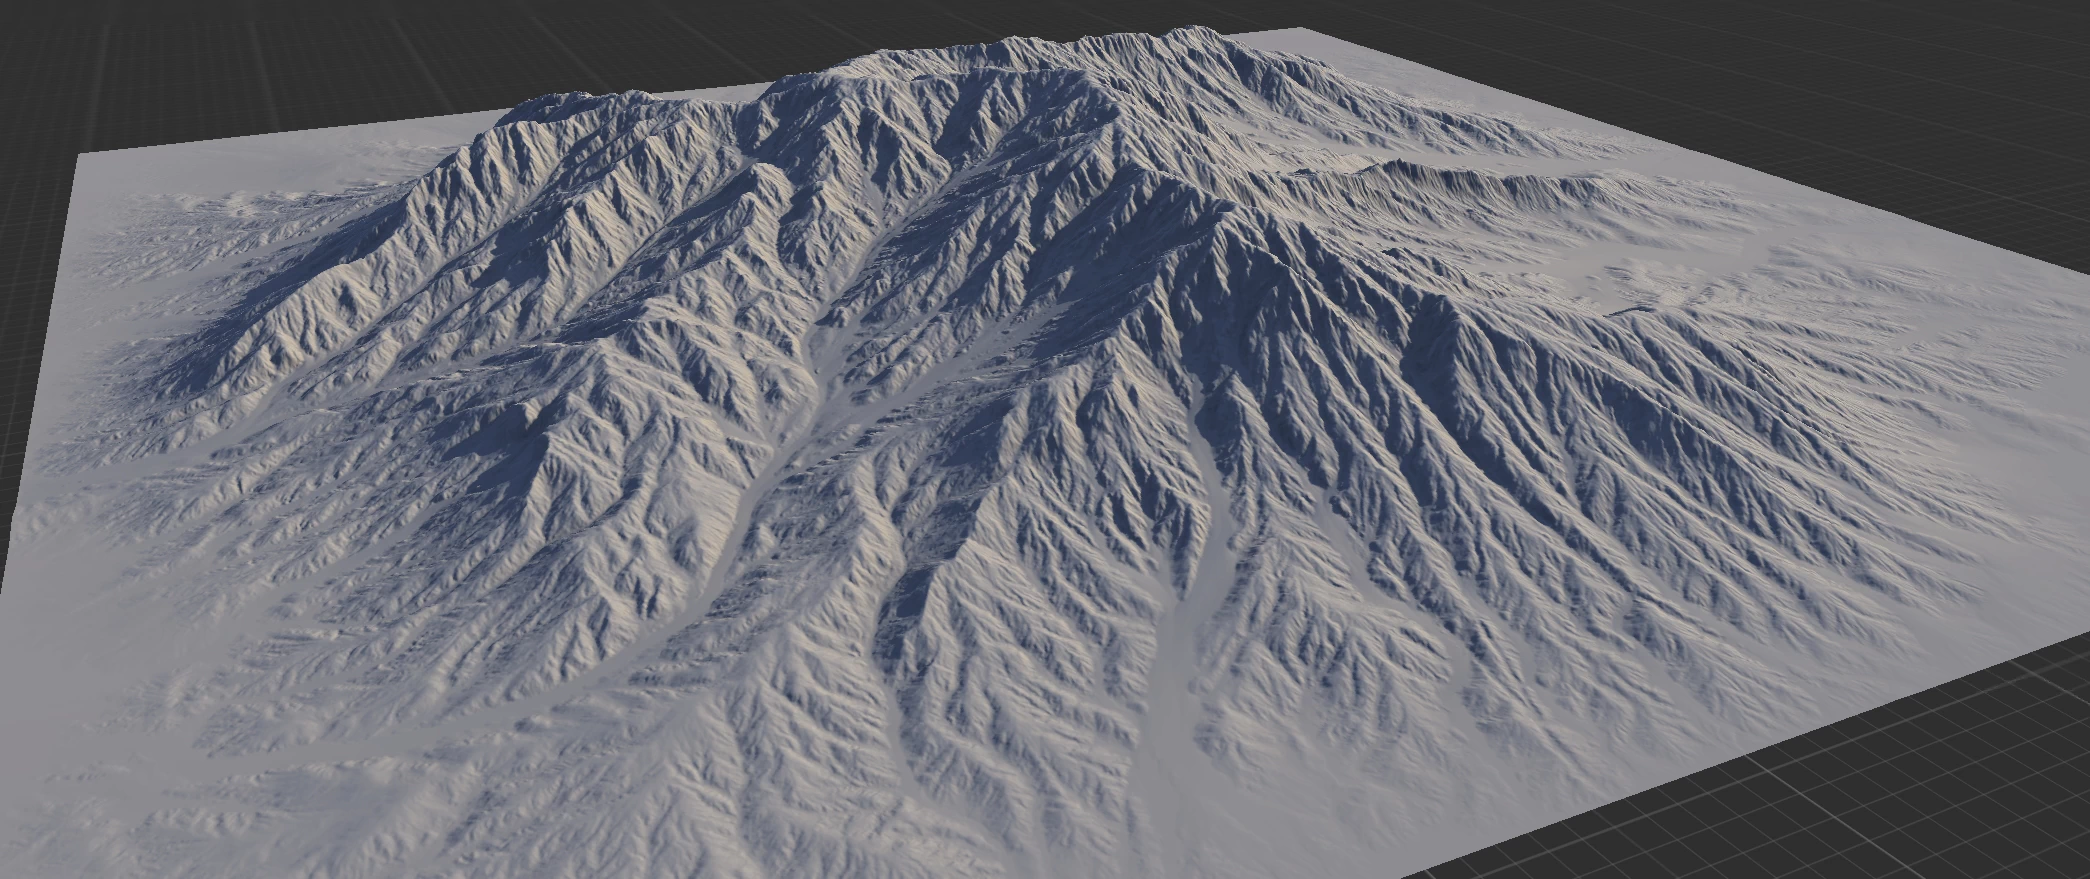
The third pass is fully default. It takes the general larger variations created in the previous passes and homogenizes the overall "texture" yet keeps the larger features. Optionally, higher Inhibition can be used to create more sediments at the bottom.
Erosion vs. Wizard
Gaea gives you 2 ways to use our hydraulic erosion simulation process: the Erosion node, which provides absolute control over every aspect, or the Wizard node which offers easier access to the major aspects. Both use the same simulation underneath, but provide different interfaces. Both have pros and cons.
Erosion provides access to all the simulation controls, but it can take some time to find the sweet spot for many different settings. Wizard, on the other hand, offers fewer, easier choices and various "recipes" for creating different types of results, but it does not allow you to fine tune your results.
If you need the erosion effect, but don't want to art direct every tiny aspect, then Wizard is the perfect node. Even for experts, it is a quick and simple way to add erosion in your graph.
If you need precise control over different aspects of erosion and want to fine tune downcutting or deposits, then Erosion is the perfect node for your situation.
Selective Processing is only available in Erosion. However, common uses of Selective Erosion, such as eroding just the top to create channels or rivers, are provided as Phase 2 options in Wizard.
| Feature | Erosion | Wizard |
|---|---|---|
| Gaea's signature erosion simulation | Yes | Yes |
| Control over the erosion | Complete | Limited |
| Ease of Use | Limited | Complete |
| Selective Processing | Yes | No |
| Data Map Output | Yes | Yes |
| Built-in multi-pass erosion | No | Yes |
We recommend using both to understand how they will benefit your personal process.
Data Output
The Erosion and Wizard nodes create 3 key data outputs:
| Data | Description |
|---|---|
| Wear | The portions where erosion removes sediments. |
| Deposits | The resting position of those sediments. |
| Flow | The path of the sediments from their original location to their final resting position. |
These maps can be used for texturing or for driving other nodes.
Like other data maps, the output may not be readily visible to the human eye. You can use Fx to autolevel or equalize the output. You can also use Abs to create a solid mask.
In digital terrains, inexperienced artists will often try to use the Flow output too prominently for texturing. While this may work in some situations, it tends to create unrealistic textures and can make your terrain look fake and "CG". See the Misconceptions section below.
Determinstic Output
It is worth noting that, due to the nature of the algorithm and parallel processing, the erosion flow may differ slightly each time. To ensure 100% exact results every time, you can turn on the Deterministic option in the Erosion node. This will force Gaea to use a single processor core which will result in slower processing, but will ensure your results are completely predictable.
This may not always be necessary. There are also workarounds. For example, if you wish to control certain major flow lines, you can create a mask for the starting points of those flows and feed it to Selective Processing. This is usually done best in a second Erosion node, while the first provides general erosion across the terrain.
Misconceptions
There are a few misconceptions about erosion in procedural terrains that mainly stem from outdated ideas from previous generation software or inexperience with the medium.
Erosion should be the last step
Previously, artists would use Erosion as the very last node in the construction of a terrain because Hydraulic erosion was the only process that could provide flow, deposit, and other data maps to be used for texture creation. This technique is based on technological limitations from over a decade ago. That former paradigm trained artists (incorrectly) and has led to limited creativity in digital terrains. Further, it is unsuitable to use the flow data from an Erosion node as the primary driving force in a texture. Real terrains rarely have clean flow lines - and those too are mostly in the form of rivers. Such textures make digital terrains extremely conspicuous.
With a cutting-edge software like Gaea, there are many options for generating data maps at any point in the graph. This removes the need for Erosion data for texturing purposes. You can use Texture to create the base for any procedural color map. Flow, Soil, RockMap, Occlusion, and other Data Maps can generate texture-friendly data without actually processing the terrain.
See the Learning Gaea section for practical examples.
Erosion is mandatory
Another old belief is that Erosion is required after any processing to ensure the terrain looks believable. While this may be true in some cases, if you are using LookDev nodes or other erosion processes, applying Hydraulic erosion may detract from the non-hydraulic-eroded look you desire because it creates soft soil deposits and erosive flows.
LookDev nodes such as Canyonizer, Stacks, Anastomosis, Shear, etc. can create effects that don't need to be reprocessed with Erosion to be believable.
See Rugged Rock Outcrops for an example of how LookDev nodes can eliminate the need for manual erosion.
Thermal Erosion
Thermal erosion is the sister to Hydraulic erosion. While used less frequently, Thermal erosion is equally as important in most environments.
Debris from erosion
The documentation is being updated. Some sections may be incomplete.
Combining with Hydraulic Erosion
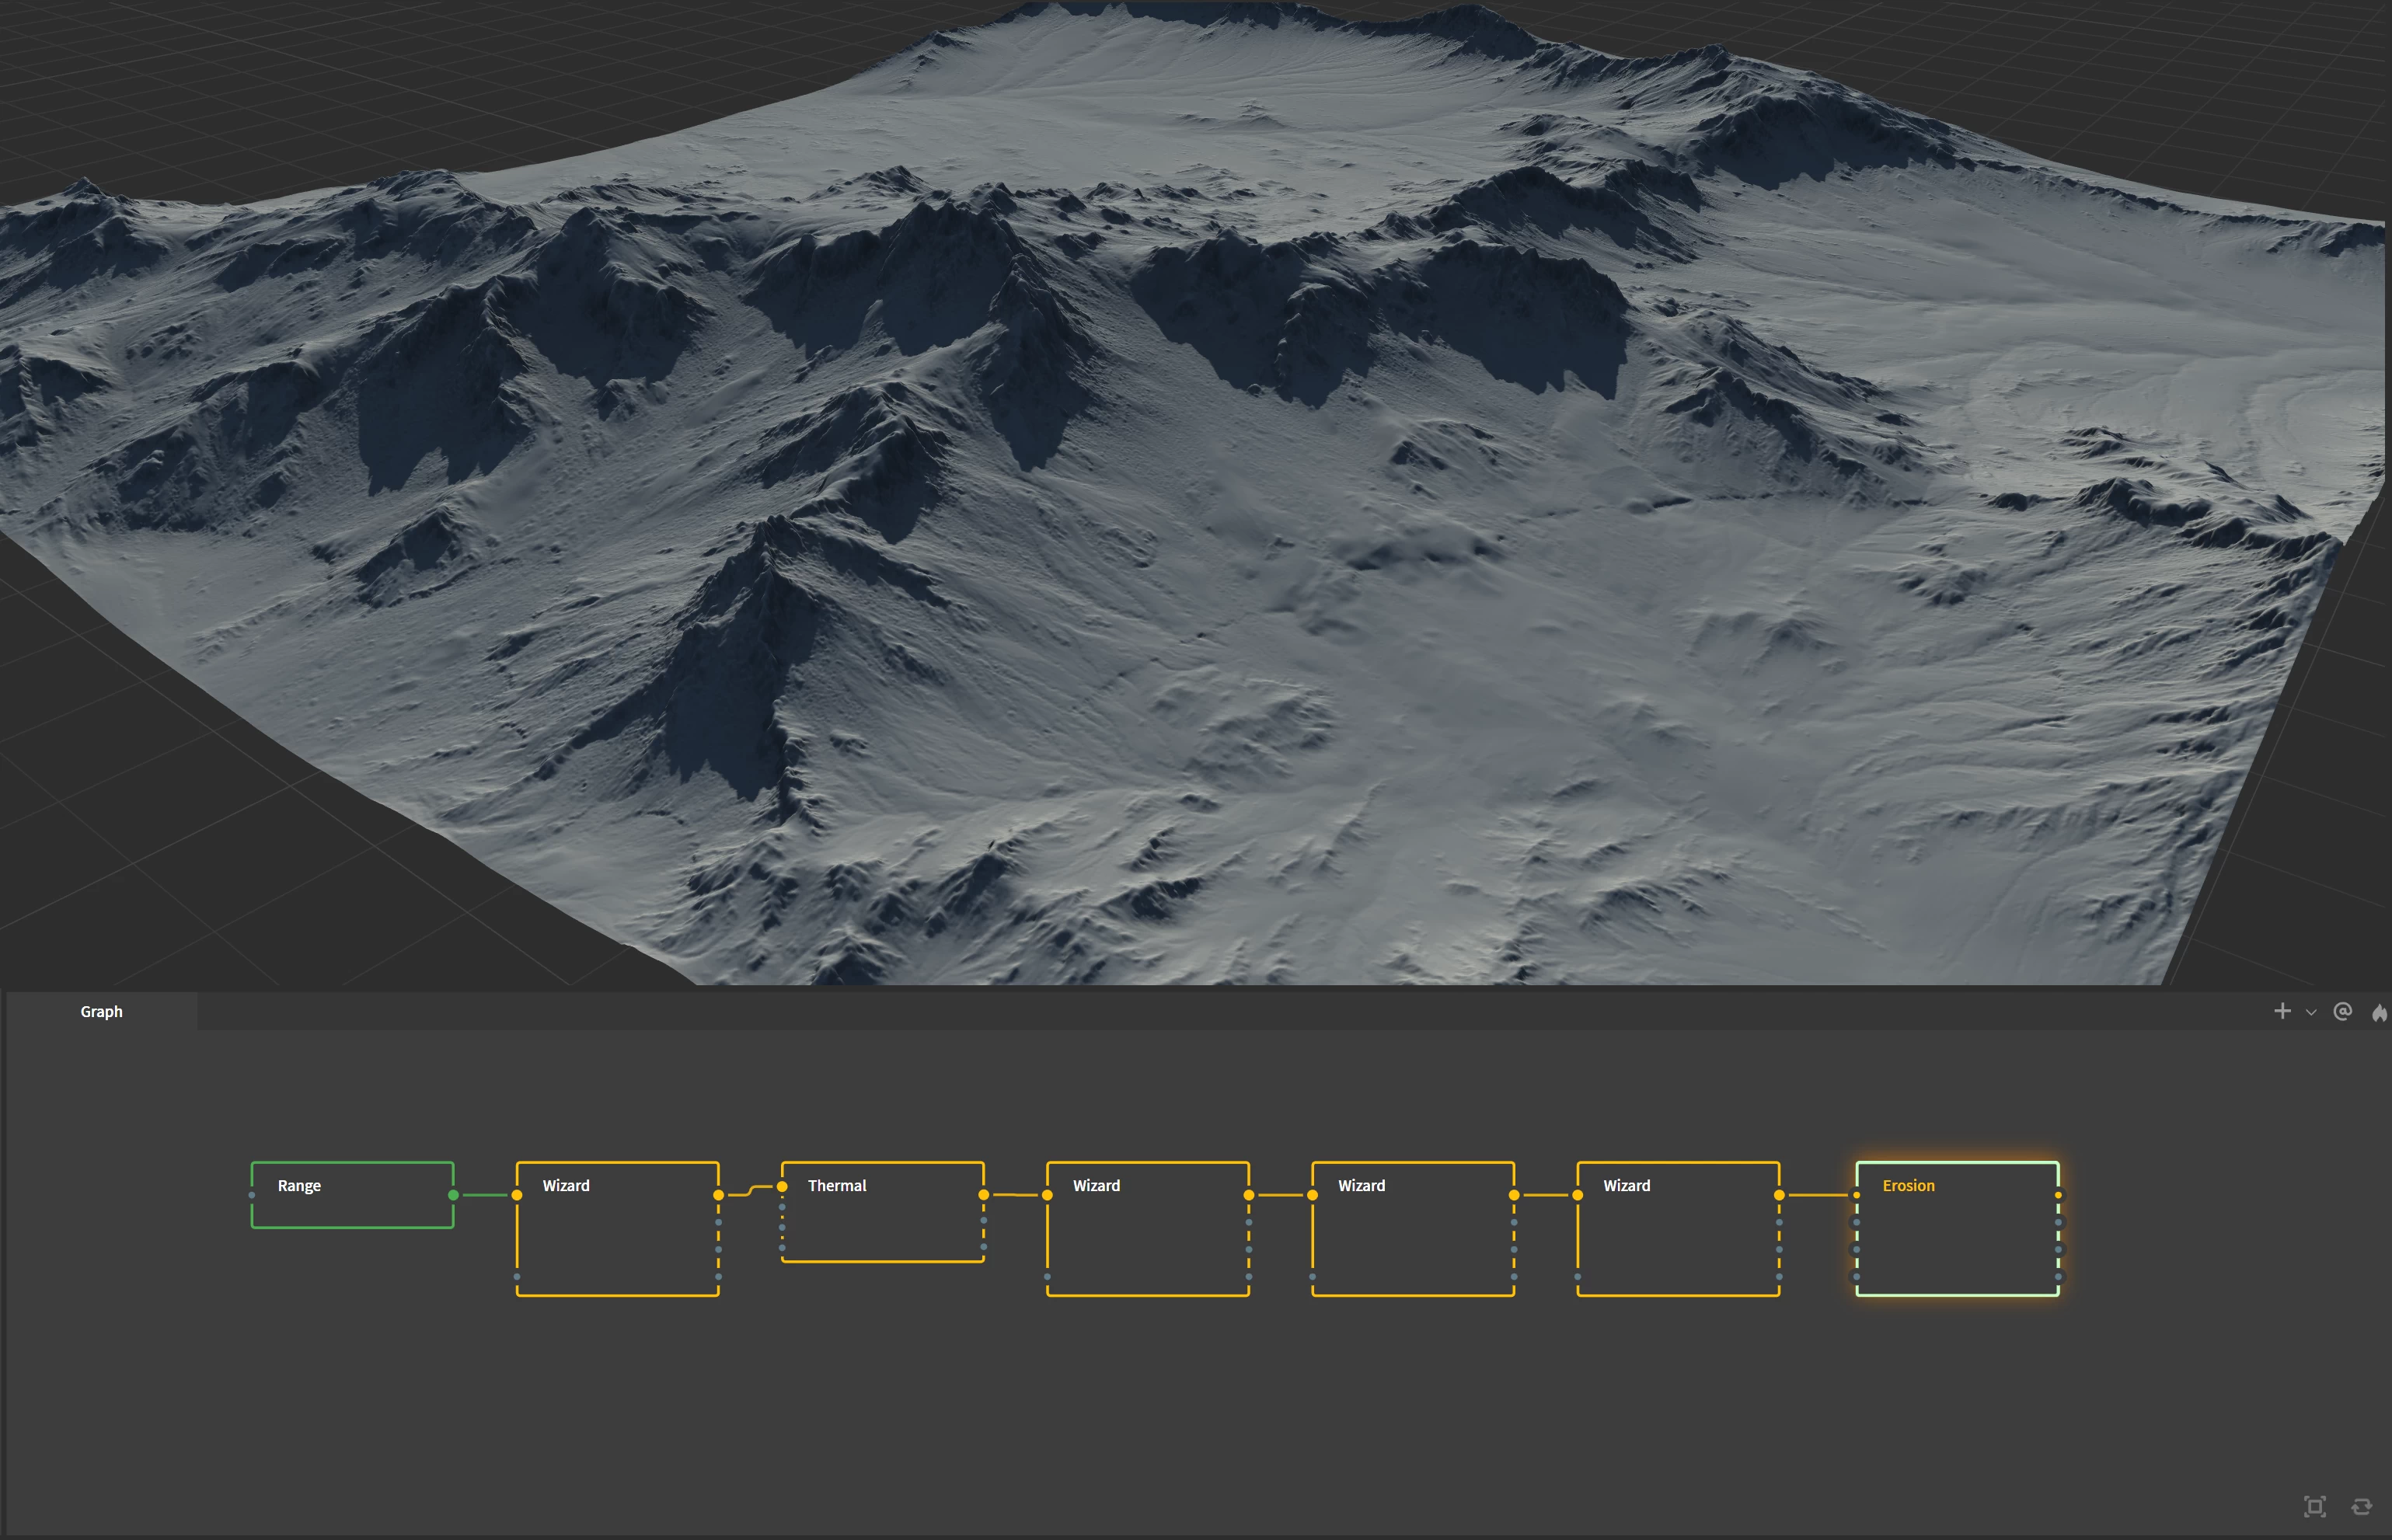
In the real world, hydraulic and thermal erosion occur together. You can mimic this behavior by chaining Thermal and Erosion (or Wizard) nodes, as shown in the Layering Erosion section above.
Selective Processing can be a very powerful tool in such a chain of nodes.
Understanding Anisotropy
Thermal Stress Anisotropy governs how erosion and the resulting rock deposits are shaped. It smooths the terrain while eroding. Low values largely keep the original terrain intact. High values create stronger talus while eroding the original terrain. For example, sharp peaks get eroded heavily with high stress values.
The image below shows a simplified version of how Thermal Stress Anisotropy affects a terrain.


Official Website | Discord | YouTube | Instagram | LinkedIn
This documentation is licensed under the MIT License, a very permissive open-source license.