A hidden gem in Gaea is the Mask node. On the surface, it appears to be a simple mask drawing tool. When used in conjunction with specific node networks, however, it can give you a powerful creative advantage.
In this example, we will use the Mask node to modify the heights and even draw some detail into an existing terrain.

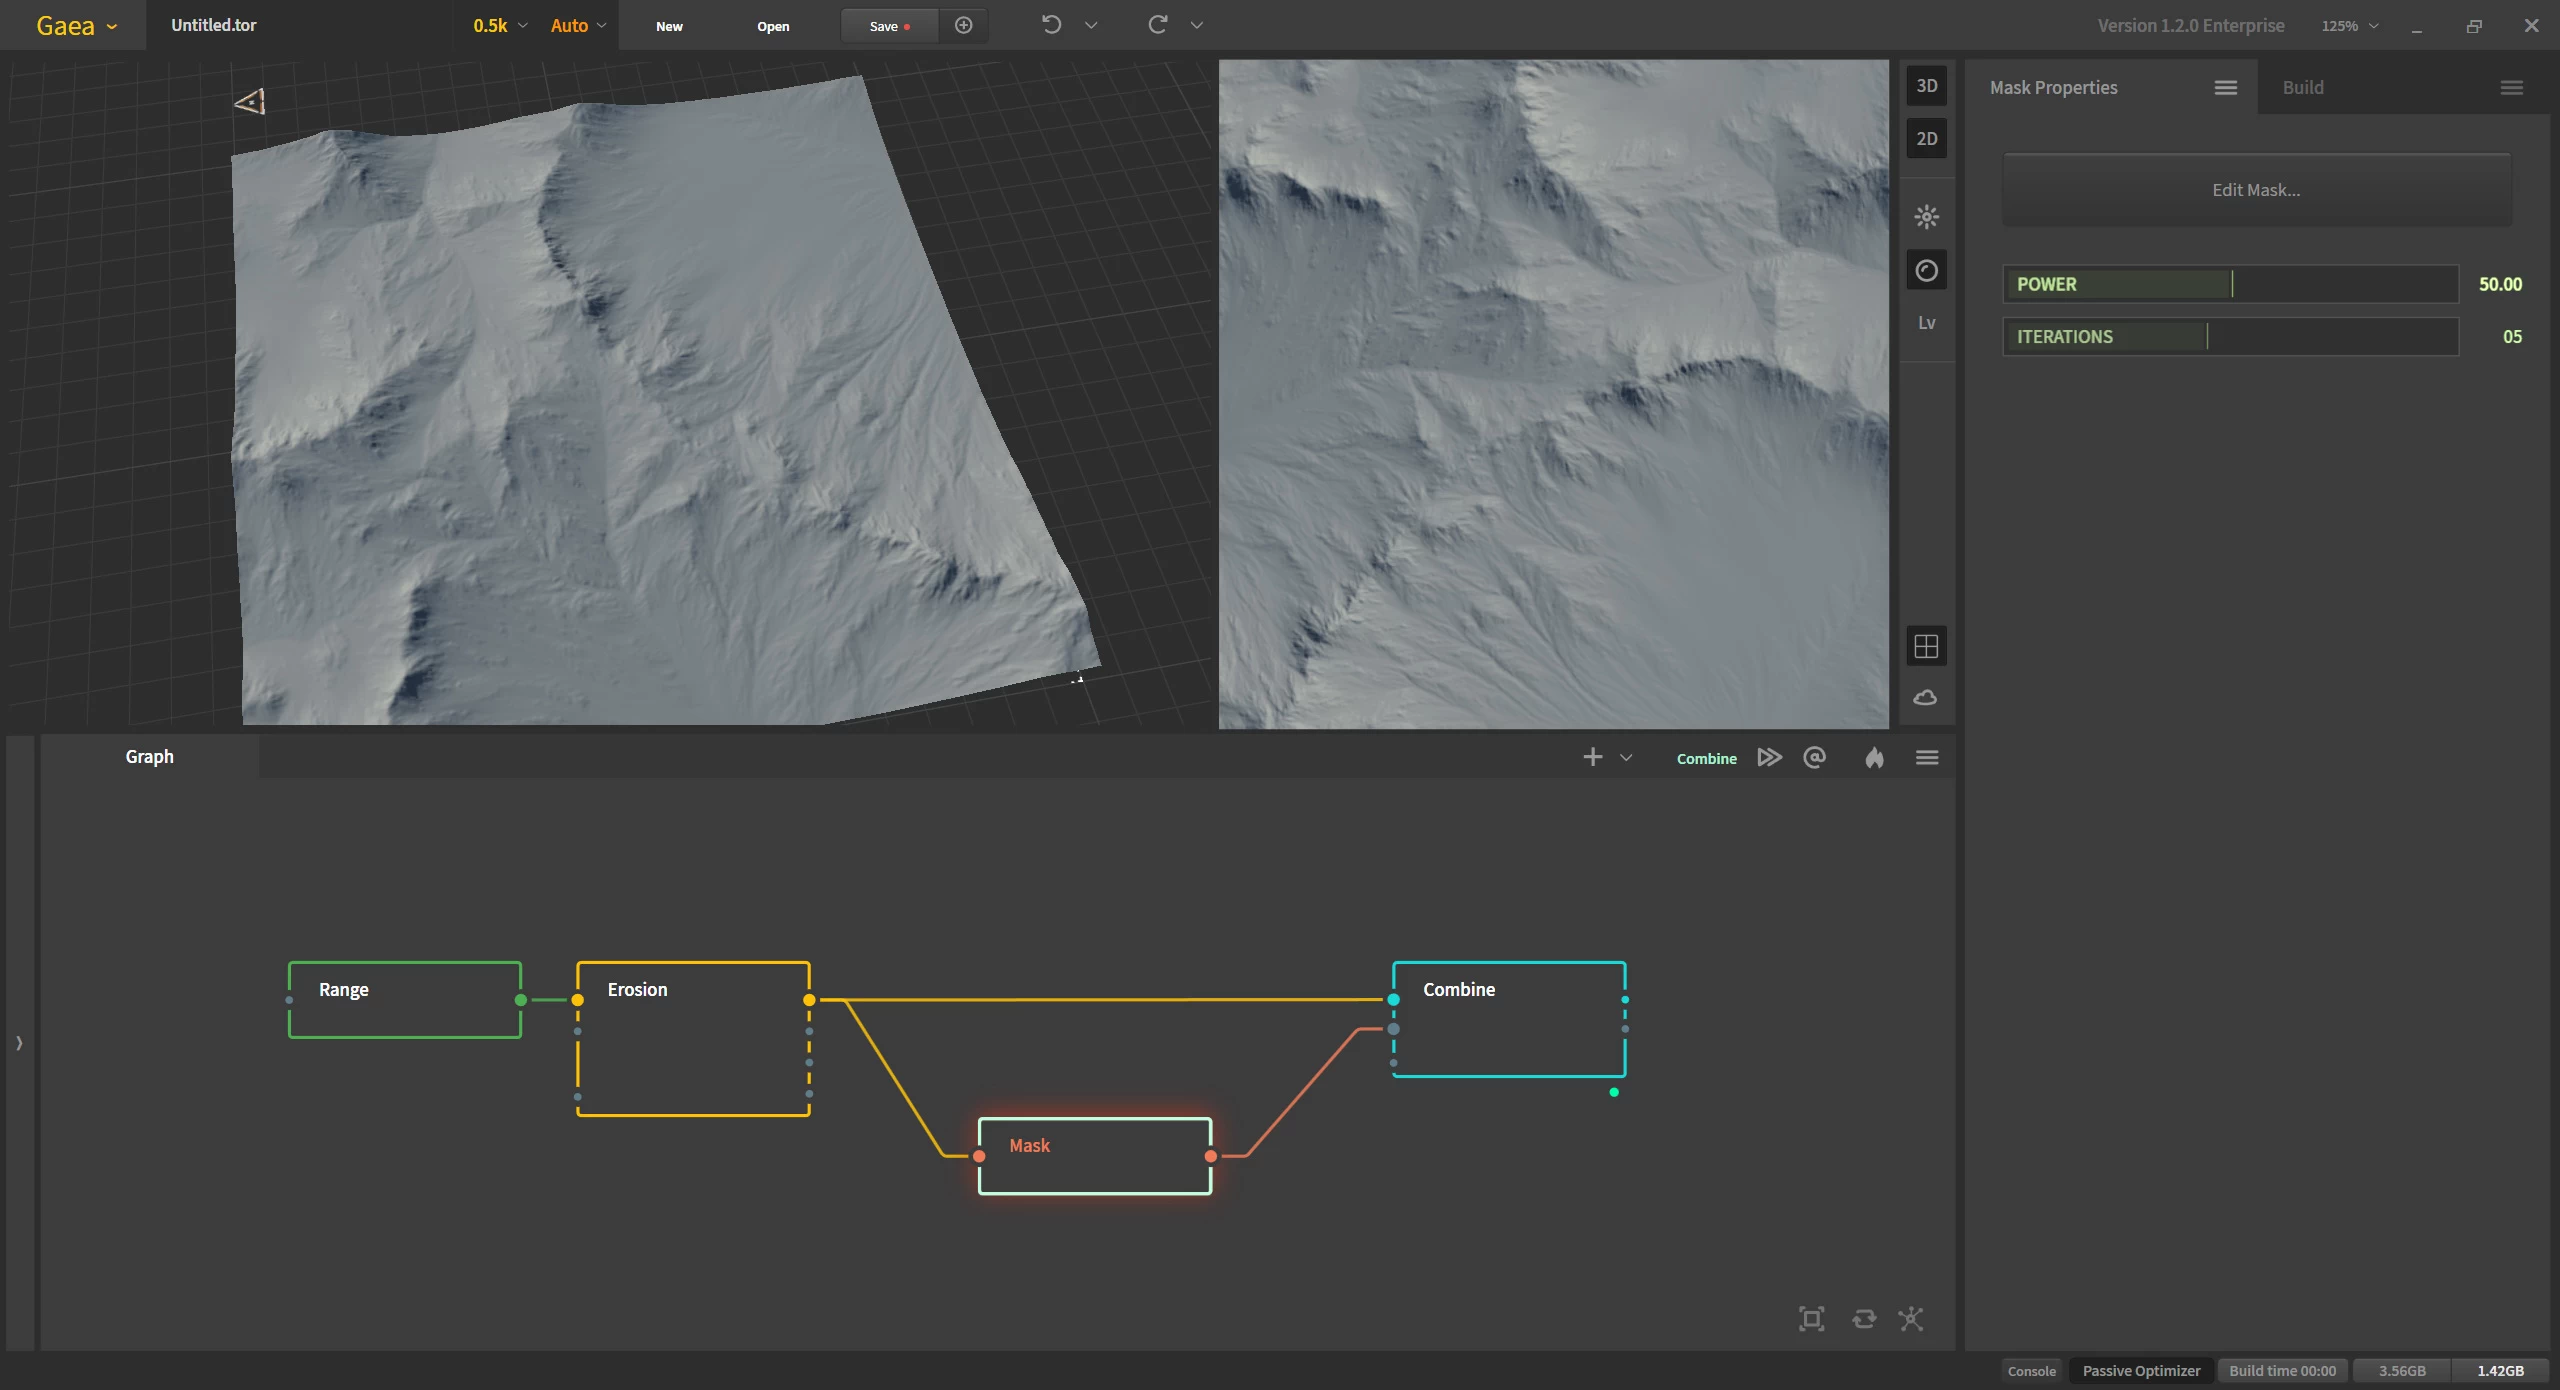
To set up our Mask node, we input the terrain for reference so we can see where we are drawing. Then a Combine node is set up after it to take the Mask output and blend it into the main terrain in either Add or Screen mode. Finally, we Pin the Combine node to get a live preview of the result from the drawing. (see Pinning Nodes).

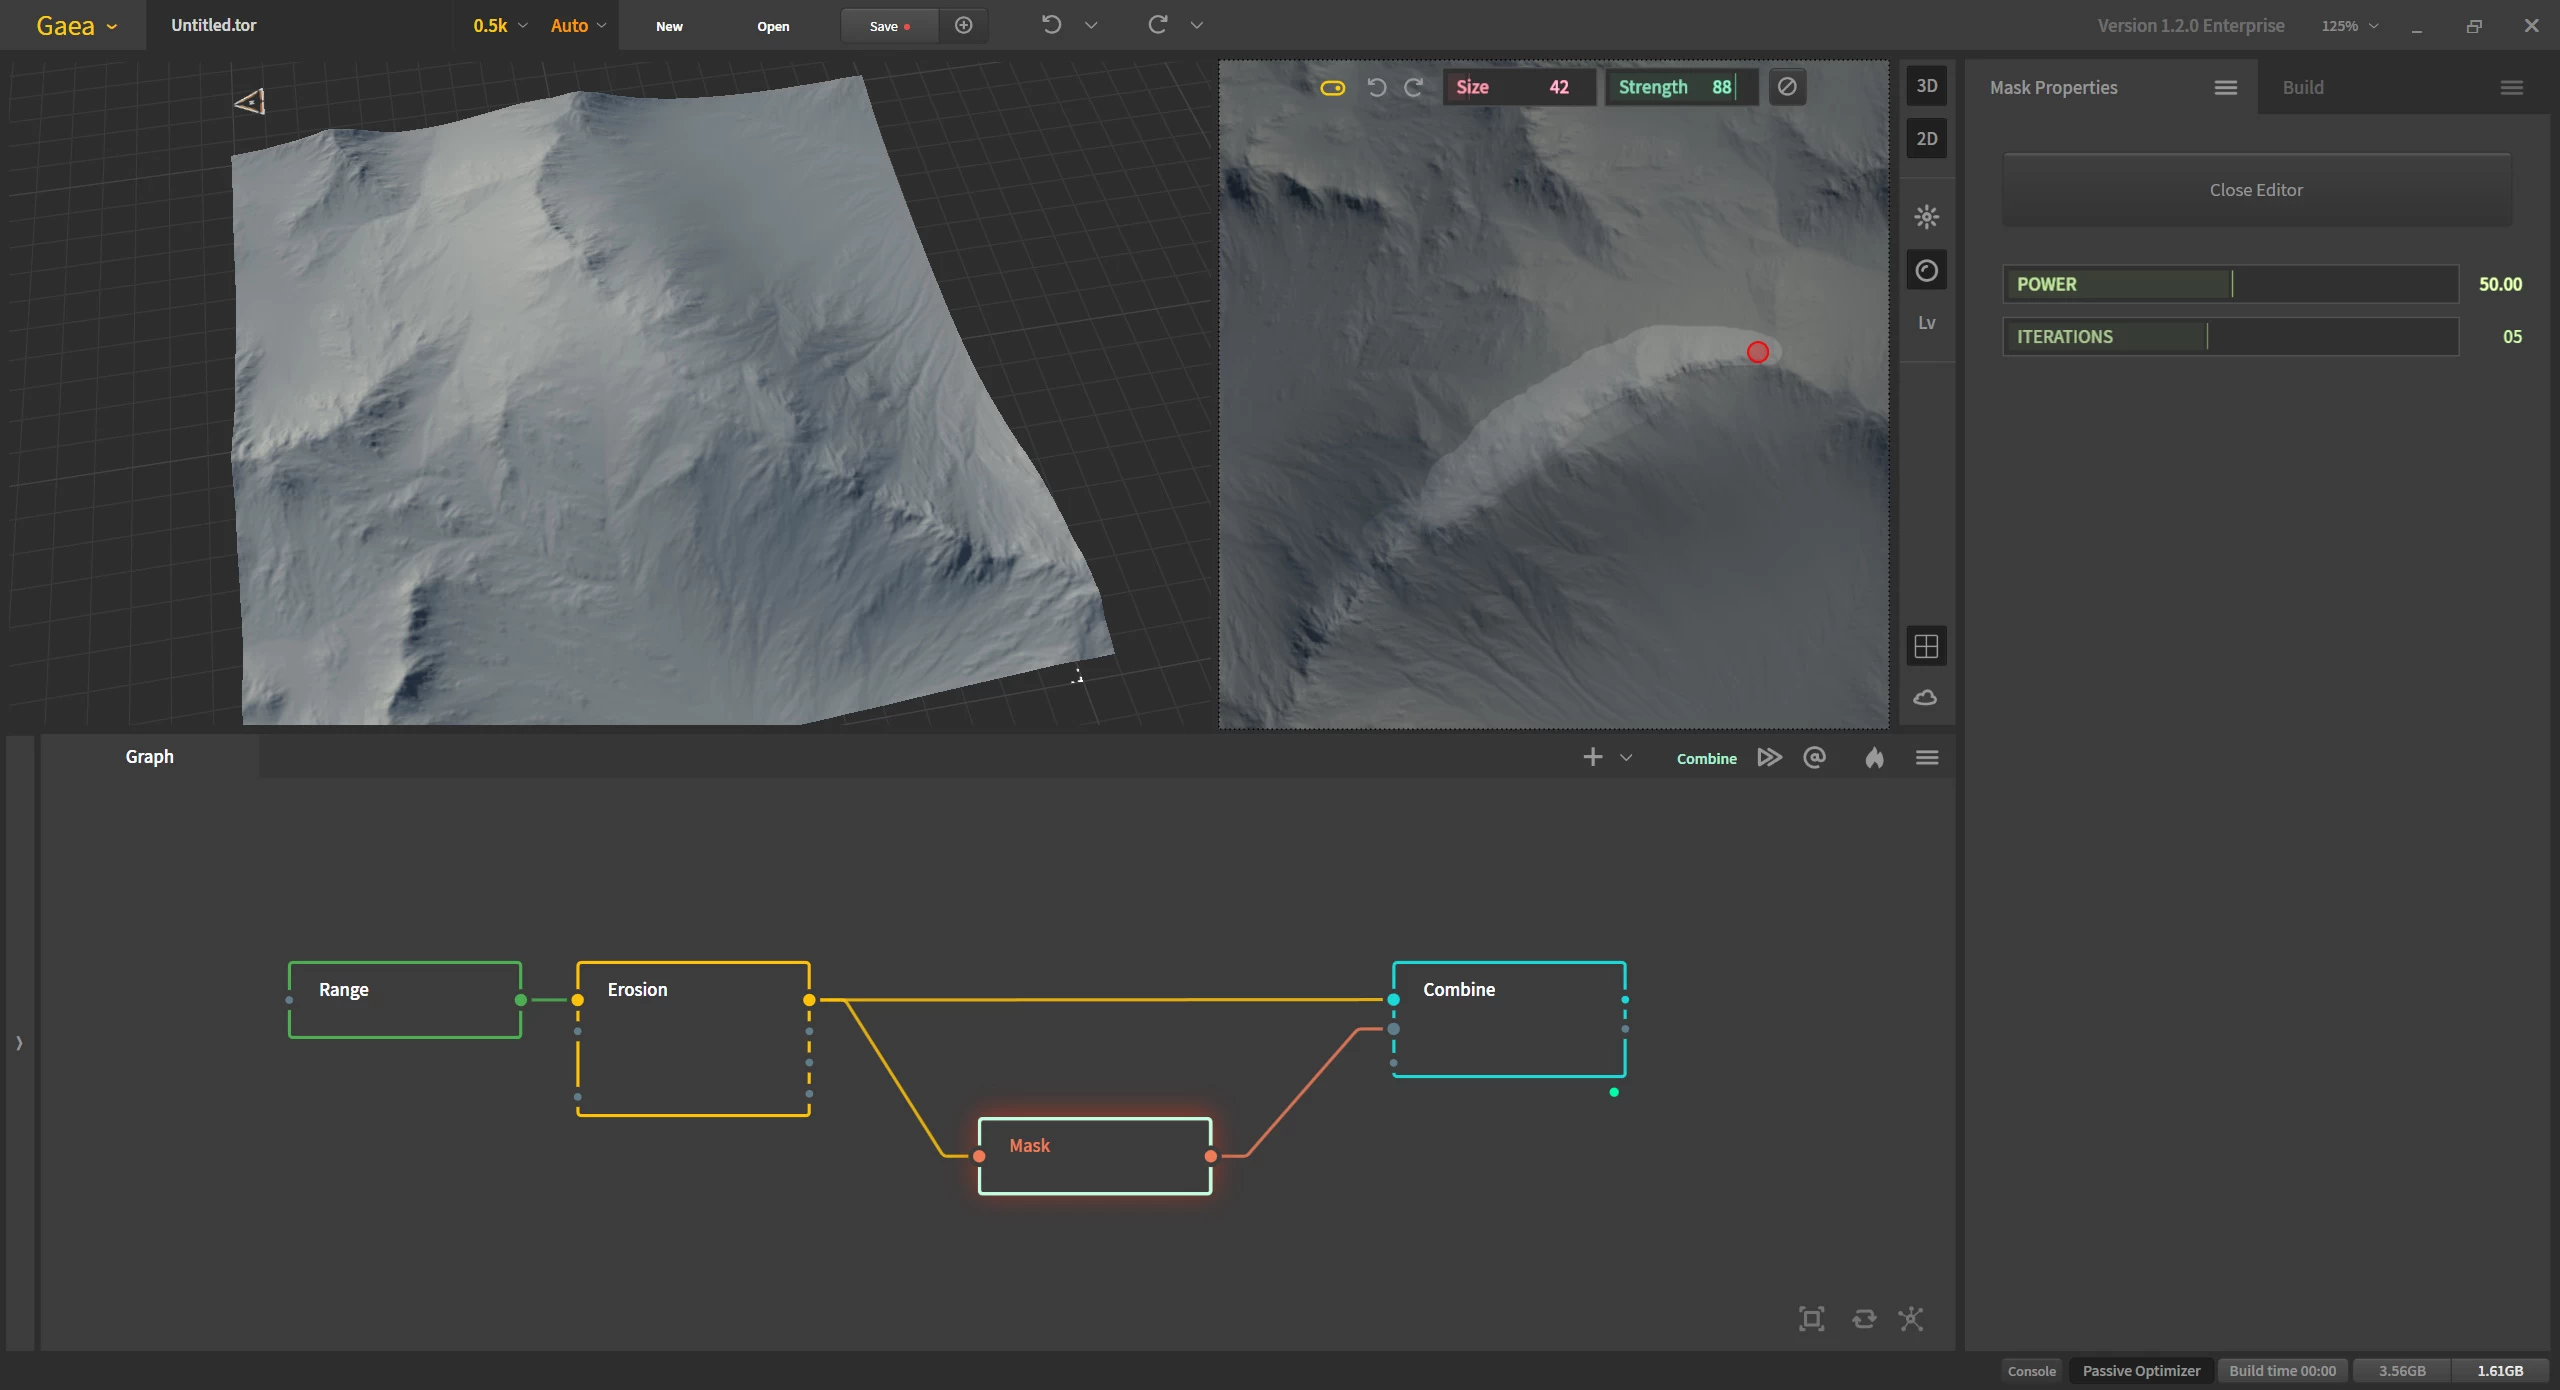
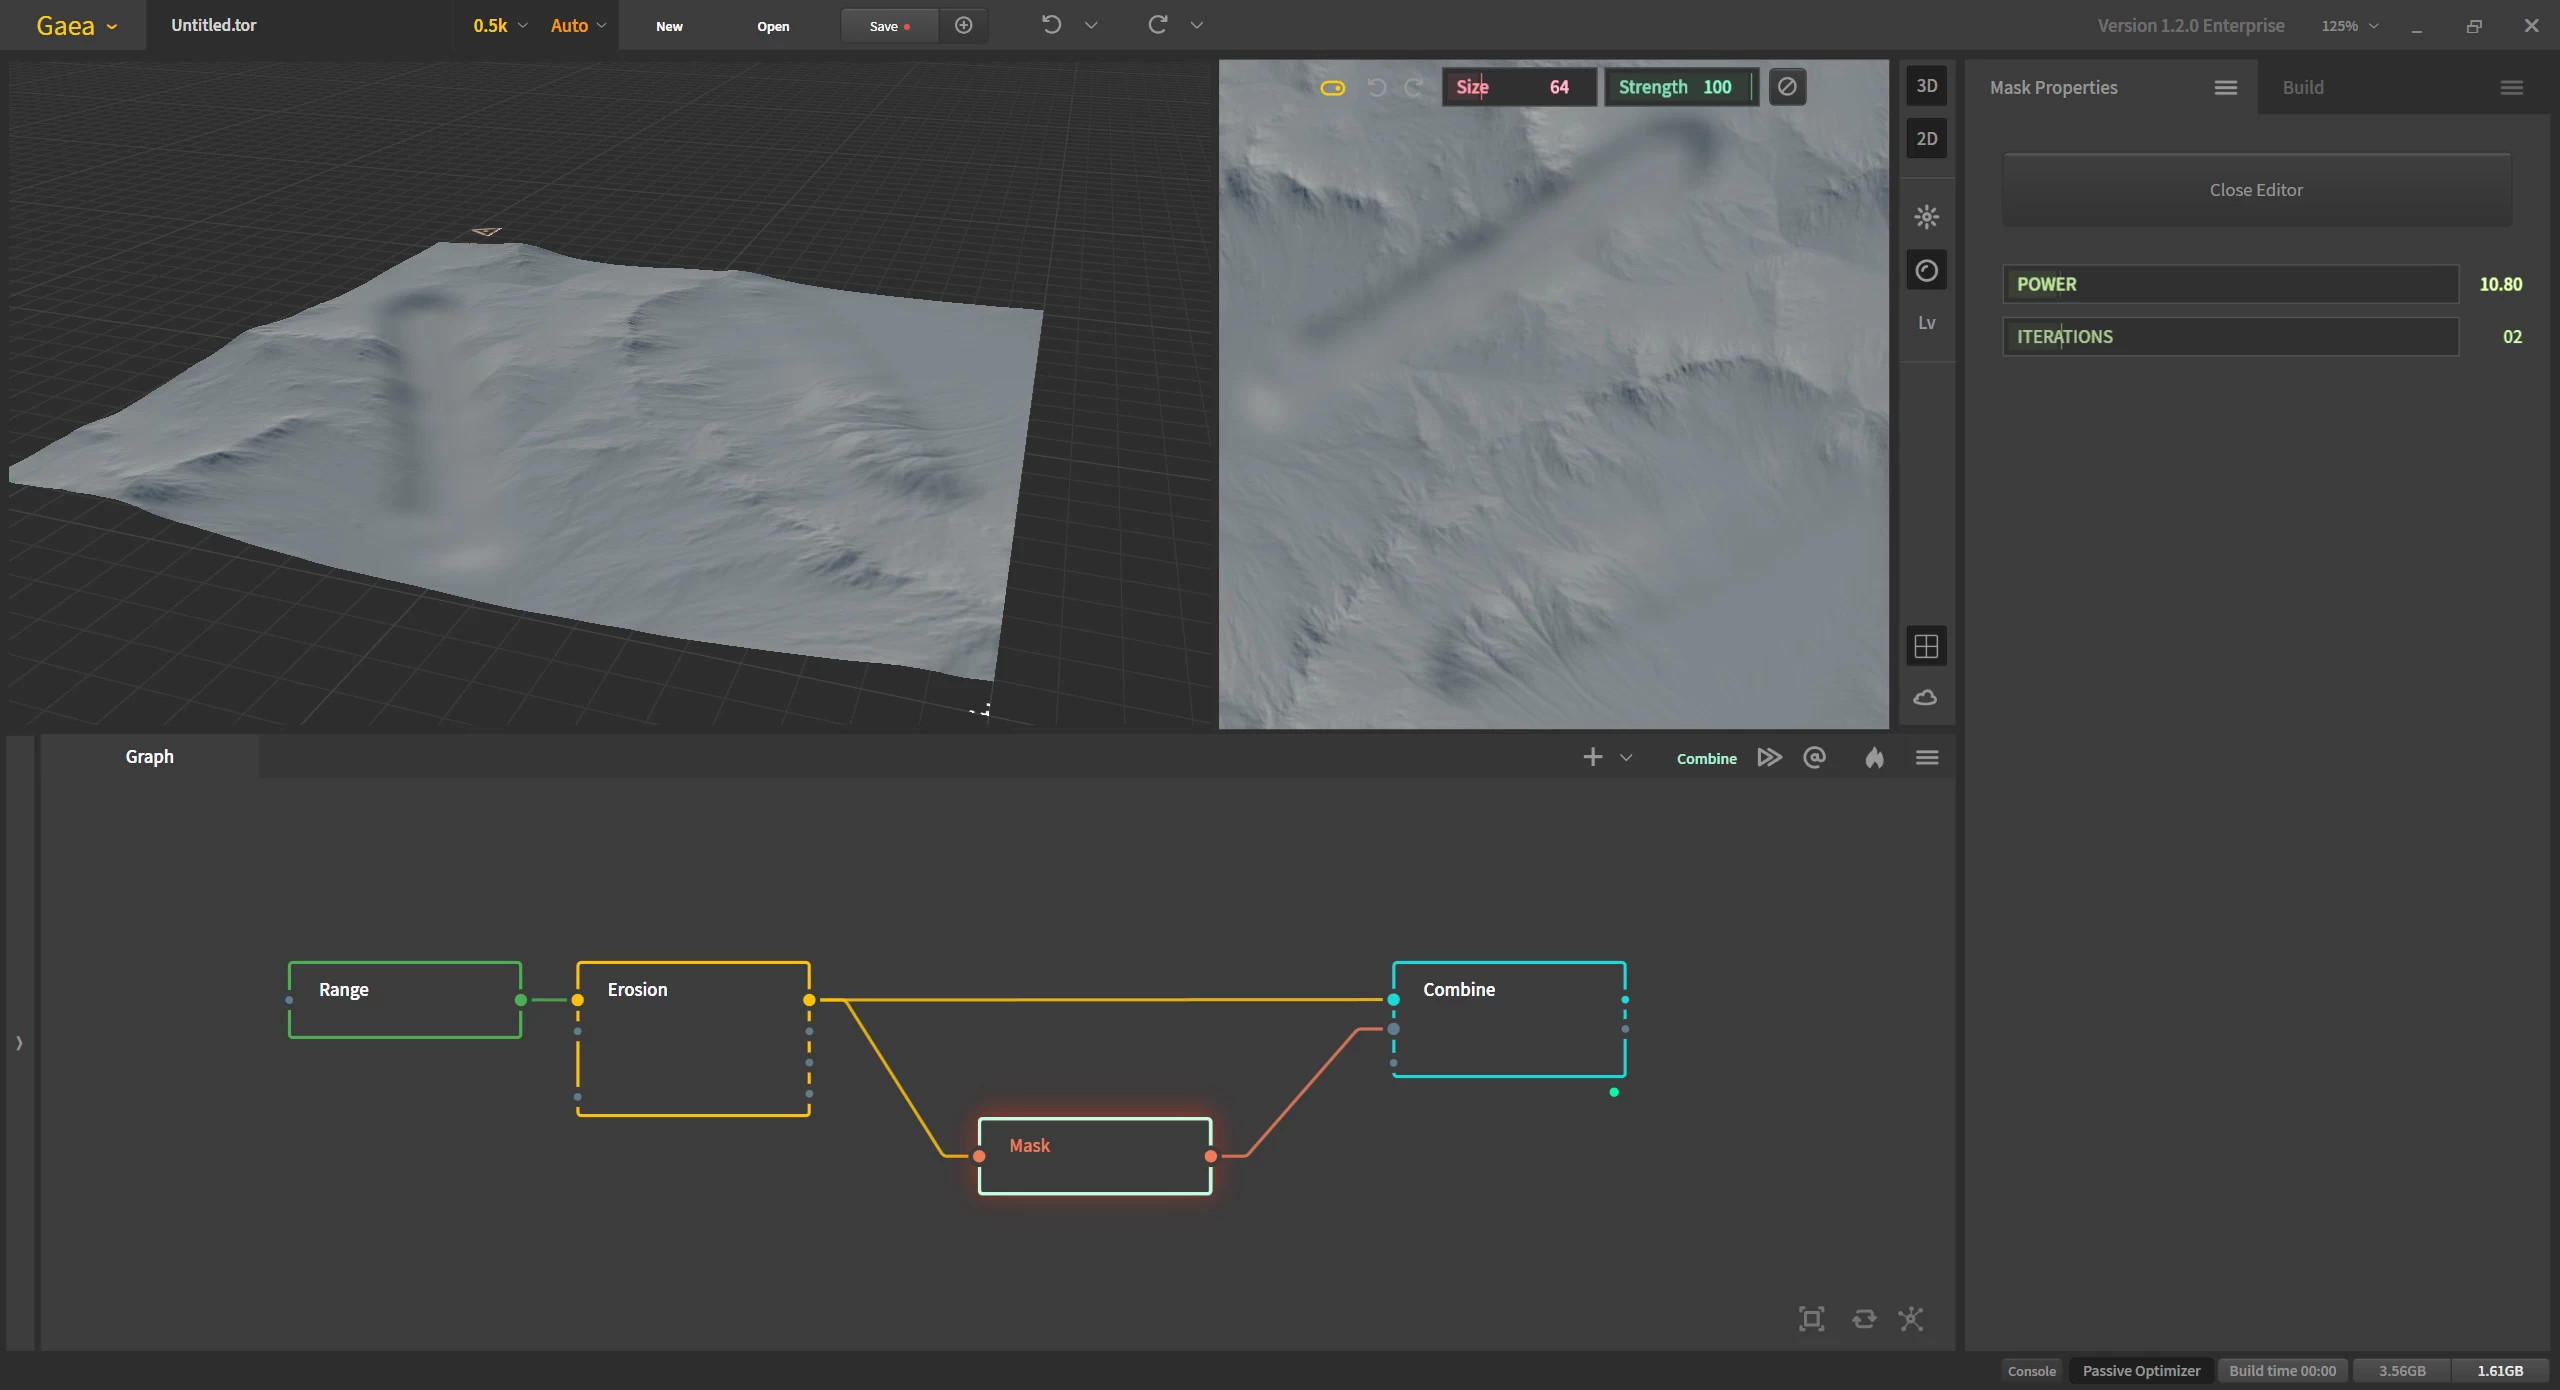
In the Mask node editor, click Edit Mask to start drawing. Adjust the Blur and Iterations until you get the right level of softness. More softness means gentler transitions for the main terrain. Remember to use a low Strength setting in the mask editor.

If you need to both raise and lower capability, you can set up 2 different masks - one that Subtracts and one that Adds. Or you can choose 50% Strength and paint over the entire mask surface. Switch the Combine node's mode to Multiply and, in the Post Process Stack, set the Multiply option to 2.0 to compensate for the 50% multiplication. Then when you use positive or negative strokes, they will raise or lower respectively.

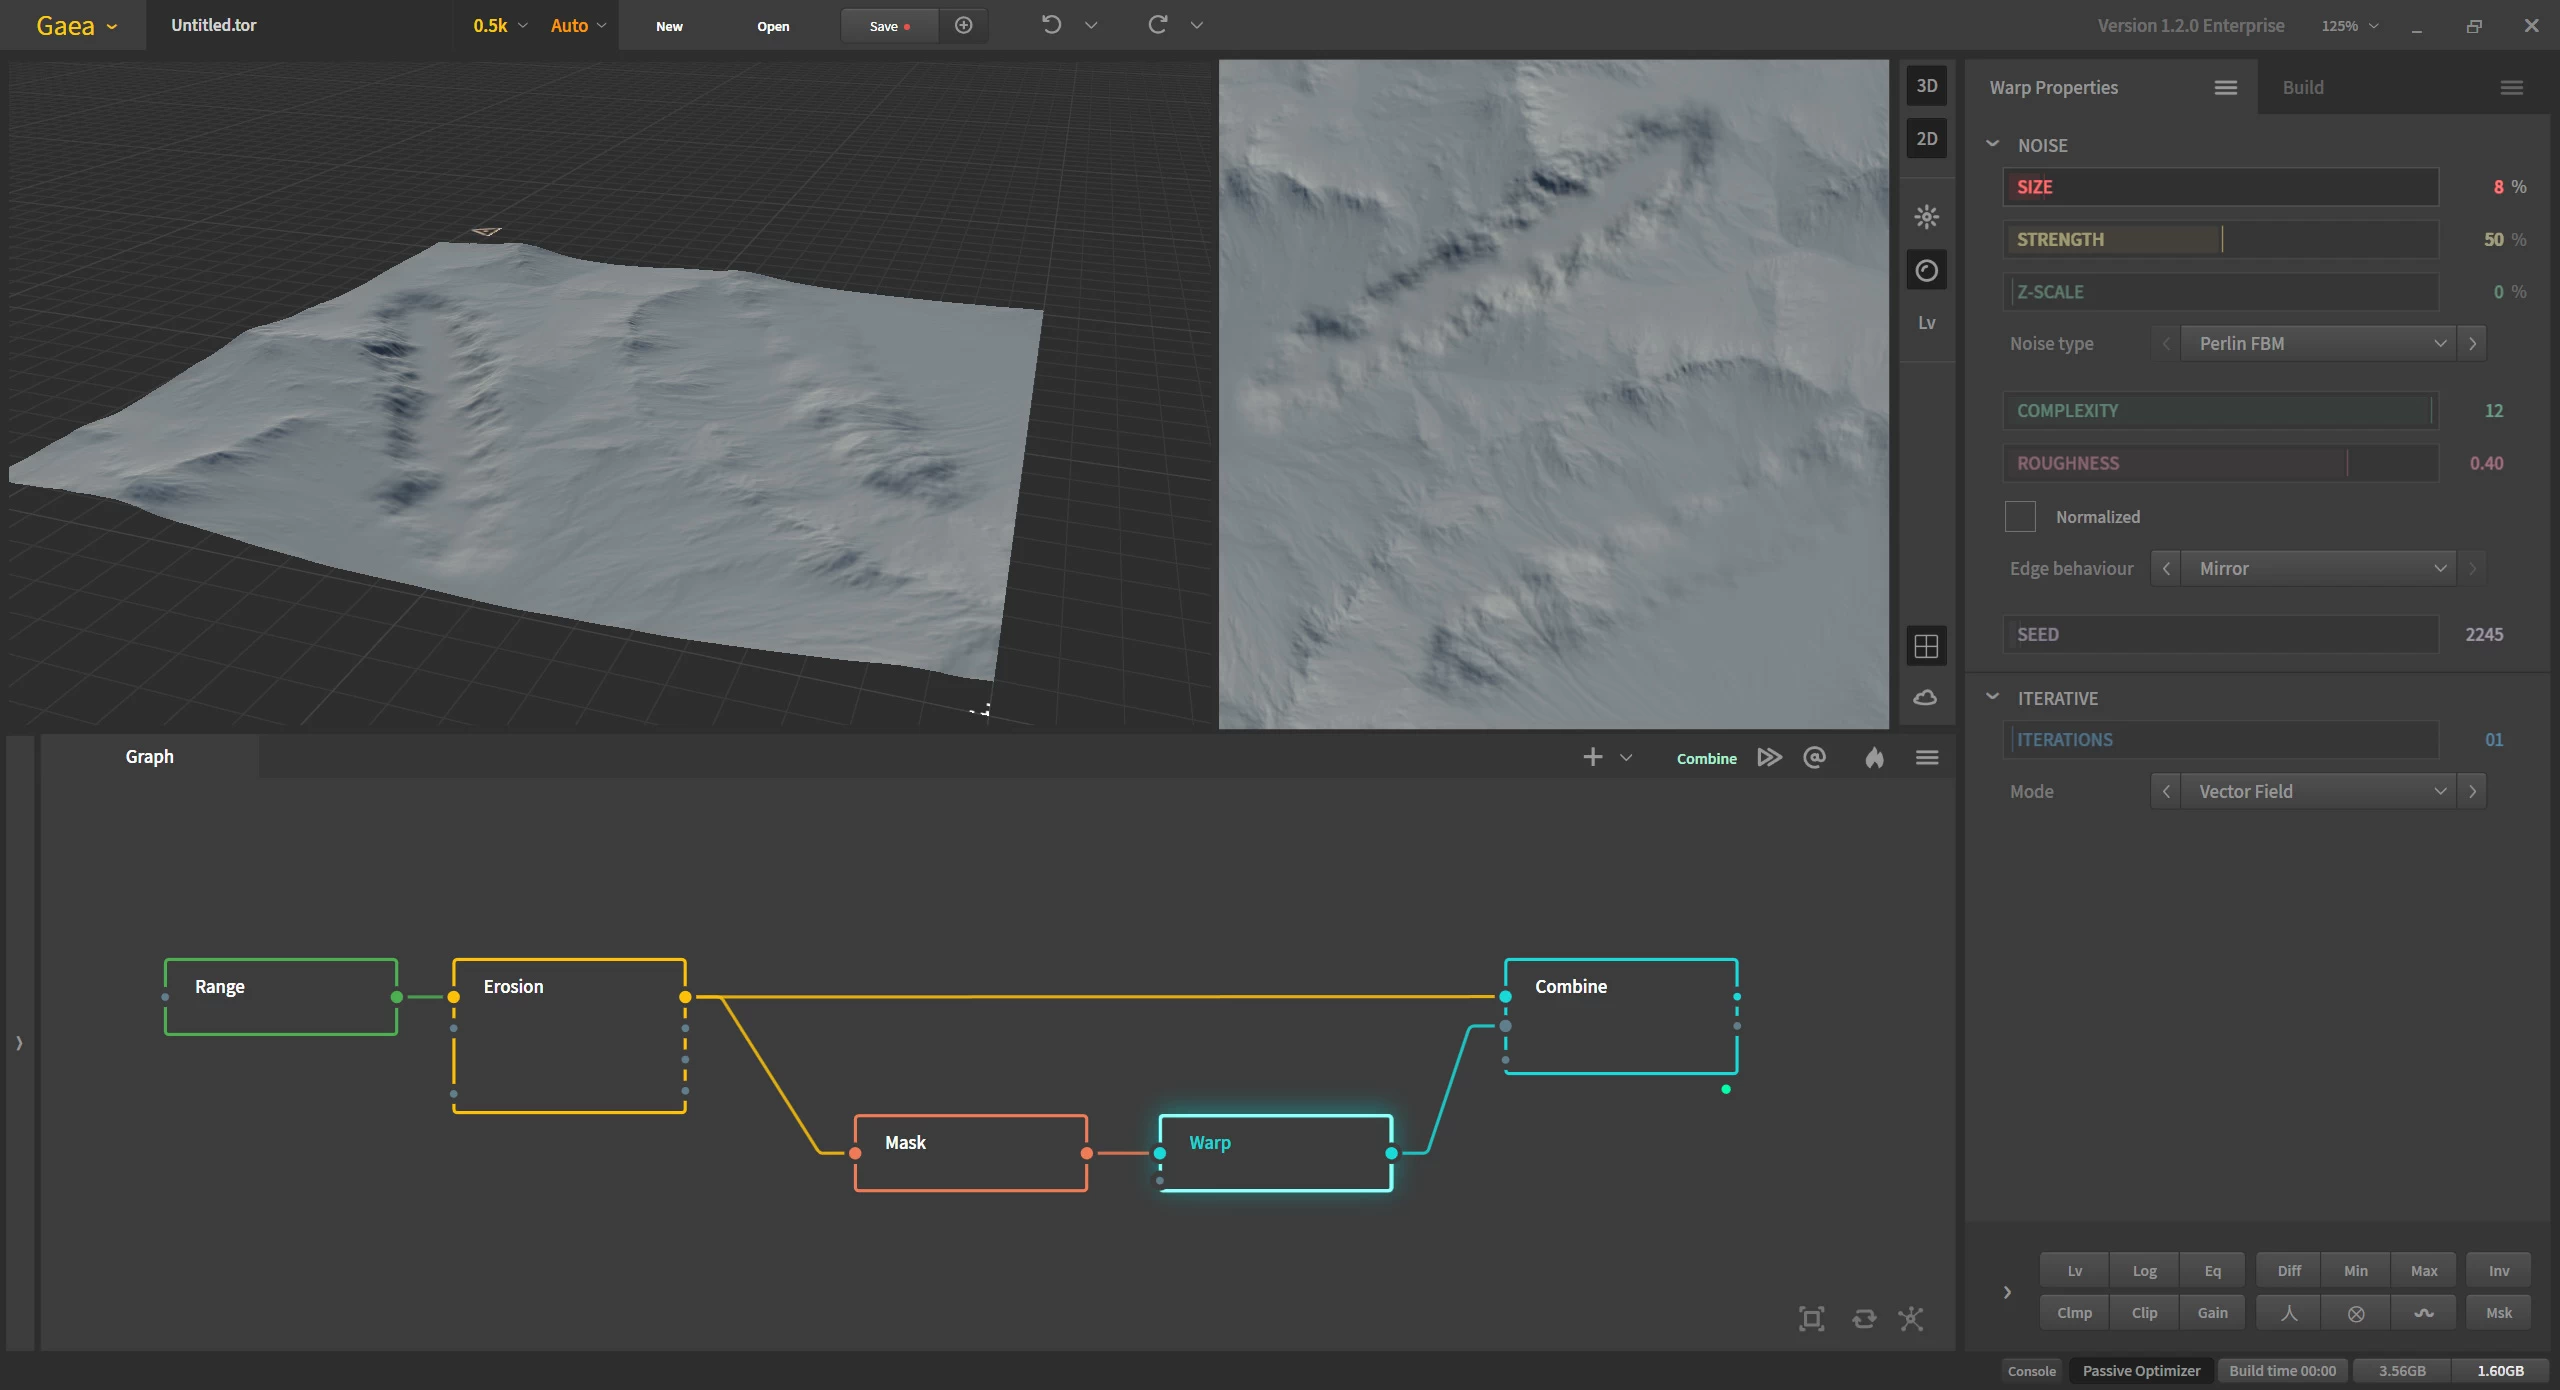
For added shape randomness, you can use Warp before combining the mask.
Dirty Snow Fake Water Flows
Official Website | Discord | YouTube | Instagram | LinkedIn
This documentation is licensed under the MIT License, a very permissive open-source license.
