Split Build

Split Builds require very little special consideration. You can change any terrain from a Normal Build to a Split Build without modification. This is because the terrain is built normally, and then split into chunks. This is usually used when your terrain has to be in chunks (aka tiles) for consumption in your game engine or CG app, but it is just 8192 x 8192 or smaller in size.
If your terrain is 8K or smaller, then this is our recommended method for creating game engine compatible chunks. It is usually faster and produces very accurate results.
Tiled/Distributed Builds

TileGates
Many Gaea nodes often use "screenspace" transformations or effects. This means that they're not compatible with a tiled build. For example, the Swirl effect if applied on a tiled build would create a separate swirl in the middle of each tile. However, you can use the TileGate nodes to bypass this restriction.
The TileGate note tells Gaea that the nodes before it need to be preserved at screenspace. So before building the tiled build, the TileGate nodes are baked with special settings. During the build process Gaea will upscale the tile's specific portion with a detail preserving algorithm, and then continue the build normally with all the subsequent tile-friendly nodes.
You can have multiple TileGates in a graph. They do not add any additional burden to your memory, so feel free to use as many as needed.
A simple example: you have a Mountain primitive which is eroded then exported. The mountain node, like all primitives, are tile-unfriendly. So you just place a TileGate in between the Mountain and Erosion nodes. The rest of the graph will remain unaffected.
TileGate uses the same baking resolution as the rest of your graph. You can choose either the highest possible resolution (8K), or if your primitives are simpler shapes, you can use lower resolutions and let Erosion and other nodes handle adding the smaller detail.
Identifying Non-Tiling Nodes
When you select Tiled Build mode in the Build Manager, nodes that do not tile are marked with an asterisk ◇ in the Toolbox, Menus, and Search.
Warnings
You will find warnings at the bottom of the Build Manager. For Tiled Builds, there are two primary warnings.
Non-tiling Nodes

This warning tells you that some nodes are not tile friendly and would need to be moved behind a TileGate.
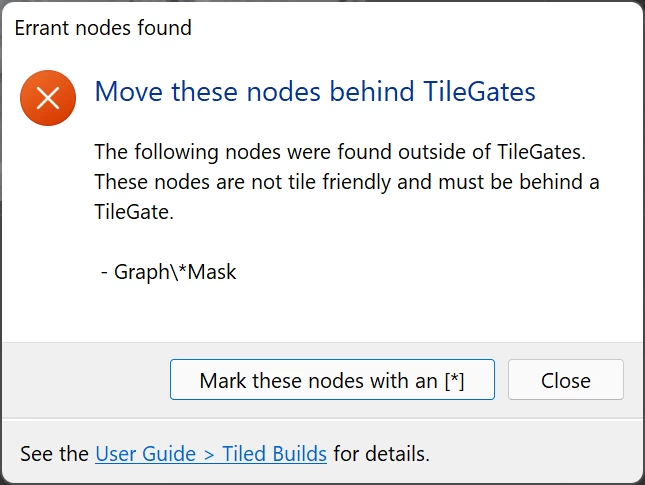
If you click the Warning, you will be presented with an option to mark the actual nodes with an * prefix in their names. This can help you go through your graph and move them behind TileGates.
Unbaked TileGates
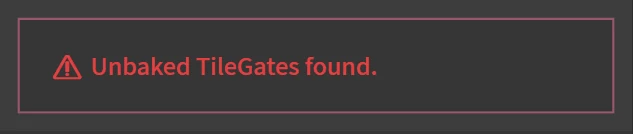
This warning tells you that TileGates are not baked. You must bake them in order to run a Tiled Build.
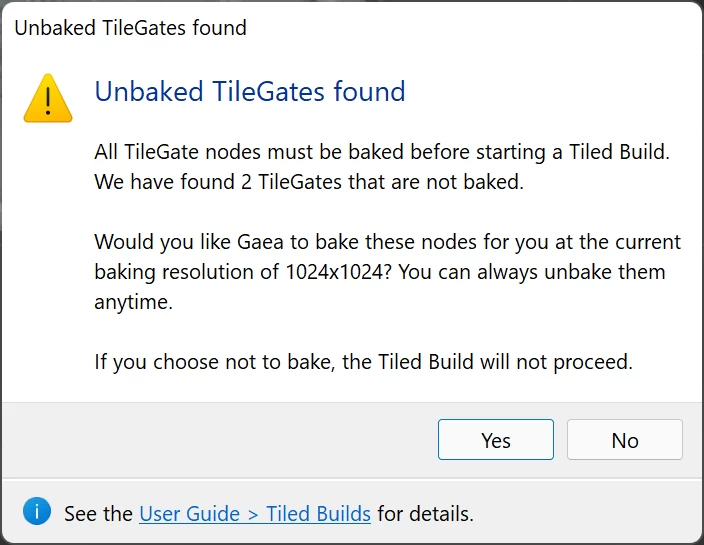
If you click the warning, Gaea will give you the option to automatically bake all pending TileGates at the current baking resolution.
Example
Let's look at a more detailed example: a terrain made with a few primitives, processed, textured, and exported. We will interject TileGate nodes at key places to make this world tile friendly.
First, we go to the Build Manager and select the Tiled Build (Preview) mode, then assign the desired resolution per tile and the number of tiles per dimension.
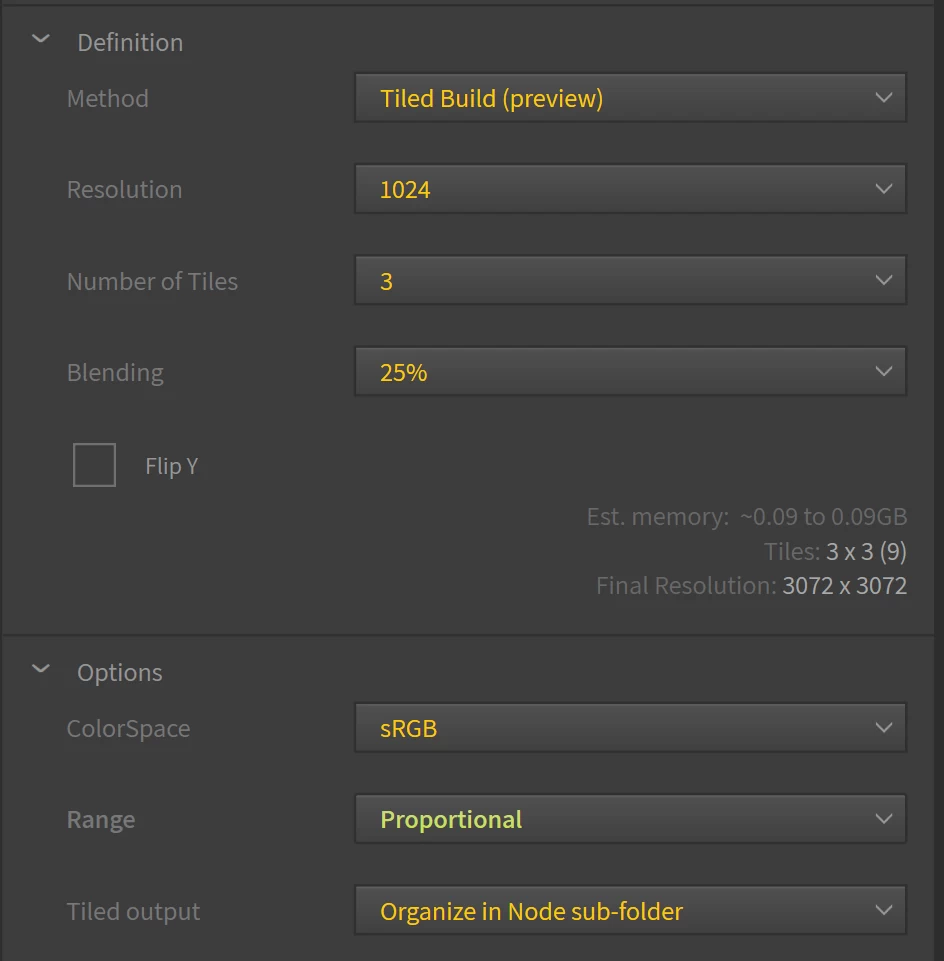
The readout under the settings gives you the final resolution of the entire tileset.
The existing graph
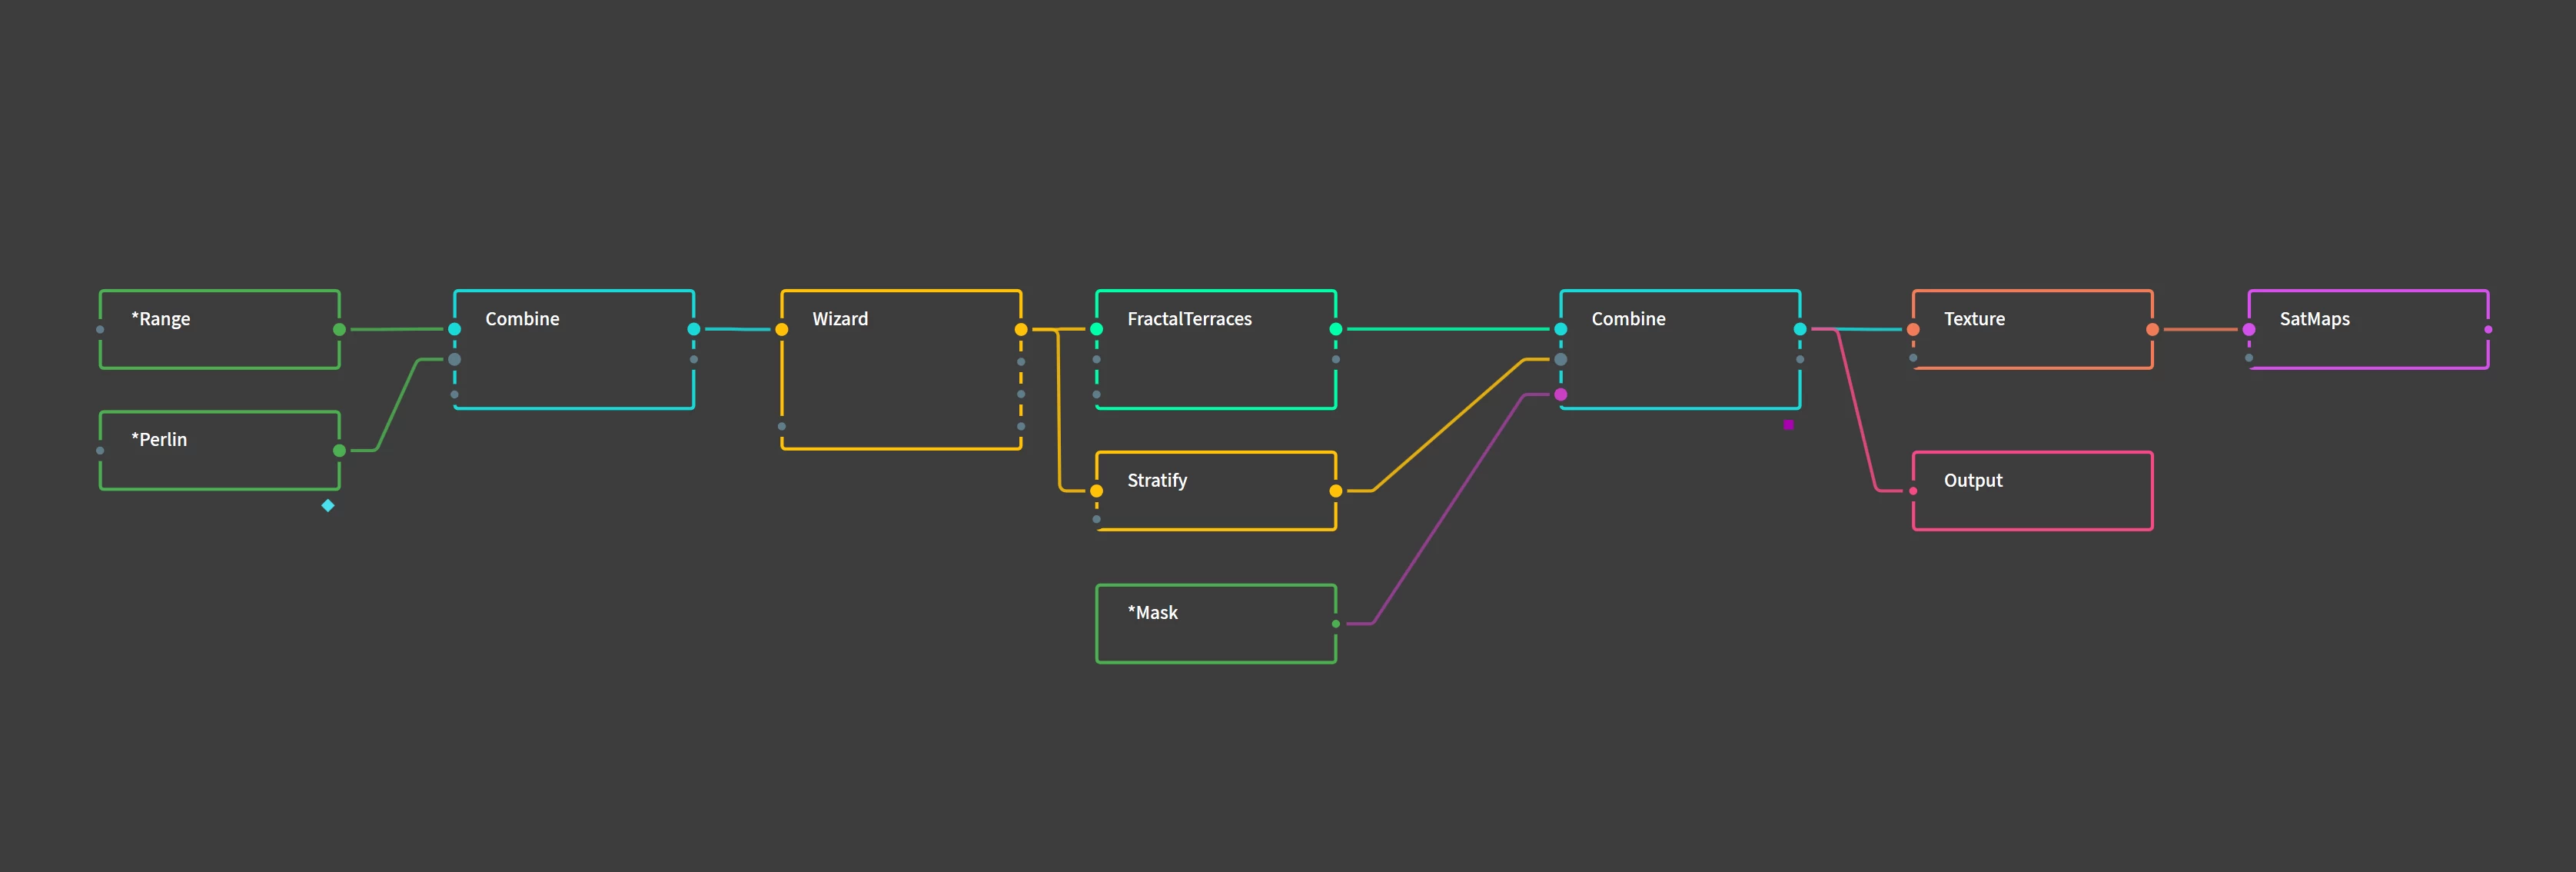
The first portion where the overall shape is created, but not detailed with Erosion yet, is the main sequence of nodes that would be not be tile friendly. The Mask used further down the chain is also not tile friendly. As such they need to be put behind TileGate nodes.
The remaining nodes are all tile friendly and require no further modifications. It is important to remember that most of the small, high-resolution details in terrains is generated during this phase.
Graph with TileGates
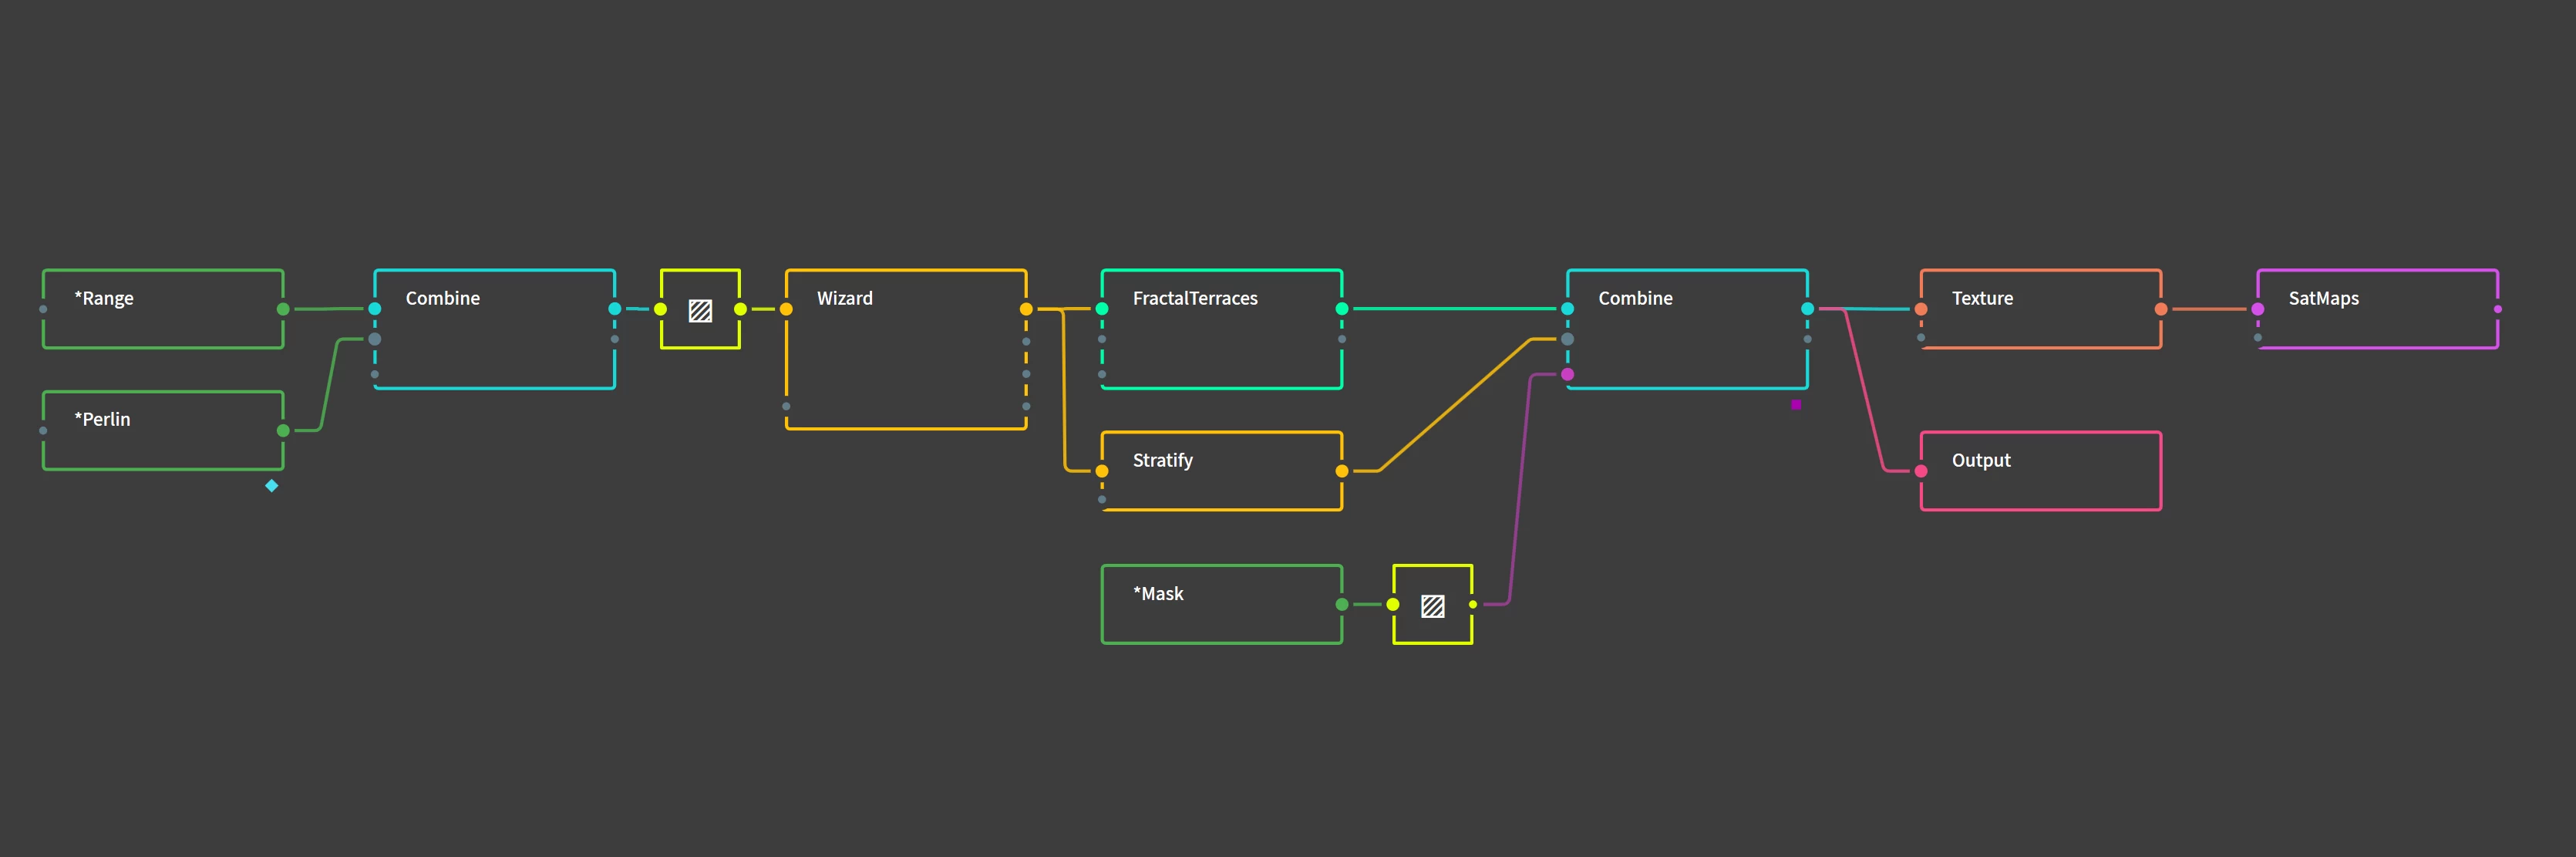
We add our first TileGate where the two primitives are combined, and the second right after the Mask.
Now the terrain is ready to build!
Maintaining Quality
Blending
When the terrain is split into tiles and processed, at the end, each tile needs to be blended with its surrounding neighbors so that any edge-mismatches can be fixed.
In most cases, 25% (the default) is sufficient. If you still find artifacts or mismatching borders after loading your tile set, you can increase the blending amount. But be careful: increasing the blending amount will directly increase the memory and build time. Avoid using high blend amounts unless absolutely needed.
Detail Preservation
You don't need to be concerned with losing detail in this process. Almost all nodes that are not tile-friendly don't create very high resolution detail. It is mostly Erosion and LookDev processes that create intricate shapes, and most of them are tile-friendly. Ensure they are placed outside of TileGates.
If you do lose a bit of detail, use a Wizard with "Fast Erosion" settings after the TileGate. This will add enough 1:1 resolution details to hide any artifacts create from upscaling.

Official Website | Discord | YouTube | Instagram | LinkedIn
This documentation is licensed under the MIT License, a very permissive open-source license.